AXIS 700
User’s Guide Basic Installation
7
Basic Installation
You install the AXIS 700 in these stages:
• Connecting the AXIS 700 to the scanner
• Connecting the AXIS 700 to the network
• Assigning an Internet address to the AXIS 700
• Verifying the installation
Connecting the AXIS 700 to the Scanner
Caution!
1. Switch off the scanner and disconnect the AXIS 700 external power supply.
2. Connect the SCSI cable to the SCSI connector on the AXIS 700.
3. Connect the SCSI cable to the scanner. The AXIS 700 uses a built-in SCSI terminator. Note
that the scanner must also be terminated properly. Refer to the scanner documentation.
Connecting the AXIS 700 to the Network
1. Connect your AXIS 700 to the network using the appropriate network connector, i.e. RJ-45
for 10baseT and BNC for 10base2, respectively.
2. Switch on the scanner.
3. Connect the external power supply to the AXIS 700. The AXIS 700 LED indicators will flash
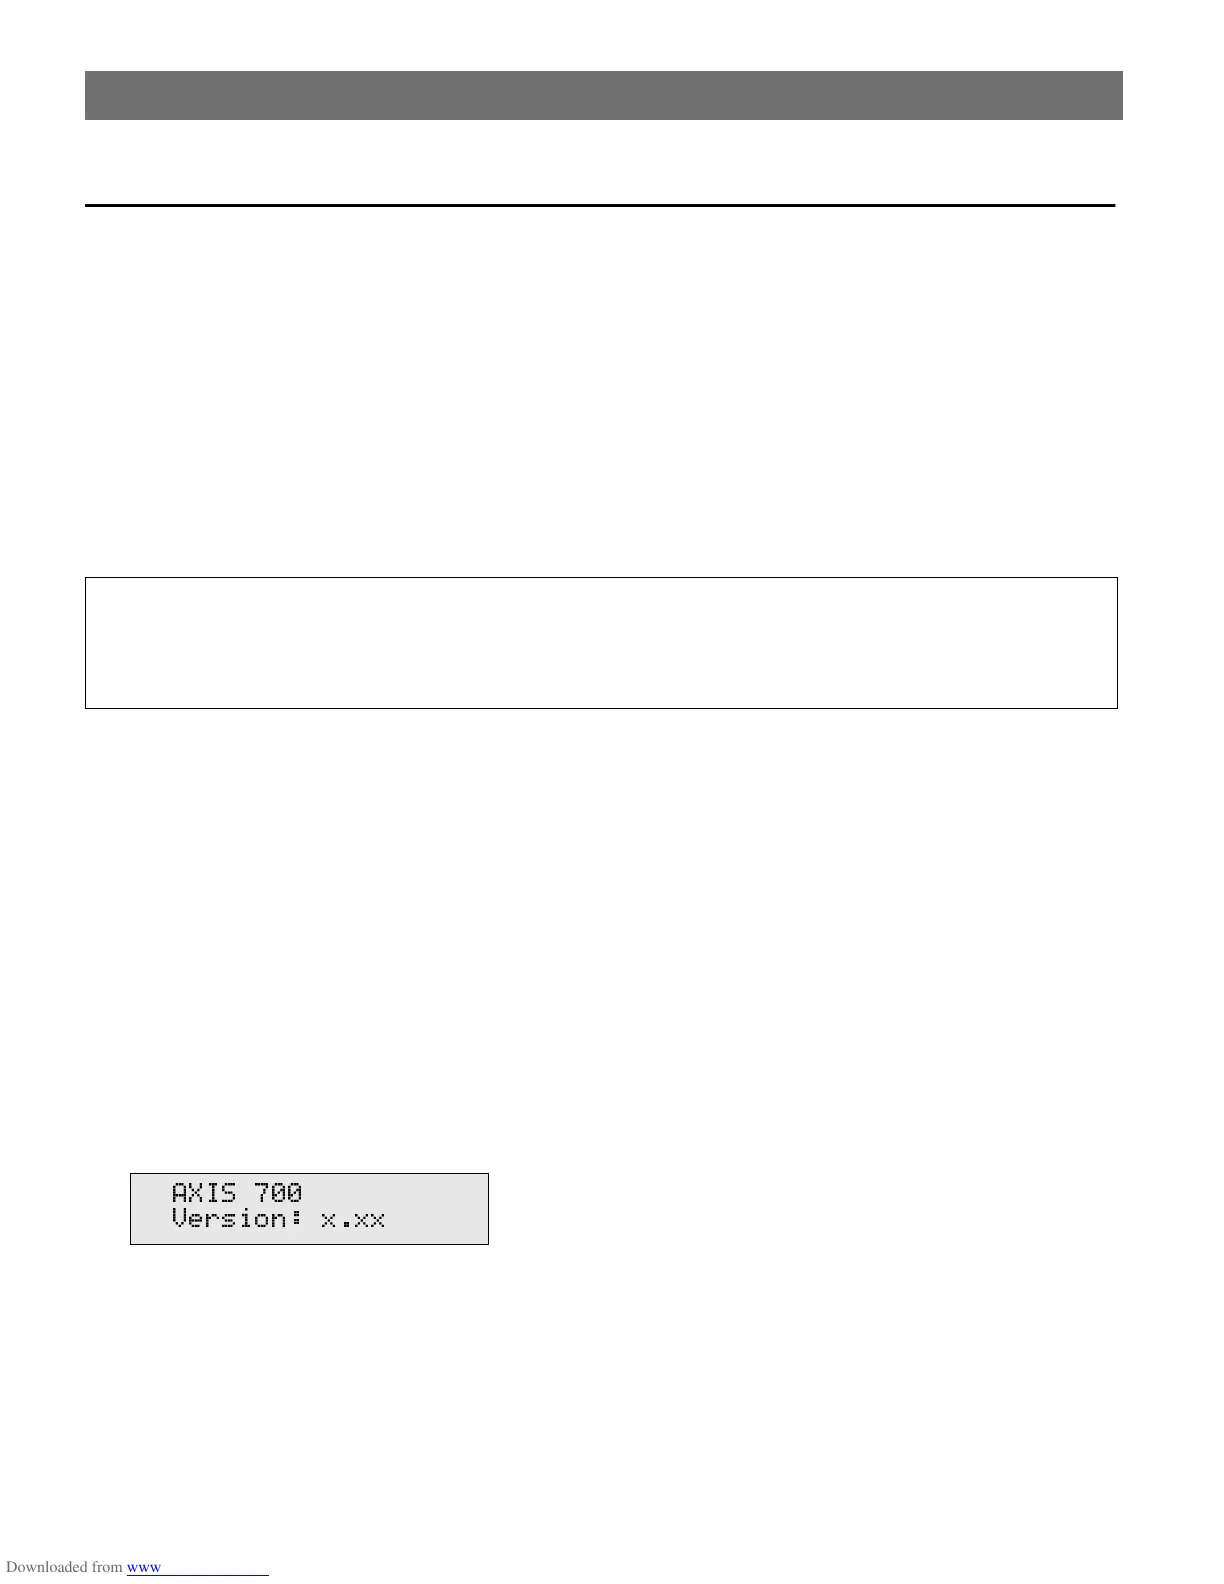
during power up and self test. During the self test, this message will appear on the display:
where
x.xx
is the software version number.
• Ensure the power supply included in the delivery is marked with the correct mains voltage.
• Make sure the scanner and the AXIS 700 are switched off. The SCSI bus may become dam-
aged if you connect or disconnect units when power is on.
$;,6
9HUVLRQ [[[