07/17
14
TIME
˖
Press - or + to select TIME, Press to set. Press - or + to
adjust. Press to continue setting.
COLOR-SYS:Press - or + to select COLOR-SYS. Press to enter. Press -
or + to select NTSC/PAL.
AUTO-DIM: Press - or + to select AUTO-DIM. Press to enter, press -
or + to select ON/OFF. When set as ON, the backlighting automatically adjusts
in accordance with the outer brightness.
ELETRONIC DISTANCE LABEL: Press - or + to select ELETRONIC
DISTANCE LABEL. Press to enter, press - or + to select ON/OFF to open
or close the electronic distance label. When it is on, the electronic distance label
will be displayed in reversing channel 4.
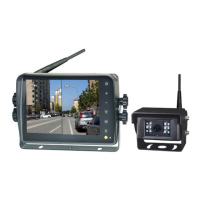
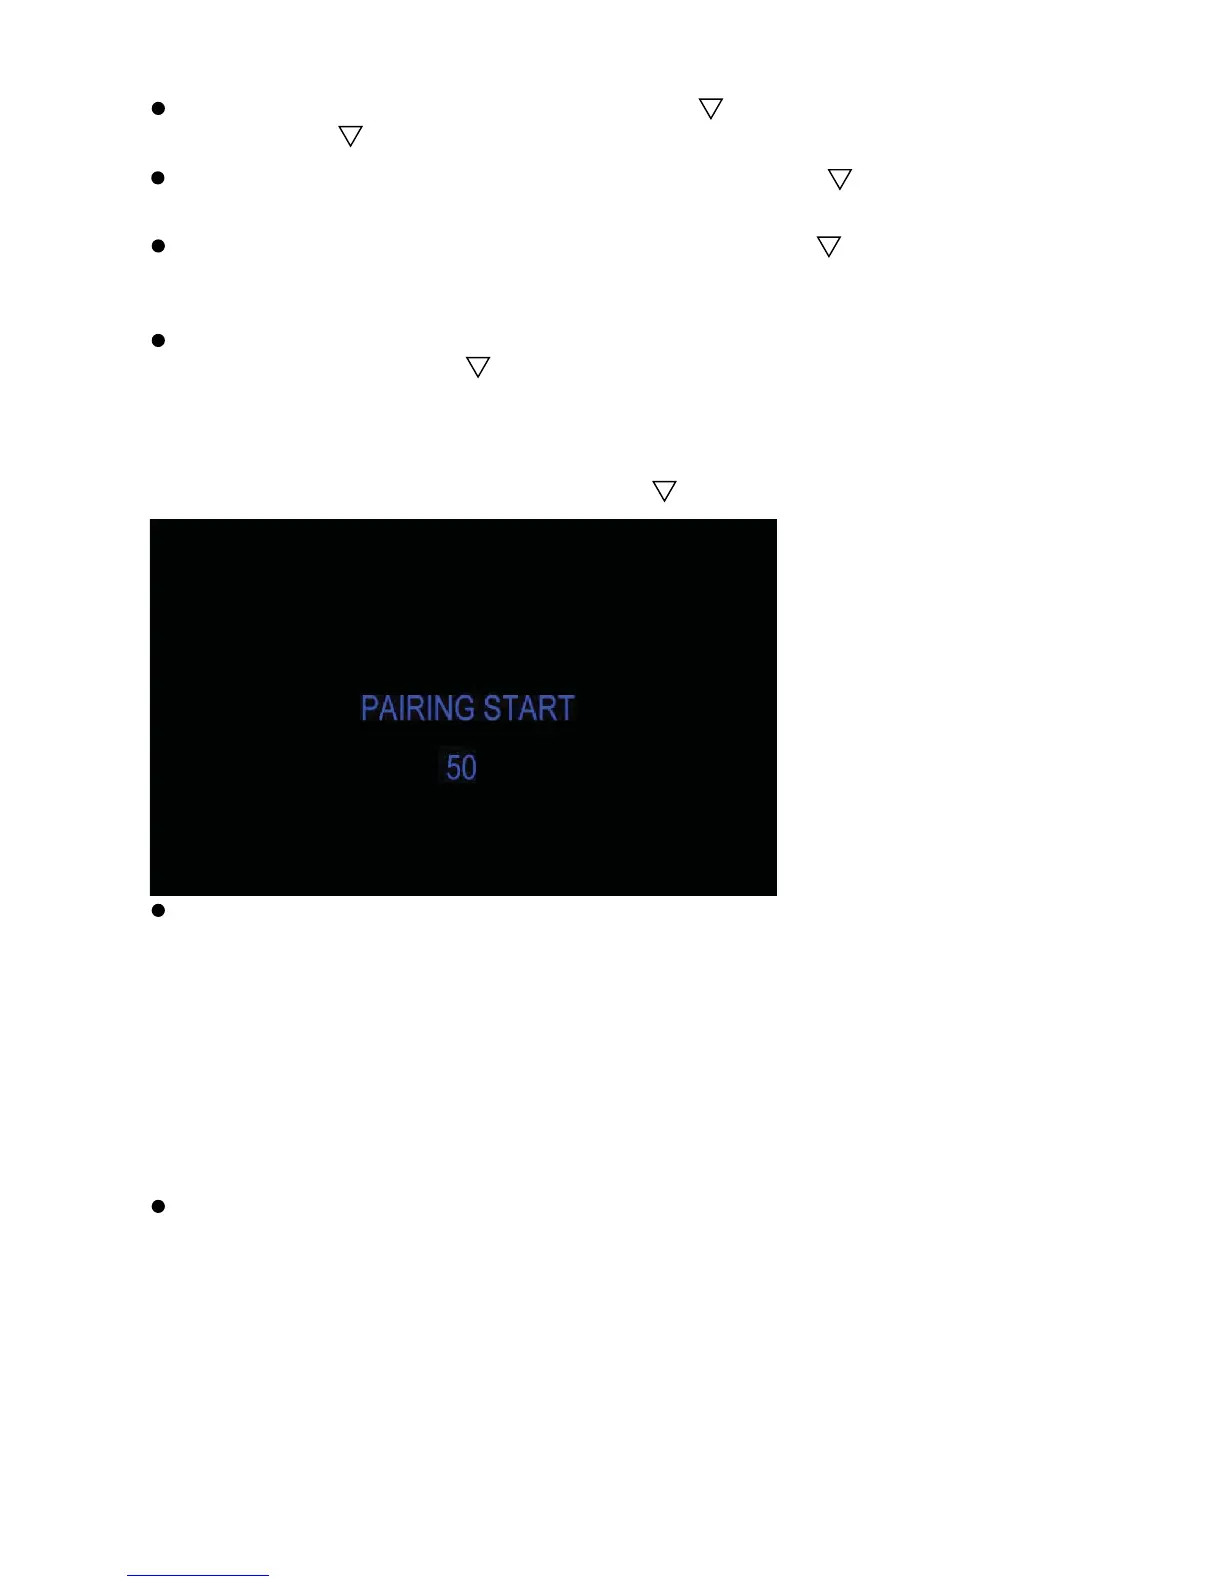
(6) Press - or + to select PAIRING. Press to enter
.
Auto pairing:
1. Choose the channel that needs to be set up. The monitor will display the
message “PAIRING START 50”.
2. Within the countdown of 50 seconds, power on the camera.
3. The monitor and cameras will synchronize themselves with each other after
the camera is powered for 5s.
4. If auto pairing is completed, the video will be displayed. If it has failed, a
message “No Signal” will be displayed. Repeat the pairing procedure.
Manually pairing:
1. Choose the channel that needs to be set up. The monitor will display the
message “PAIRING START 50”.
2. With in the countdown of 50 seconds, power on the camera. Press the
pairing button on the camera.
3. The monitor and cameras will synchronize themselves with each other.
4. If pairing is complete, the video will display. If it has failed, a message
“No Signal” will be displayed. Repeat the pairing procedure.