A3090-1.1 en 11
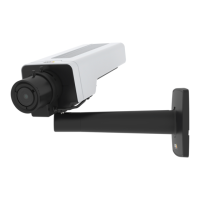
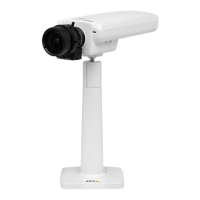
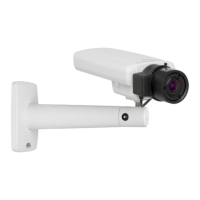
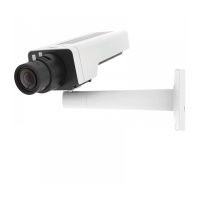
Network Camera Devices
NOTE
Once configured, a camera may be used by any networked eDAQ or eDAQ
lite
simply
by following steps 8 and 9 for each system. However, the camera cannot provide the
maximum frame rate to more than one eDAQ system at a time. For example, two
eDAQs using the same camera and configured to request 30 frames per second only
receive a maximum of 15 frames per second each.
NOTE
The camera image may be upside down by default. To rotate the image, refer to the
Axis documentation
1.3 Step 2: Configure and Run a Test
1.3.1 Add a Camera Message Channel
To record camera data, configure a TCE test with a camera message channel.
1. Start TCE (3.14 or later) and either open an existing test or create a new test. Make
sure to select SIE as the data option in the network setup window.
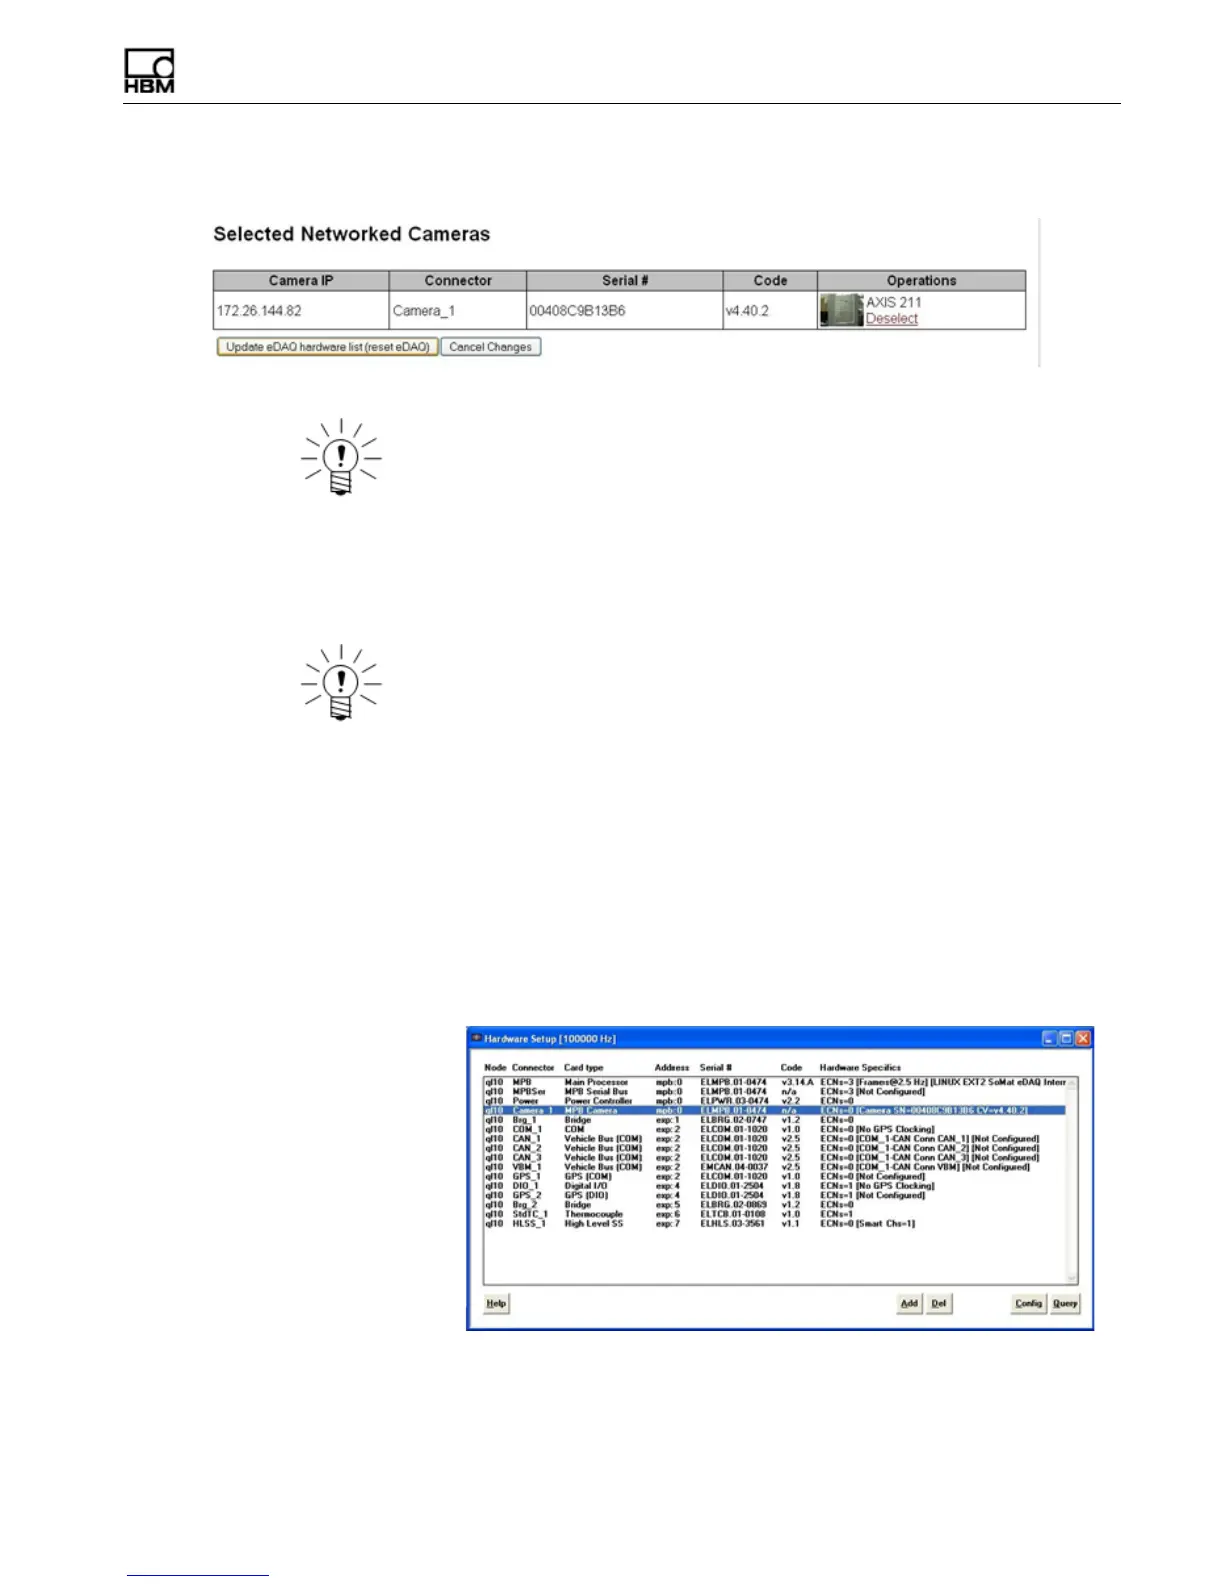
2. Perform a hardware query from the hardware setup window to list the eDAQ
hardware including an entry for the network camera listed as “MPB Camera.”
•
If there is no camera entry, the camera is not configured correctly.
3. From the transducer and message channel setup window, click Add and select
Message (Camera) to bring up the channel configuration options.
4. Enter an appropriate channel ID and description.
5. Click Message Channel Specifics... to show more configuration options.
 Loading...