AXIS Q6032/Q6034/Q6035 Installation Guide Page 5
ENGLISH
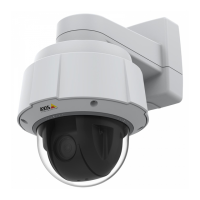
AXIS Q6032/Q6034/Q6035
Installation Guide
This installation guide provides instructions for installing an AXIS Q6032/Q6034/Q6035 PTZ Dome
Network Camera on your network. For all other aspects of using the product, please see the User
Manual, available on the CD included in this package, or from www.axis.com
Installation Steps
1. Check the package contents against the list below.
2. Hardware overview. See page 6.
3. Install the hardware.
• Prepare for installation, see page 8.
• Hard ceiling mount, see page 9.
• Drop ceiling mount, see page 10.
• Bracket mount (optional accessory), see page 12.
• Install AXIS T8123 High PoE Midspan 1-port, see page 13.
4. Assign an IP address. See page 14.
5. Set the password. See page 17.
Package Contents
Item Models/variants/notes
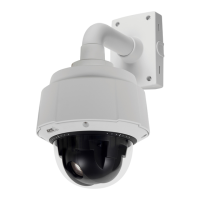
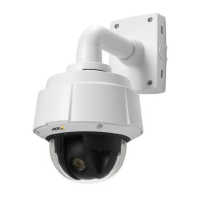
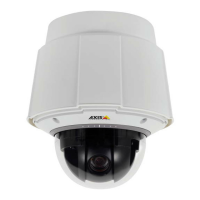
Network camera AXIS Q6032/Q6034/Q6035
Dome covers Clear transparent cover (pre-mounted)
Smoked transparent cover
Mounting kit Mounting kit for hard ceilings and drop ceilings
High PoE Midspan AXIS T8123
CD AXIS Network Video Product CD, including product documentation,
installation tools and other software
Printed materials AXIS Q6032/Q6034/Q6035 Installation Guide (this document)
Axis Warranty Document
Drill template
Extra serial number labels (2x)
AVHS Authentication key
Optional accessories AXIS T91A Mounting Accessories
Multi-connector cable for connection of I/O, audio and power
See www.axis.com for information on available accessories