AXIS T8412 User’s Guide Page 17
ENGLISH
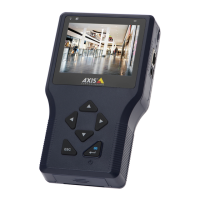
Edit
Once the Snapshot key is pressed, the Snapshot
editing page will open. Choose a location to store
the snapshot by tapping on T8412, USB or SD.
1. Enter a file name and description.
2. Tap Enter/Save icon and return to the viewing
page.
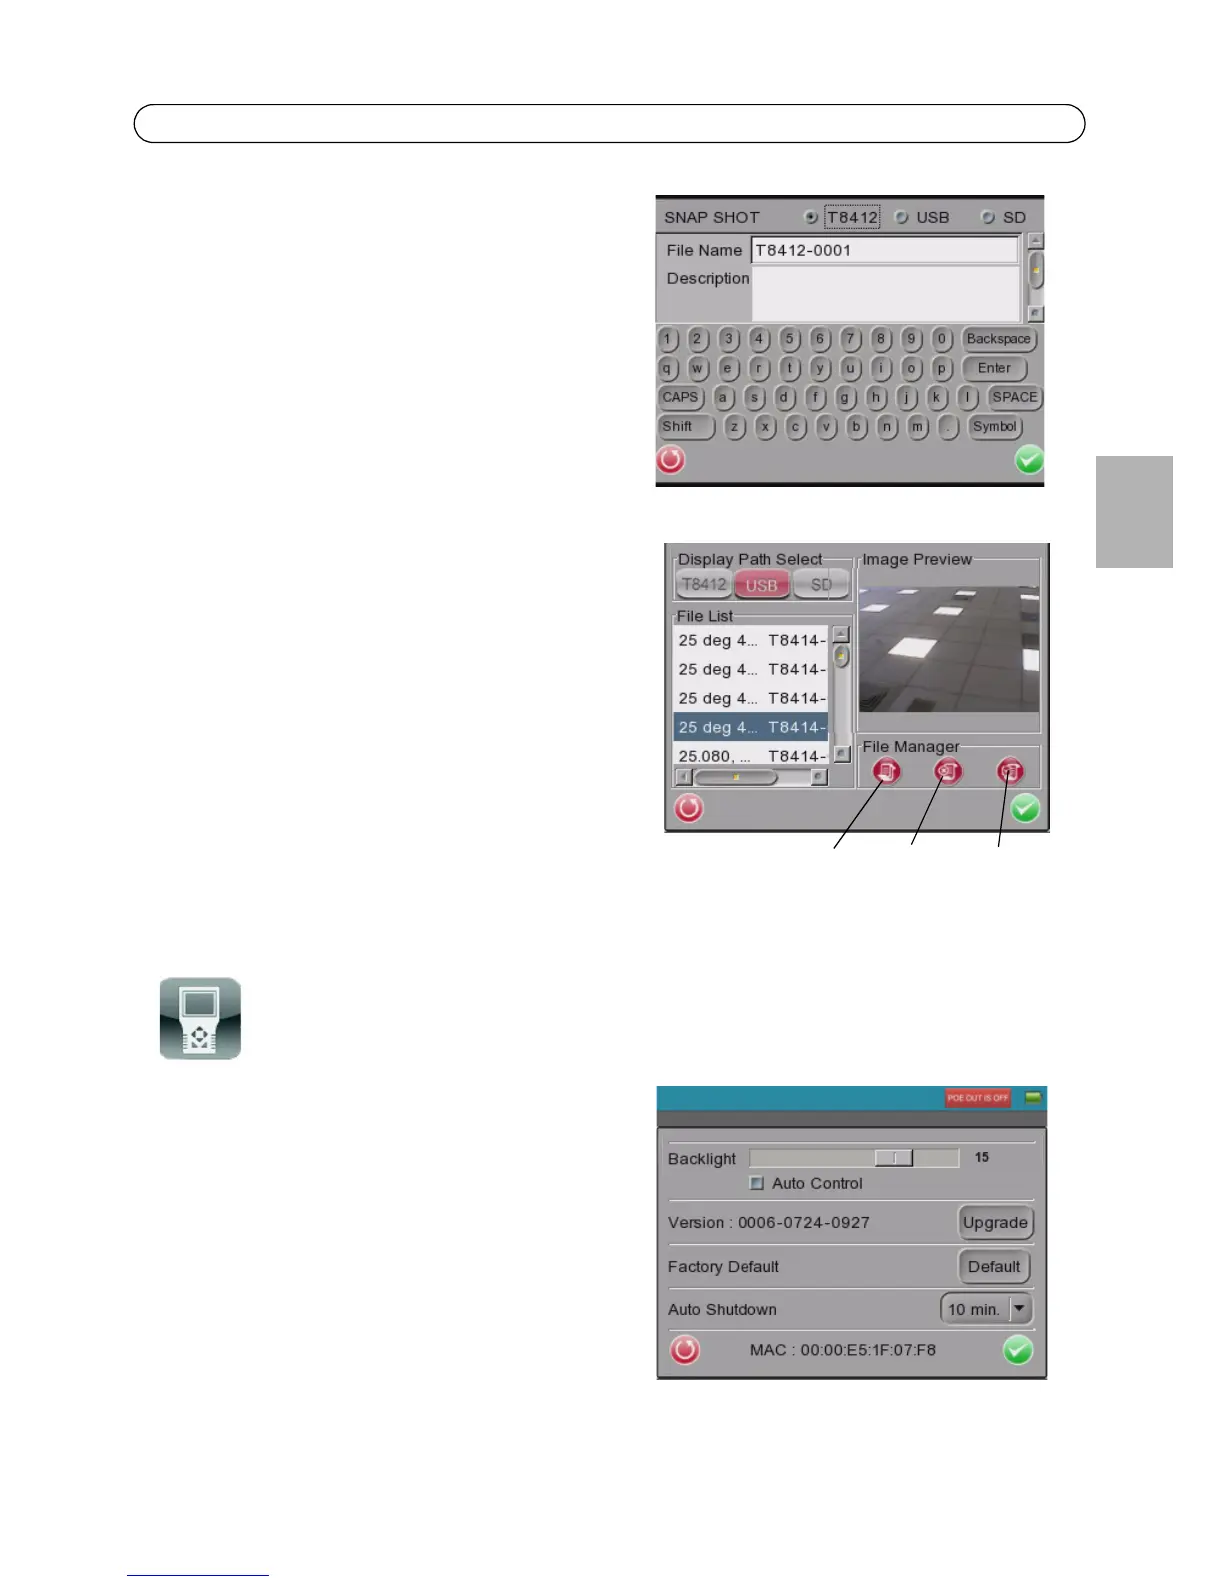
File management
To manage snapshot files from the Main Menu tap
the SETUP icon > Setup-Snapshot. Here you can
preview, copy and delete images.
1. To view files, select the correct Display Path,
T8412, USB or SD.
2. Available snapshot files are listed under File List.
3. To view a snapshot, tap the file name in the list
and the image will appear in Image Preview.
• Copy - Tap the Copy icon, select the
location, and tap Save.
• Delete - Select the file to remove and tap
the Delete icon. Tap OK to complete the
removal.
• Select all - To select all files for copying or deleting tap the Select all icon.
System Setup
Tap the Setup-System icon to enter the AXIS T8412
System setup page. In this page, you can adjust the
brightness of the screen, implement firmware
upgrades and restore all settings of the AXIS T8412
to factory default.
Backlight Adjustment - Control the brightness of
the AXIS T8412 screen by moving the slider of the
Backlight value indicator. A higher value produces a
brighter image.
Firmware Upgrade - When you upgrade your AXIS
T8412 with the latest firmware from the Axis Web
site, your Installation Display receives the latest functionality available. Always read the upgrade
instructions and release notes available with each new release, before updating the firmware.
Copy Delete Select all