CHANGING THE SAW BLADE
26
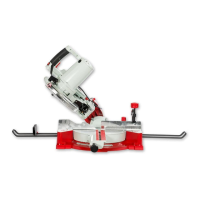
Drive belt tensioner & tracking control assembly
5) If you are fitting a new blade, it will have been supplied to
you “folded”, bound together in this configuration with tape or
tie wrap.
WARNING! BE VERY CAUTIOUS WHEN
YOU “UNFOLD” THE BLADE; IT TENDS TO
‘SPRING’ OPEN, BLADE AND TEETH GOING
EVERYWHERE.
6) Also check that the blade did not “unfold” inside out. i.e.
looking at the right side front of the loop, the teeth should be
on the front of the blade and pointing down. If you can’t arrive
at this view, turn the blade inside out from its current position
and look again.
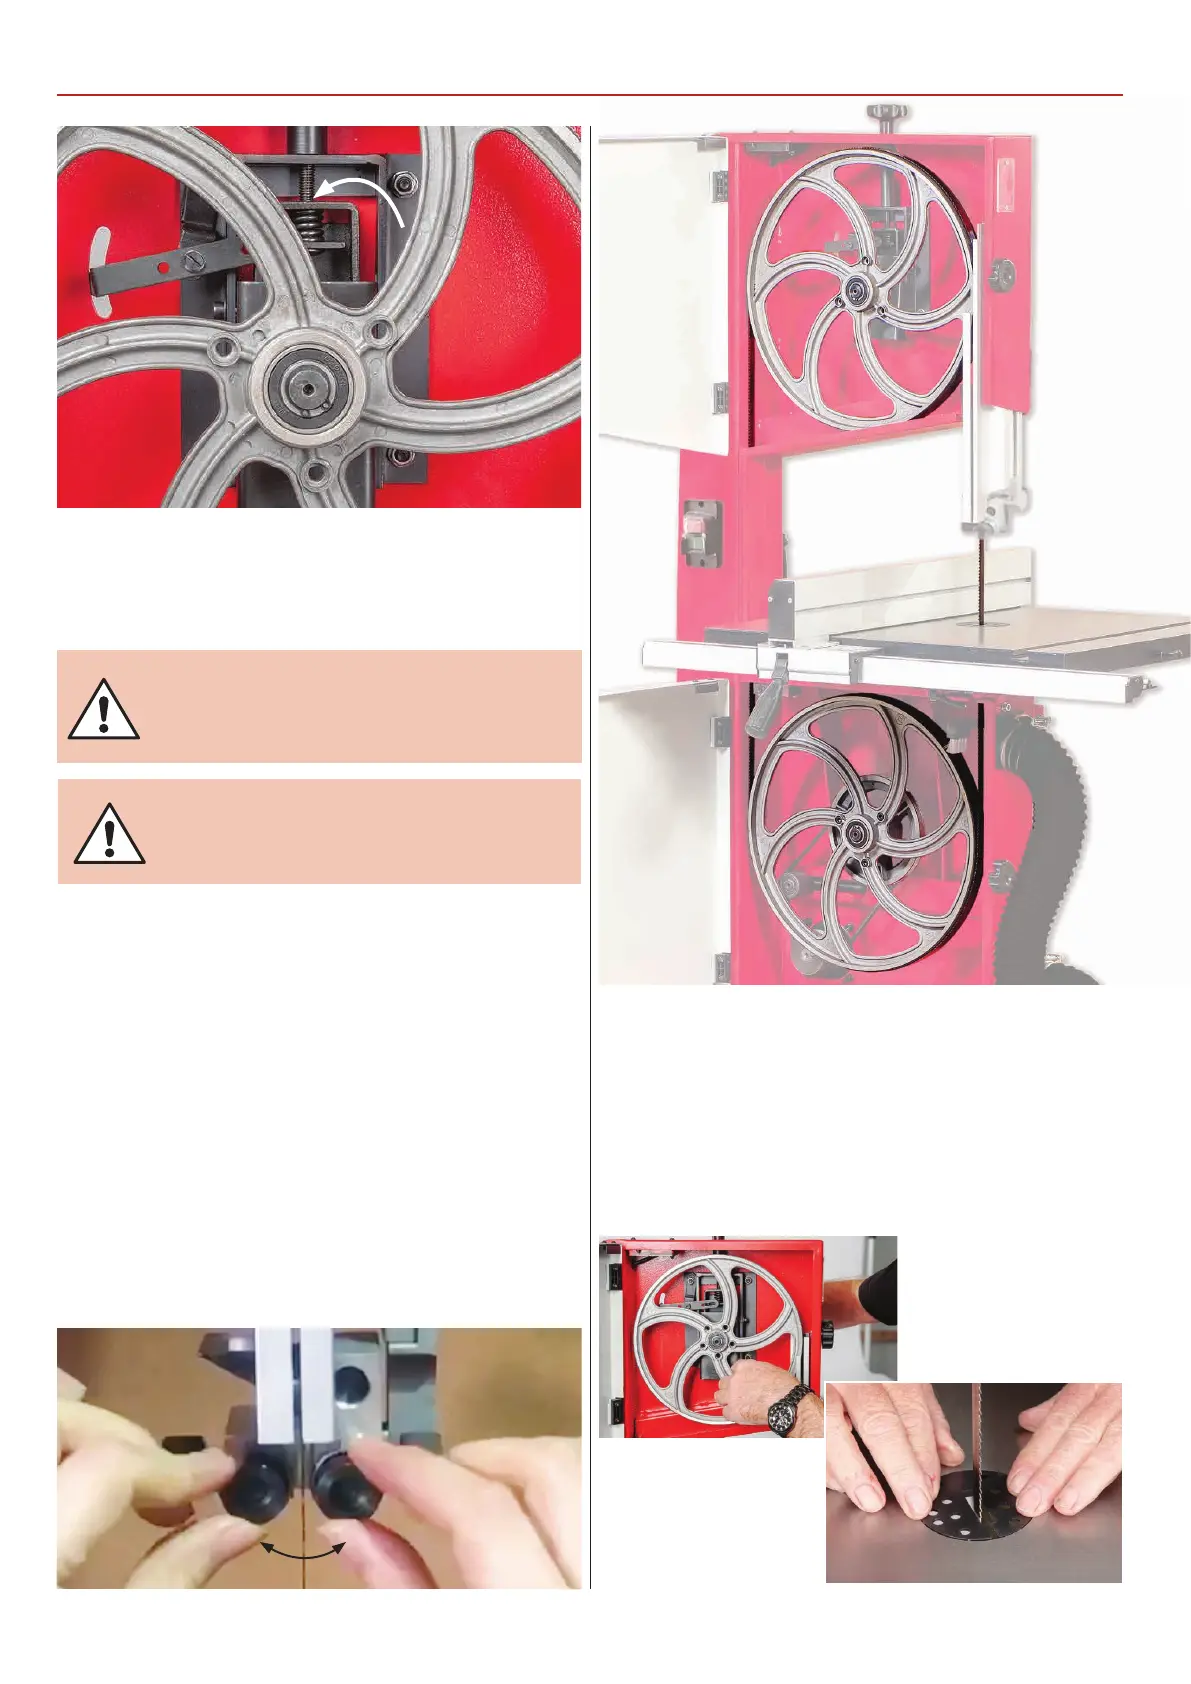
7) Open up all blade guides so that they are clear of the blade.
Hold the blade approximately midway on either side of the
loop and feed it into the table slot. When you get to the table
insert cut out void, work the left side of the loop into the slot in
the guard in the neck of the main saw frame. “Wriggle” the right
hand side of the blade through the slot in the upper blade
guide assembly. Ease the blade over the wheels and locate the
blade in the lower/upper blade guides, see fig 79-80.
MAKE SURE THE BLADE
TEETH ARE POINTING DOWN!
Fig 79-80
8) Apply some tension to the blade. Turn the top wheel by
hand, to ensure the blade will not skip off the wheels and the
blade is travelling in the blade guides. Apply a little more
tension and check by once again spinning the upper saw wheel
by hand, see fig 81. When you are sure that the blade is “ON”
and stable, re-fit the table stabilising bolt and re-fit the table
insert, see fig 82. Now adjust the blade guides as described in
‘Setting up the saw’on page 21.
Fig 81-82
Continues over...
 Loading...