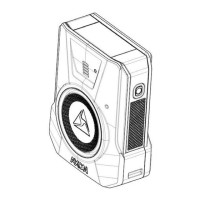
1 Ensure the camera is looking straight ahead, the mount does not have a
rotation feature.
Note: Once the mount and power units are installed in the car, you may use the
live view feature in the Axon View XL software to assist with this process.
2 Ensure the mount is level.
Notes:
• If the mount is not level the video, from the camera, will have a tilt.
• Take into account the curvature of the windshield when positioning the
mount.
3 Prepare the windshield by cleaning the area for the mount.
• Use 3M Silane Glass Treatment AP 115 for maximum adhesion.
• Wipe off excess Silane glass treatment with a paper towel before it is
allowed to dry.
4 Peel the top protective layer from the adhesive strip and affix the mount to the
windshield.
5 Hold the mount in place for 10 seconds to ensure adhesion.
6 Repeat steps 1–5 for the rear camera.
• For the rear camera, the installer can use Axon View XL to find the location
that best views the cage area.
• For proper adhesion ensure the rear camera is mounted on a flat surface.
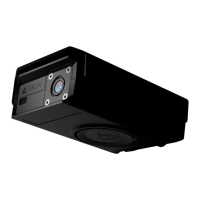
Step 5: Affixing the Power Unit
1 Tuck all wires and the power unit safely away.
Note: Do not crimp or pinch any wiring.
2 After ensuring all wires are securely attached, affix the power unit to the
predetermined mounting location.
3 Secure the power unit in its location by using robust adhesive (such as 3M VHB
tape), 3M Dual Lock re-closeable fasteners, double-sided Velcro straps, or bolts.
4 Repeat steps 1–3 for a second power unit as necessary.