AXONICS SNM SYSTEM® – Neurostimulator | Recharge-Free, Model 4101 Page 11
• Avoid pulling the lead body taut when implanted.
• Do not attempt to insert the lead into the Neurostimulator if the setscrew is not sufficiently
retracted as doing so may cause damage to the lead and/or cause the lead to not seat fully
into the connector block.
• Ensure that the setscrew tightens on the retention sleeve, not an electrode. Tightening the
setscrew onto the contact could damage the contact, leading to lack of therapy.
5.
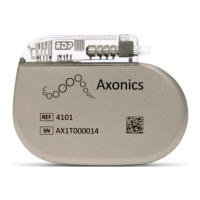
Fully insert the torque wrench into the hole of the Neurostimulator connector block. Tighten the setscrew by turning
the torque wrench clockwise until it clicks (Figure 6).
Figure 6: Secure the Lead by Tightening the Setscrew Clockwise onto the Retention Sleeve.
• Ensure that the torque wrench is fully inserted into the setscrew. Otherwise, the setscrew
may be damaged,
which can
result in intermittent or loss of stimulation.
• The torque wrench
is designed for single use only and cannot be assured to work
appropriately if used for multiple surgeries. Discard the torque wrench after use.
Implanting the Neurostimulator
1.
Place the Neurostimulator into the subcutaneous pocket. The etched writing can face either towards or away from the
skin incision. Ensure that the lead curves gently away from the Neurostimulator with no sharp bends.
Note: The Neurostimulator should be placed no deeper than 3.0 cm (about 1 in) below the skin and should be parallel to
the skin. If the Neurostimulator is too deep, telemetry may be unsuccessful.
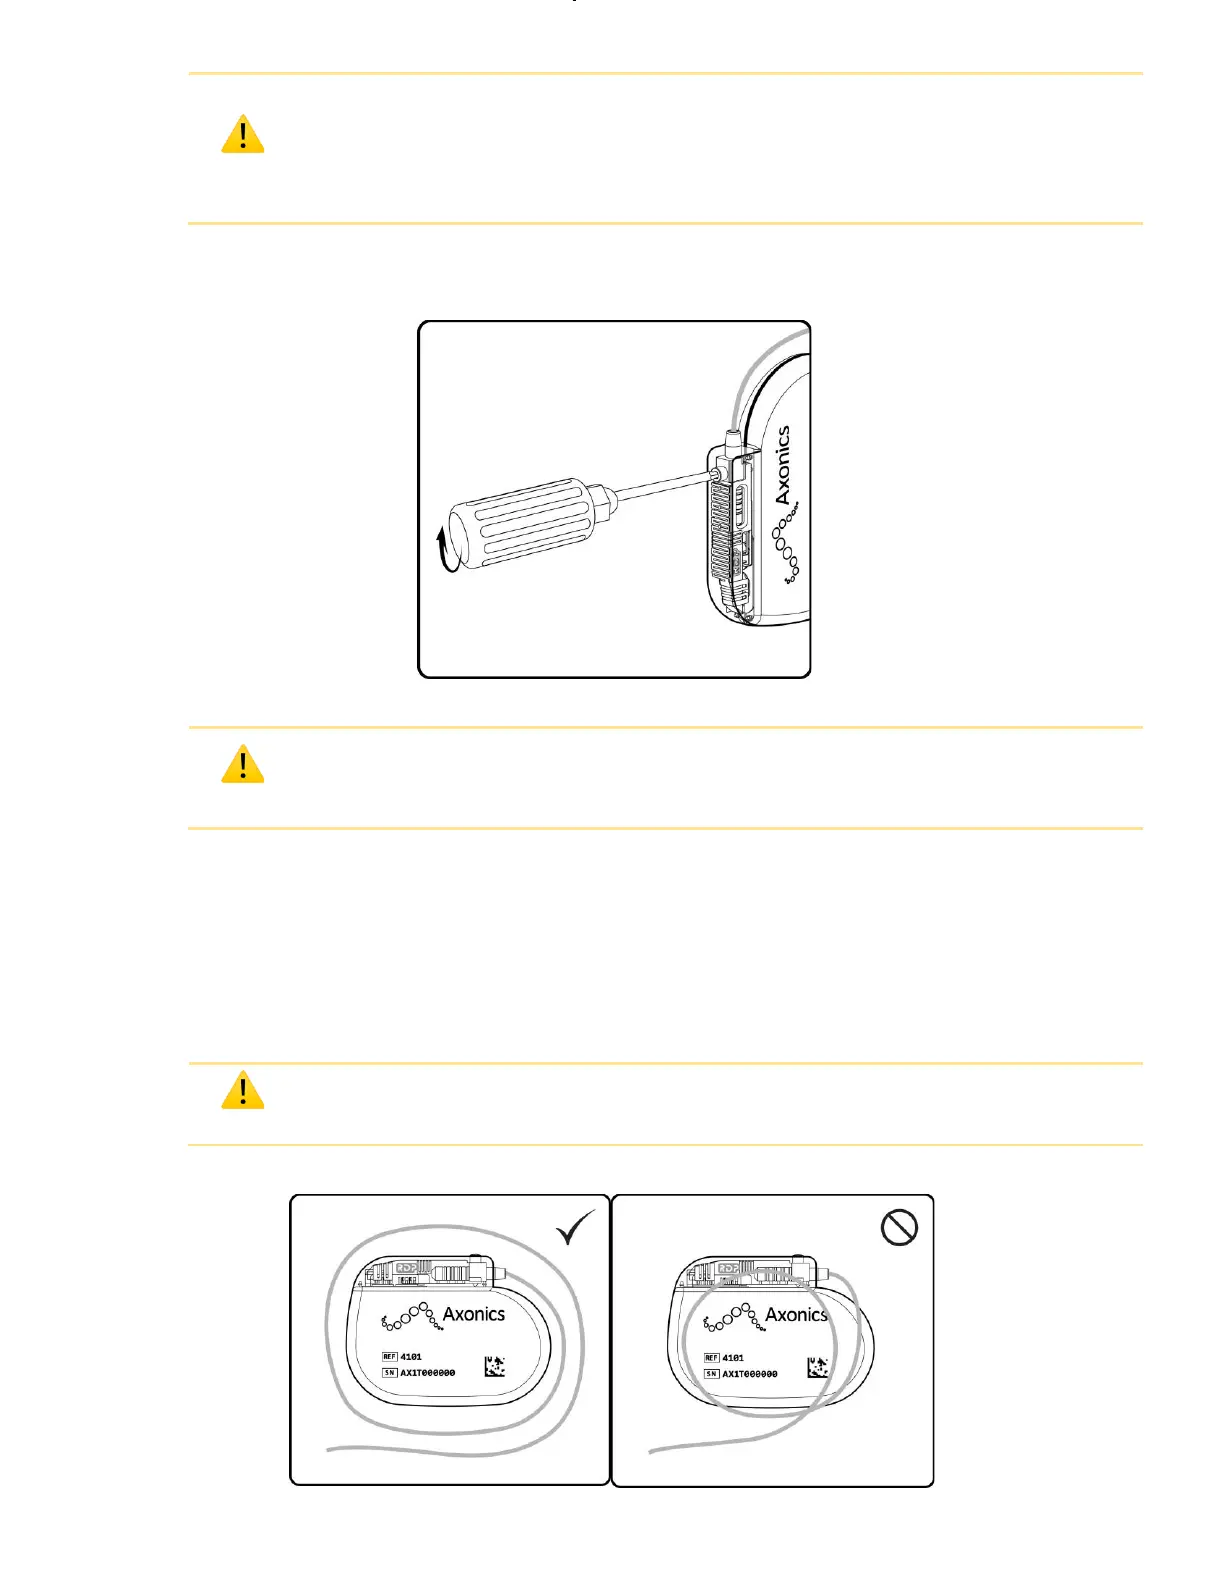
Do not coil excess length in front of Neurostimulator. Wrap excess length around the perimeter of
the Neurostimulator (Figure 7) or place under the Neurostimulator to minimize interference with
telemetry during programming.
Figure 7: Wrap Excess Lead Around or Under, but not on Top of, the Neurostimulator.
 Loading...