TRACK-POWERED DC OPERATIONS
To operate your locomotive via track power, leave the (DC) Jumper
PC Board in place (Figure 21), make sure that the motor switch is
“ON,” the pickup switch is in the “Track” position, and the track
polarity switch is set for its correct position (normally the “Large
Scale” position for compatibility with other manufacturers’ G scale
equipment). In this mode, the locomotive headlight and rear light
will be direction-dependent.
ADDING AN AFTERMARKET SOUND SYSTEM
This locomotive has a speaker mounted in the bottom of the tender with a wire
pigtail to make adding an optional sound system easier. It is also designed so
lighting and chuff circuits are active before the locomotive moves. If your sound
system is designed for plug-and-play operation, remove the (DC) Jumper PC
Board and plug in your sound system. If your sound system does not provide
plug-and-play operation, continue to use the (DC) Jumper PC Board and
connect the sound system wires to the solder pads labeled “Right W” and “Left
W” on the main PC board in the tender (Figure 20).
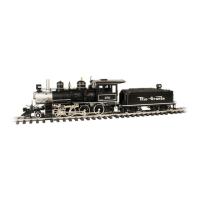
LOCOMOTIVE CHUFF
This locomotive has an optical chuff sensor located on the front drive axle
(Figure 22) that can be used to provide a prototypically correct chuff trigger
for your sound system. A simple switch is used to select two or four chuffs per
21
22
 Loading...