20906 Higgins Court, * Torrance, CA 90501 * Tel. (310) 533-3939
4. INSTALLATION AND COMMISSIONING
4.1. INTRODUCTION
This chapter will describe how to prepare the Jelly Quick for operation.
4.2. UNPACKING
Open the box and take out the Jelly Quick.
Ensure that the machine is clean and no packing materials are left stuck on machine.
The packaging is suitable for re-use.
4.3. INSTALLATION
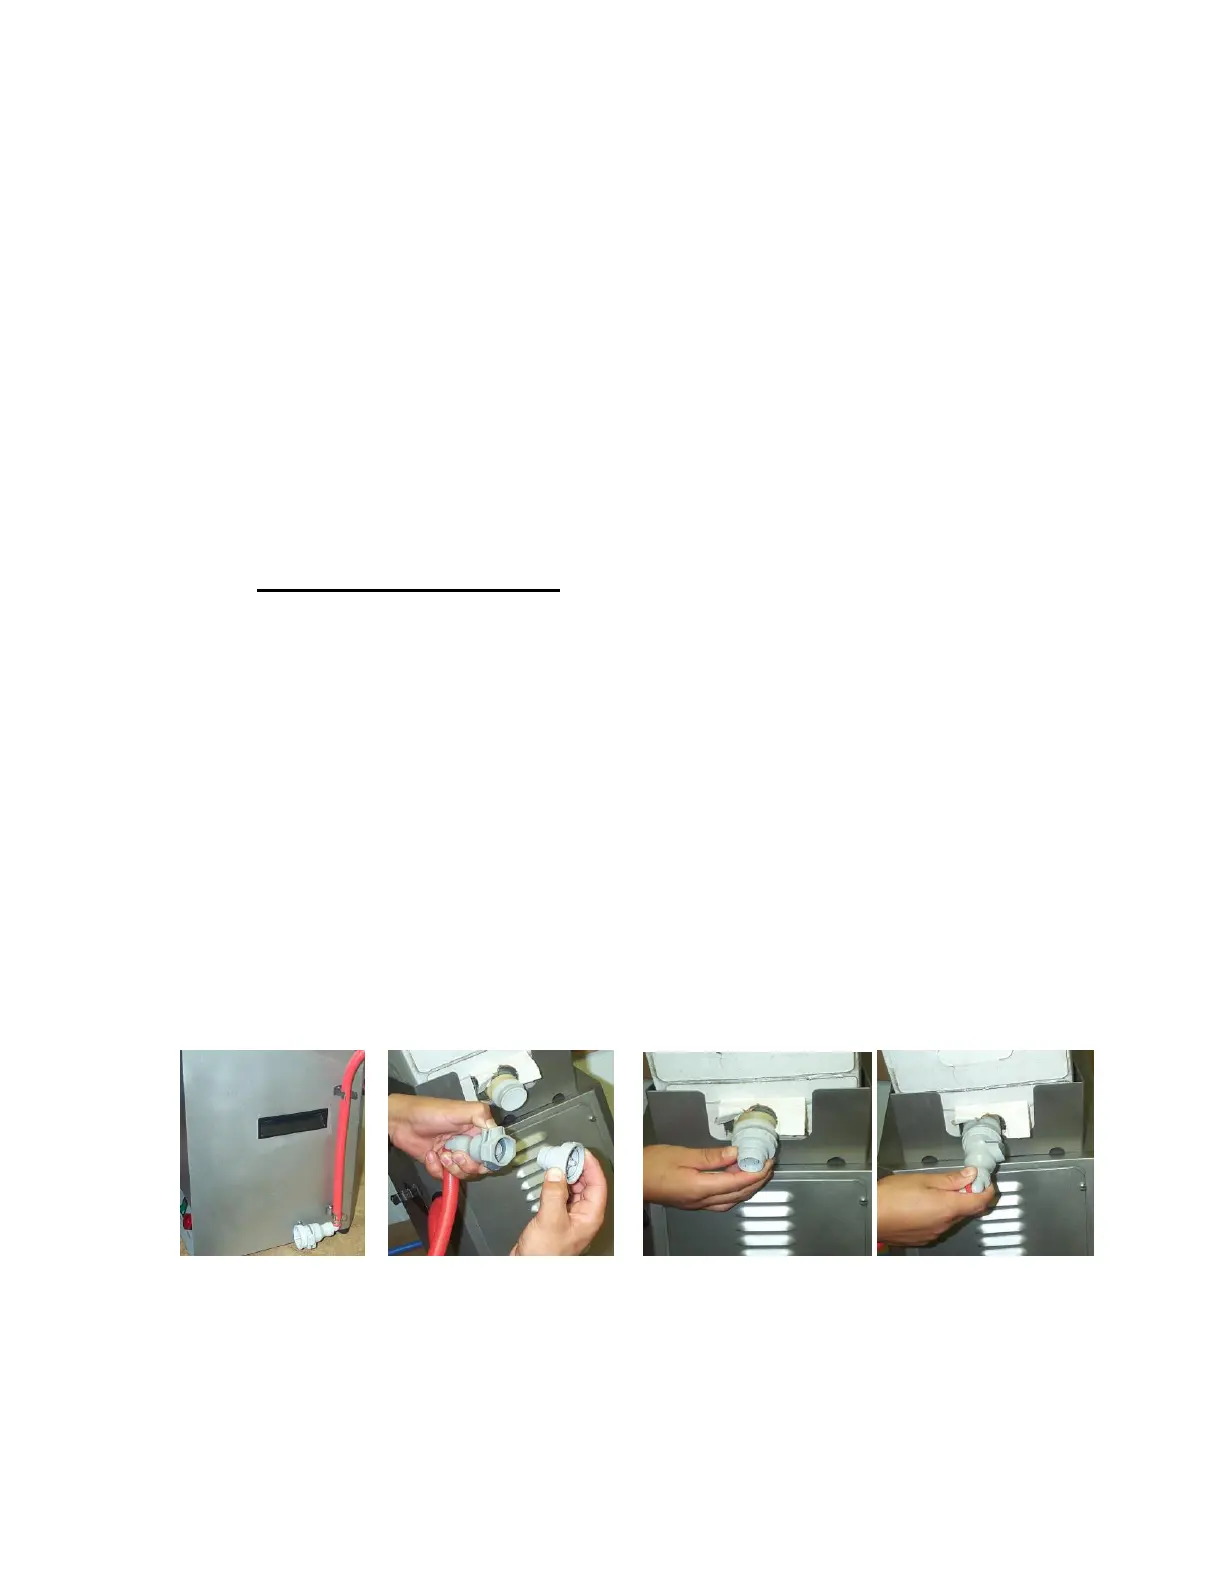
4.3. A Working with bag in the box:
• Picture 1: Remove the suction hose from the holder.
• Remove the cap and seal from the bag in the box.
• Picture 2: Disconnect the valve cap from the quick coupling.
• Picture 3 : Turn on the valve cap on the glaze box
• Place the glaze box on to the machine (at ambient temperature)
• Picture 4 :Connect the quick coupling to the valve cap
• Connect Jelly Quick to the electrical supply and then switch it on with the on/off
switch.
• The appropriate temperature has been pre-set by the factory to 85C \185F
(Following suggested glaze manufacturer advice)
• The indicator light will remain on until the set temperature has been reached.
• It will turn off automatically once there is product (glaze or water) flowing
through the system.
Picture 1 Picture 2 Picture 3 Picture 4
Suction Hose Quick Coupling Valve Cap
Page 6
 Loading...