Do you have a question about the Bambu Lab X1 Combo and is the answer not in the manual?
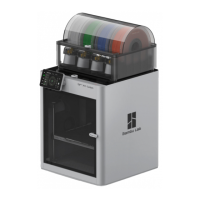
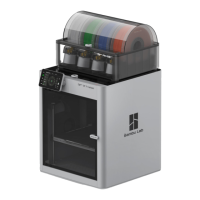
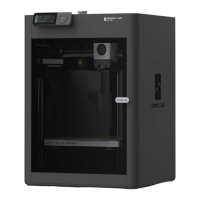
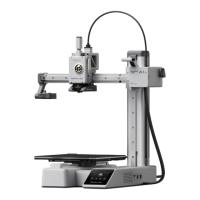
Identifies key components of the Bambu Lab X1 printer, including the tool head, screen, and build plate.
Details components of the AMS, including cable interfaces, outlets, and desiccant placement.
Details all included accessories, such as spare parts, tools, and consumables for the 3D printer.
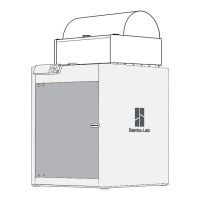
Step-by-step guide to detach the AMS unit from the printer, involving screw removal.
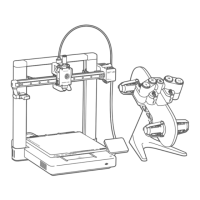
Removing screws, cushioning, and protective materials from the tool head and AMS.
Instructions for connecting PTFE tubes and Bambu Bus cables for AMS setup.
Guidance on securing the spool holder to the printer using an Allen Key H2.
Steps for installing the touch screen, including FPC connection and locking.
Instructions to unlock the hot bed by removing three screws with an Allen Key H2.
Steps for preparing the build plate with glue and loading filament into the AMS.
Guidance on choosing a file from internal storage and initiating the first print.
Methods for getting support, including official website tickets and the Bambu Handy App.
| Build Volume | 256 x 256 x 256 mm |
|---|---|
| Layer Resolution | 0.05 - 0.3 mm |
| Filament Diameter | 1.75 mm |
| Print Speed | Up to 500 mm/s |
| Extruder Type | Direct Drive |
| Max. Nozzle Temperature | 300 °C |
| Max. Bed Temperature | 120 °C |
| Chamber Temperature | Up to 60 °C |
| Camera | Yes |
| Power Requirements | 100-240V AC, 50/60Hz |
| Dimensions | 389 x 389 x 457 mm |
| Nozzle Diameter | 0.4 mm |
| Connectivity | Wi-Fi |
| Supported Materials | PLA, ABS, PETG, TPU, Nylon, Carbon Fiber, PC, ASA |
| Technology | FDM |
| Bed Material | Textured PEI Sheet |
| Bed Leveling | Automatic |
| Display | Touchscreen |