EasyManuals Logo

Barco ClickShare Update Guide

Barco ClickShare
7 pages
To Next Page IconTo Next Page
To Previous Page IconTo Previous Page
Page #3 background imageLoading...
Page #3 background image
3
Connecting to Clickshare Via LAN
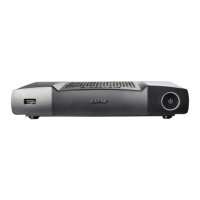
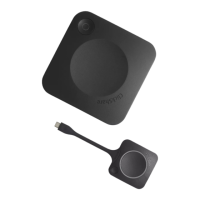
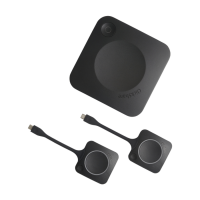
1. After setting up the basics of the ClickShare (power, monitor), connect your ClickShare
unit to the network you will access it from.
2. Turn the unit on.
3. Once the unit has booted up, open a web browser and navigate to the ClickShare units
“Wired IP” address in the URL field. NOTE: When ClickShare are new out of the box,
their Wired IP Addresses vary. You’ll find the Wired IP address displayed on the screen
that the ClickShare is connected to. Enter it in the browser URL.
4. If this is the first time you have connected this unit to your computer, you will be
prompted to enter a user name and password. By default, both the user name and
password are “admin”.
5. You are now connected to your ClickShare’s web administration page.

Other manuals for Barco ClickShare

Questions and Answers:

Question and Answer IconNeed help?

Do you have a question about the Barco ClickShare and is the answer not in the manual?

Barco ClickShare Specifications

General IconGeneral
Plug-and-PlayYes
Video OutputsHDMI
Supported ResolutionsUp to 4K UHD
Number of Concurrent UsersUp to 8 (depending on the specific model)
Operating System CompatibilityWindows, macOS
Security ProtocolsWPA2
Maximum Resolution3840x2160
ConnectionUSB
EncryptionAES
Supported Video FormatsH.264
Wireless TechnologyWi-Fi

Related product manuals