Quick Installation Guide
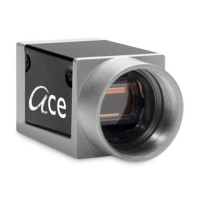
Basler ace 5
2.3 Installing the Hardware
2.3.1 Precautions
2.3.2 Steps.
To install the camera hardware, follow these steps:
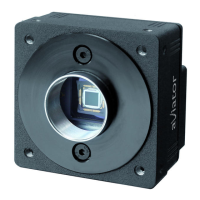
1. Remove the protective plastic seal from the lens mount on the camera and mount a lens on the
camera.
2. Mount the camera in your test setup.
Go on to step 3 if you are using a 12 VDC power supply obtained from Basler.
Go on to step 4 if you are using a PoE power injector.
NOTICE
Applying power that is outside of the specifications can result in severe damage to the camera.
This installation procedure assumes that you will be using a GigE PoE injector or a power supply
obtained from Basler (or the equivalent).
Check the camera power specifications in the camera user’s manual and make sure that your
power supply meets the specifications.
NOTICE
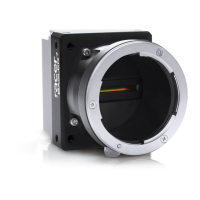
On color cameras, the lens thread length is limited.
Color models of the camera are equipped with an IR-cut filter mounted inside of the adapter. The
location of this filter limits the length of the threads on any lens you use with the camera. If a lens
with a very long thread length is used, the IR-cut filter will be damaged or destroyed and the
camera will no longer operate. See the camera user’s manual for complete details about the lens
thread length.
In the first step, you will be removing the protective plastic seal from the camera’s
lens mount. To avoid collecting dust or dirt on the imaging sensor, be sure that the
lens mount is pointing down when you remove the seal.