Quick Installation Guide
Basler ace 7
2.4 Acquiring Your First Images and
Changing Camera Settings
The easiest way to acquire your first images and to change the camera’s settings is to use the pylon
Viewer software that was installed earlier with the pylon package. In this section we will show you
how to acquire images and how to set the camera so that it automatically adjusts gain and
exposure. We will also show you how to adjust some basic settings that you will want to work with
right away.
To acquire your first images:
1. Put an object within the camera’s field of view and make sure that the object is well illuminated.
2. Open the lens aperture on your camera "halfway" by choosing an intermediate f-number.
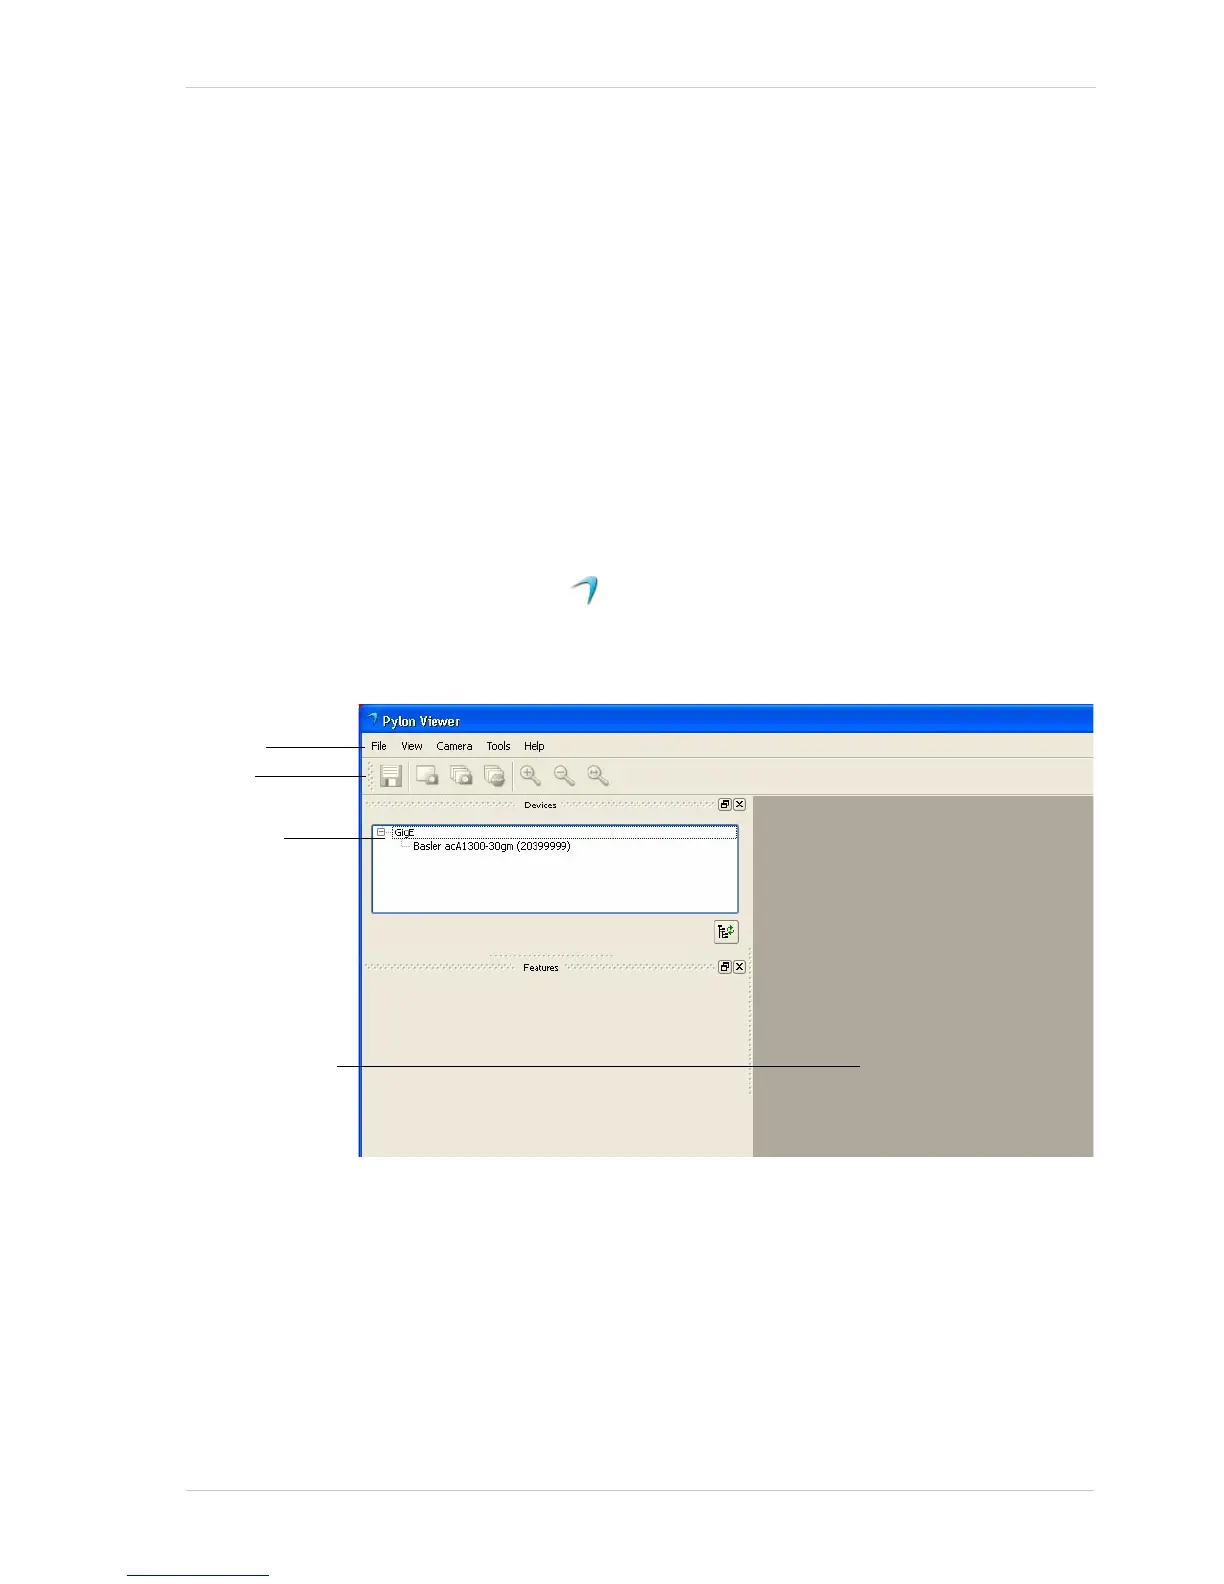
3. Start the pylon Viewer, by clicking the icon on your computer’s desktop. The viewer window
will open as shown below and you should see an entry in the Device tree for your ace camera.