16. Quick release lock
17. Filter cover
18. Filter
19. Power pressure adjust knob
20. Viscosity cup
21. Cleaning needle
22. Cleaning brush
SET UP
Attaching spray gun head to power unit.
1. Gun head assembly: Align the unlock sign
on main housing and gun head. Push gun
head all the way into housing. And turn gun
head until lock sign aligned.
2. Turn the quick release lock to lock with the
container as below image shown
Aligning the suction tube (pickup rube)
Note: By pointing the suction tube in the
proper direction, you will not have to refill the
container as often.
If you are going to be spraying in a downwar
d
direction. The angled end of the suction tube
should be pointing toward the front of gun as
below image shown.
If you are going to be spraying in an upward
direction. The angled end of the suction tube
should be pointing toward the rear of the gun
as below photo shown.
MATERIAL PREPARATION
Liquid material preparation tips
Make sure the type of material you use can be
cleaned with either mineral spirits or paint
thinner (for oil-based paints) or a warm water
and soap solution (for water soluble paints like
latex). Use drop cloths during pouring, mixing,
and viscosity testing of materials to be
sprayed to protect your floors and anything
else in the spraying area that you wish to
remain untouched.
The liquid being sprayed may need to be
thinned
(diluted) before starting. When thinning,
use the proper liquid thinner recommended on
the container by the material Manufacturer.
Warning! Do not use materials with a
flashpoint below than 21°C (70°F)
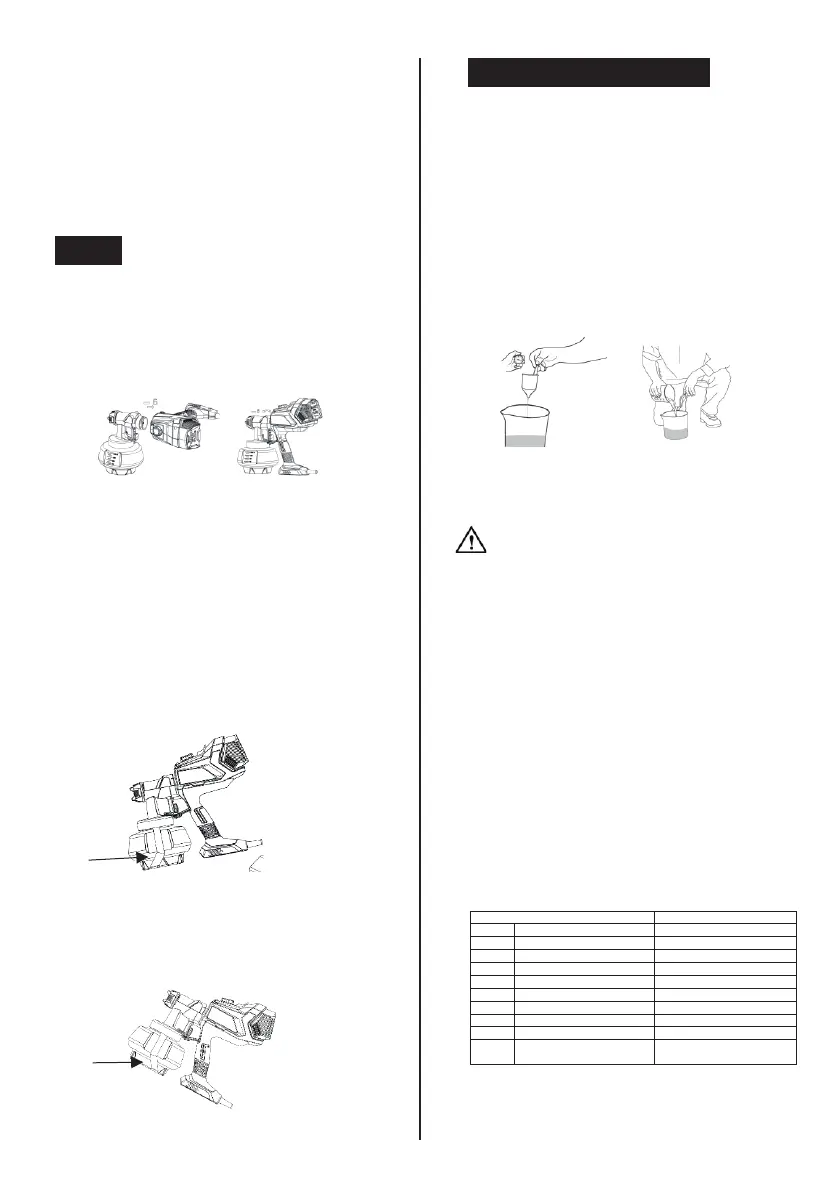
A viscosity test cup is provided to determine
the “runout time” of the material being used.
► Before measuring for the proper
viscosity, stir the material thoroughly.
► Dip the viscosity cup into the material being
sprayed and fill the cup completely.
► With the cup held over the mat
erial
container, measure the amount of time it
takes for the being a constant stream out
of the bottom of the cup (150 seconds or
less). This is the “runout time”. Refer to
the thinning table for information on the
thinning required for different materials.
Thinning Chart
Follow manufacture’s
recommendations