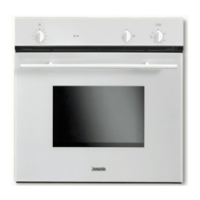
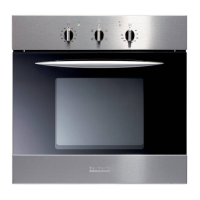
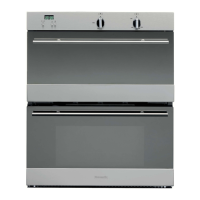
USER INSTRUCTIONS
The timer only operates when appliance is connected to the electricity
supply.
NOTE: The clock/programmer only controls the main oven / lower
oven.
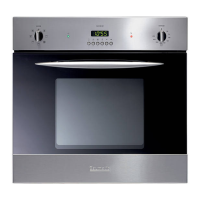
1) TIME OF DAY AND MANUAL MODE
To set the time of day, press and release the ‘manual’ button (any
previously entered setting will be cancelled).
By pressing buttons + or – (numbers 5 or 6 in the illustration) the
time setting can be adjusted. When the required time has been
selected, release all buttons. There is a 5-second acceptance delay
during which no button should be touched.
The ‘pot’ symbol will be illuminated indicating Manual cooking
mode is available. To turn the oven back to manual mode at any
chosen time, simply press and release the ‘manual’ button (4).
This will cancel any previously entered programs.
2) COOKING DURATION MODE:
Set the oven to the required temperature and briefly press the
‘duration’ button (2). Set the required cooking duration time
using the + or – buttons. The ‘pot’ symbol will remain
illuminated and ‘AUTO’ will appear in the display. The timer
will revert to time mode after 5 seconds. At the end of the
selected duration time, the oven will switch OFF and an audible
signal will be emitted, ‘AUTO’ will flash and the ‘pot’ symbol
will be extinguished. To cancel the alarm mode audible signal,
briefly press the ‘manual’ button (4). As the oven is now set for
manual operation, ensure the oven controls are in the OFF
position.
3) COOK END MODE:
For the cooking end mode, set the oven to the desired temperature
and briefly press the ‘end time’ button (3).
Set the required cooking end time using the + or – buttons.
‘AUTO’ will appear in the display. The time will revert to time
12