7.0 Mode Selection/Temp Adjustment
11
© Baxi Heating UK Ltd 2011
7.1 Selecting the Cental Heating Mode
1. There are 4 central heating modes: -
On - heating operates to keep the dwelling at the
comfort setpoint chosen by the householder
continuously ie. 24hr/day, initially set at 20°C.
Timed - heating operates to keep the dwelling at the
comfort setpoint chosen by the householder
according to the programme times, initially set at
20°C (min 10°C - max 35°C).
Reduced - heating operates to keep the dwelling at the
reduced set point chosen by the householder
continuously, initially set at 5°C (min 5°C - max
20°C).
Off - frost protection - heating operates to keep the
dwelling above 5°C continuously.
2. The central heating mode can be set using any i-THINK
Controller installed in the house.
3. To select the mode required: - from the main screen press the
menu button.
4. Turn Selector Button to ‘Temps / mode CH1’.
Press Button to select and scroll between: - Off – Timed –
Reduced – On, press Button to select.
7.2 Further Information
1. The user must be aware that in the timed mode the
i-THINK Controller is not inactive in between the programmed
times, the frost protection/reduced temperature period is
constantly in the background and will cause the appliance to
come on if the room temperature falls below the reduced
temperature setpoint (5° default) or 5°C during frost protection.
NOTE: Adjustment of the room temperature setpoint during
these periods will result in a temporary change to the reduced
temperature setting until the next timed period is activated.
2. The central heating may be switched on at any time by
increasing the room temperature setpoint to a greater value than
the indicated room temperature whether in or out of a
programmed period. This setpoint change will remain active until
the next programmed comfort period when the setpoint will
revert to the permanent comfort setpoint (see Section 7.8).
7.3 Optimum start
Instead of the heating starting at the Programmed times the
optimum start function ensures that the property achieves the
required room temperature by the start of the programmed
timed period.
The appliance ‘learns’ the heat up time of the building and
reduces this forward shift in time to a minimum.
To enter the maximum forward shift desired: -
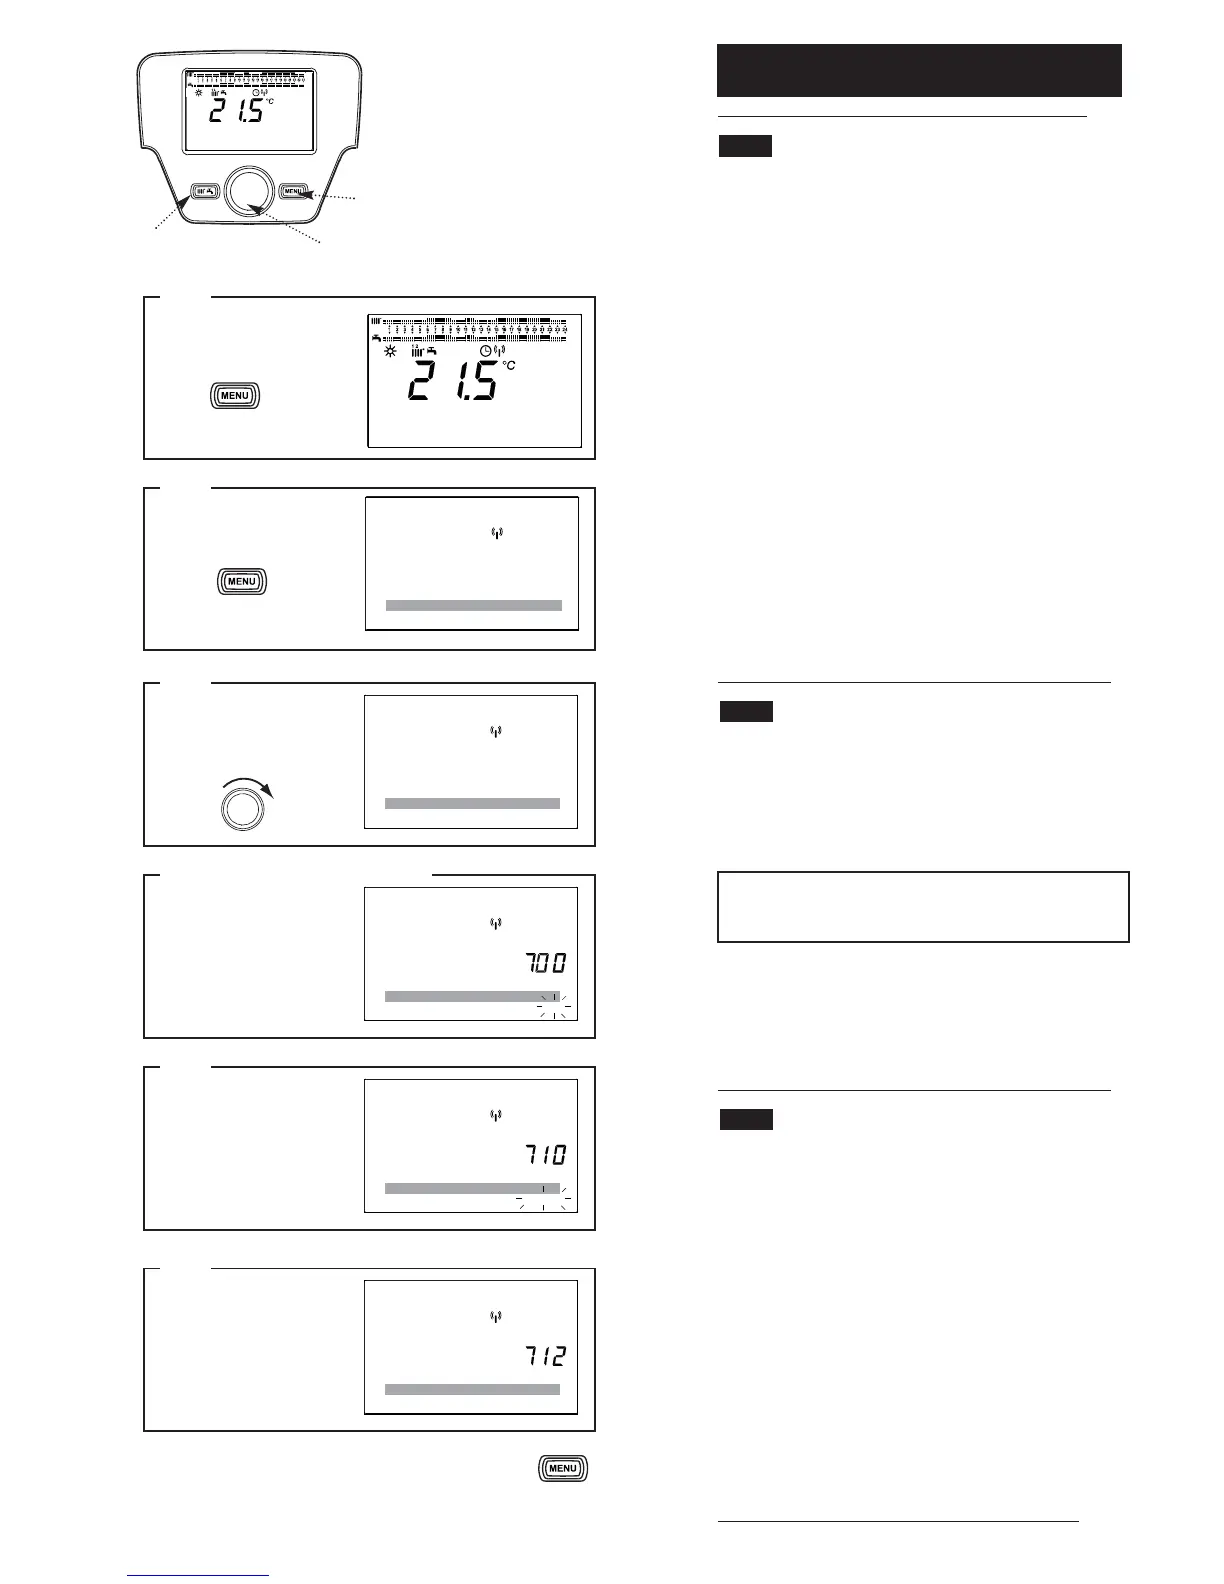
Press the Menu Button and scroll down to ‘Temps / mode CH1’.
Press the Selector Button to select and scroll down to ‘Optimum
start control max’.
Press the Selector Button to select and scroll to select the
maximum time in minutes.
Press the Selector Button to confirm your choice.
Temps / mode hot water
Holidays heating CH1
Temps / mode CH1
Turn the Selector Button
clockwise to highlight ‘Temps /
mode CH1’.
Menu Button
04. November 2008 08:50
Tuesday
On
Operating mode
Temps / mode CH1
04. November 2008 08:50
Tuesday
Set time and date
---------------------------------------------------
Information
The basic display is shown.
If the basic display is not
showing, press the MENU
button. until the
basic display is shown
Press the MENU button.
Press the Selector Button twice
and then turn the Selector
Button to the required space
heating mode i.e. On or Timed
or Reduced or Off. Press the
Selector Button to select.
STEP 4 - For this example choose Comfort
18.0 °C
Room temperature CH1
Temps / mode CH1
Turn the Selector Button until
‘Room temperature CH1’ is
displayed. Press the Selector
Button and the °C will flash, turn
the Button to set the required
°C and then press the Selector
Button to select..
STEP 5
STEP 3
STEP 2
STEP 1
10.0 °C
Reduced setpoint
Temps / mode CH1
The Process for setting the
Reduced setpoint is the same.
When STEP 4 is reached
choose Reduced and then
continue with STEP 5 but turn
Button to ‘Reduced setpoint’.
STEP 6
Selector Button
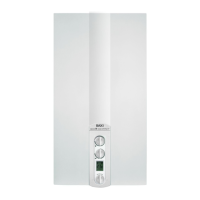
i-THINK Controller
Easy Menu Button
Press the MENU button
twice to return to normal
display screen.
NOTE:
 Loading...