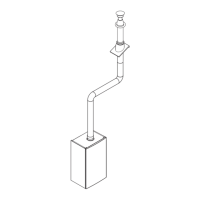
page 4
© Baxi Heating UK Ltd 2011
CONCENTRIC FLUE SYSTEM (60/100) ONLY - FLUE GROUP A
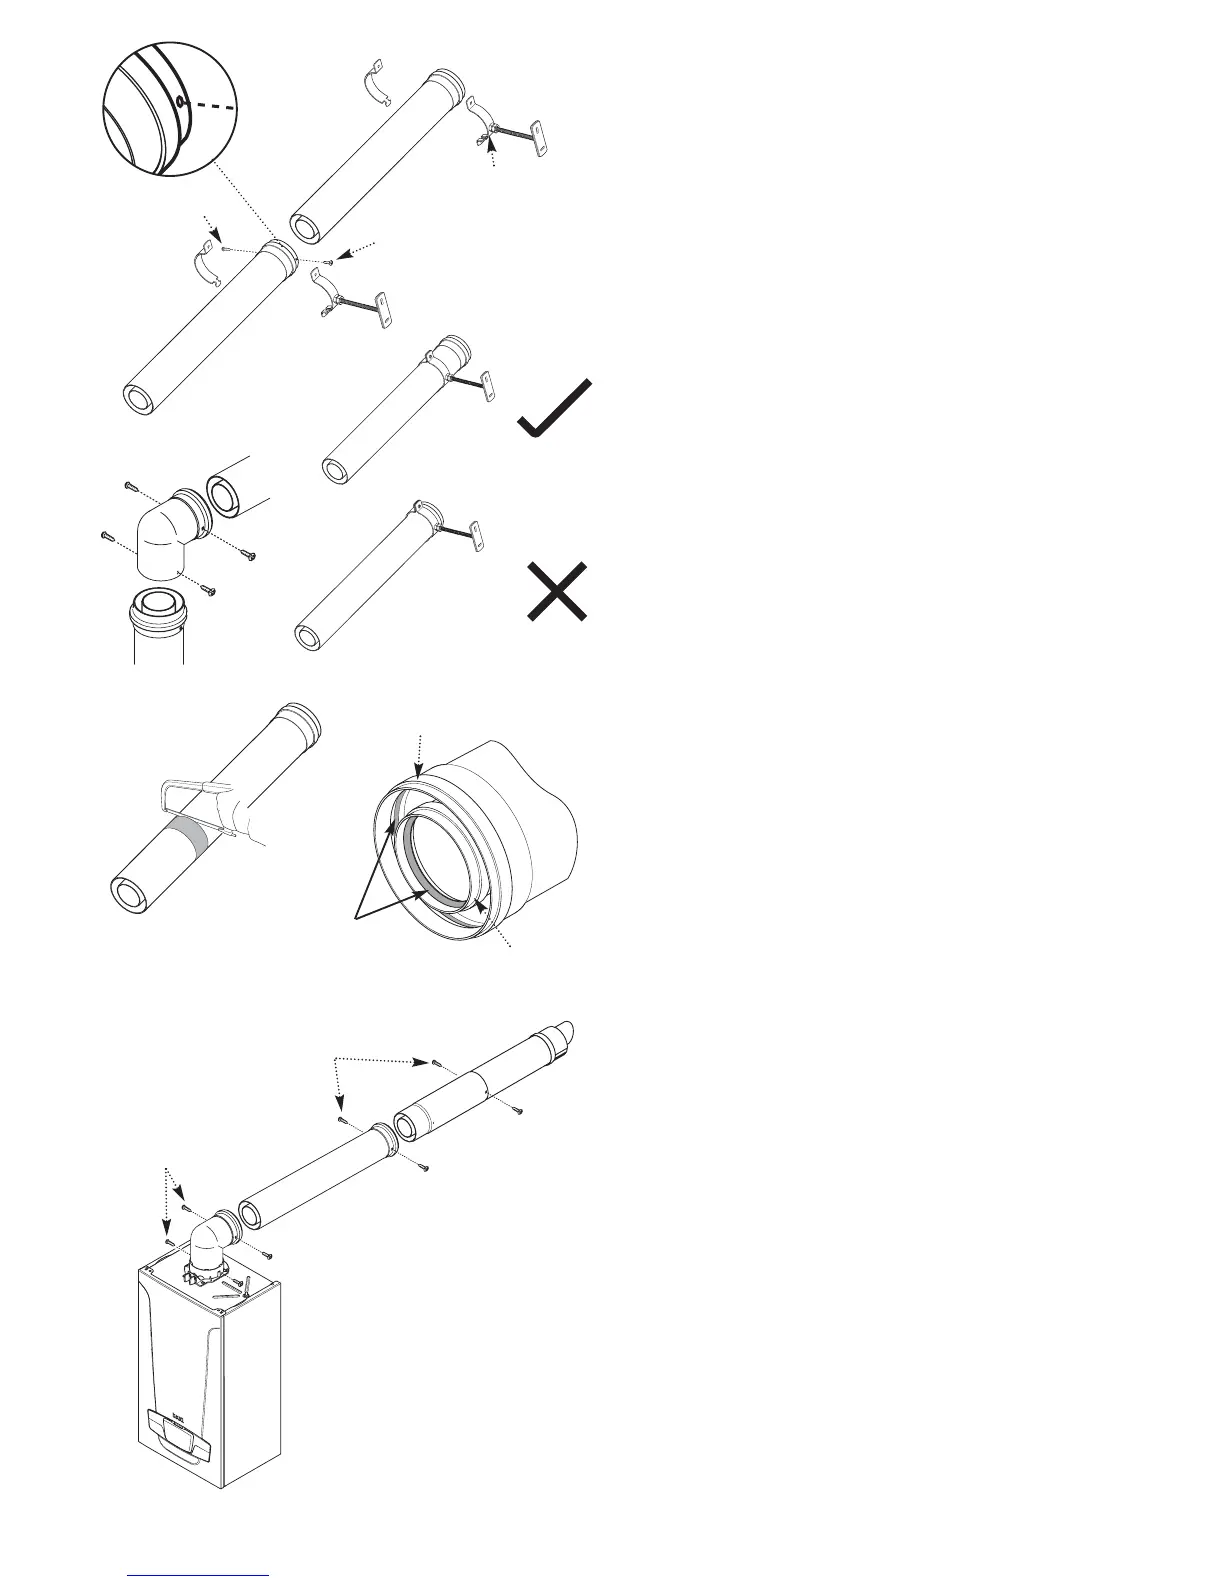
USE OF SUPPORTS & SECURING
Each extension and securing screws (1m, 500mm & 250mm) is
supplied with a support bracket. Additional support brackets can be
purchased separately (see Flue Accessory page overleaf). DO NOT
use brackets other than those supplied or shown in this guide.
The flue system MUST be supported AT LEAST once every metre
of actual length, and every straight length should be supported with
a bracket.
The bracket should be positioned as close to the female end of the
extension providing that the surface the bracket is to be fixed to is
sound. DO NOT position the bracket over the swaged part of the
extension or the rivets.
Also provided with each extension and elbow are two special self
drilling screws. These MUST be used to secure the female air duct
to the male duct of the next extension or elbow (in exceptional
circumstances were access is limited one screw will suffice).
CUTTING EXTENSIONS
Where it is necessary to reduce the length of an extension, both
exhaust and air duct MUST be cut square and flush, and any burrs
removed to avoid damage to the flue seal on both exhaust and air
duct on assembly.
It is recommended that tape is used as a guide to first cut around
the air duct and then the exhaust duct be cut square and flush with
the air duct.
The spring support should be positioned approximately 100mm
from the male end of the extension to maintain concentricity.
ASSEMBLING
Both ducts of the elbow or extension are fitted with an inner lip
seal. It is important that the seals are lubricated as follows:-
Use suitable gloves - open the sachet of grease supplied and apply
grease sparingly to the inner seal of both air and exhaust ducts to
aid assembly.
Wipe away any excess grease prior to assembly. Avoid contact with
eyes after handling the grease, and thoroughly wash hands.
Engage the male end of the extension or elbow into the female of
the next extension or elbow. Ensure that it is fully inserted to
achieve the required penetration depth. The extension have been
designed to maintain an expansion gap for the exhaust duct.
Using the special self drilling screws supplied secure the air duct to
the next extension or elbow. The screws must be inserted via the
holes in the female end of the air duct or through the indentations
on elbows/bends. NOTE: No drilling is required - the screw will
pierce the male end of the extension or elbow.
Identify the positions of the support brackets and mark the wall or
surface on which they will be mounted. Drill and plug as required.
If necessary shorten the threaded rod. Fix the support bracket to
the wall. Locate the tongue of the outer bracket half in the slot of
the inner half. When all brackets are in place offer the flue up to
them, and secure the two halves of the brackets with the screw. If
the rods are not long enough it may be necessary to erect a spacer
or structure to adequately support flue system brackets. It is not
recommended to use longer threaded rods.
IMPORTANT: Mounting and securing the flue will be easier if
performed by two people ! When the flue system is in place fully
tighten all brackets systematically, ensuring that no parts are under
any strain or tension and no dips where condensate can pool.
Silicone grease to
be applied to both
seals to aid fitting
Securing Screw
Securing Screw
Air Duct
Exhaust Duct
Securing Screws
Securing Screws
Support Bracket