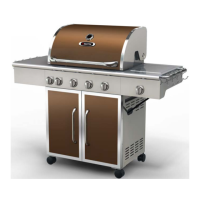
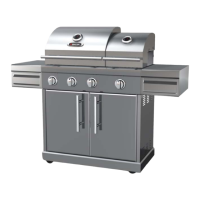
GSF2818K
Owner’s Manual
12
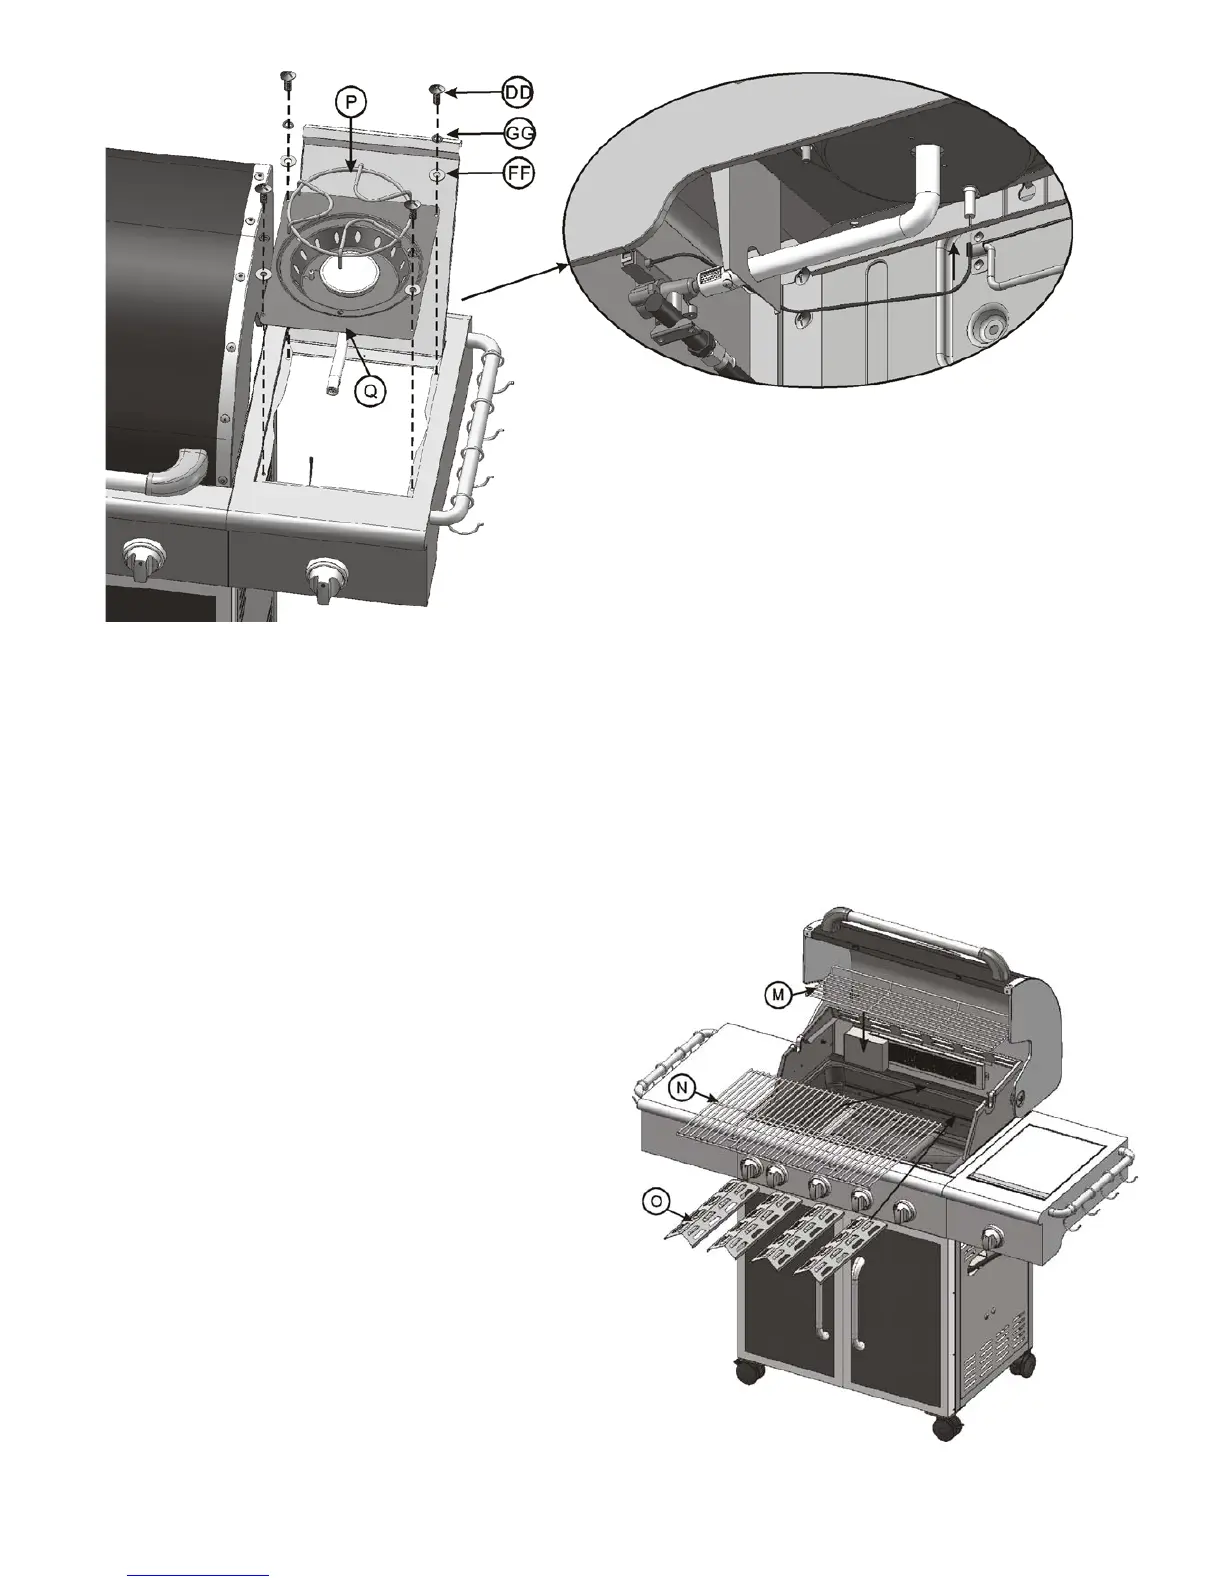
Step 12
(Side burner assembly)
a) Open the side burner lid and place the side burner assembly (Q) onto
the right side shelf. Make certain the venturi tube is connected properly
with valve.
b) Align the four holes on the side burner assembly (Q) with the four holes
on the right side shelf. Insert one bolt (DD) with one spring washer
(GG) and one flat washer (FF) into each hole, tighten all bolts by hand.
c) Connect the side burner ignition wire by sliding it onto the electrode on
the side burner assembly (Q). (See the above diagram).
d) Go back and tighten all bolts using the screwdriver provided.
e) Place the side burner support (P) on the side burner assembly (Q),
then close the side burner lid.
Step 13
(Heat shield, cooking grid and warming rack assembly)
a) Place the heat shield (O) onto the heat shield support.
b) Place the cooking grids (N) upon the heat shield.
c) Place the warming rack (M) on the warming rack support as
shown.
d) Close the top lid.