8 9
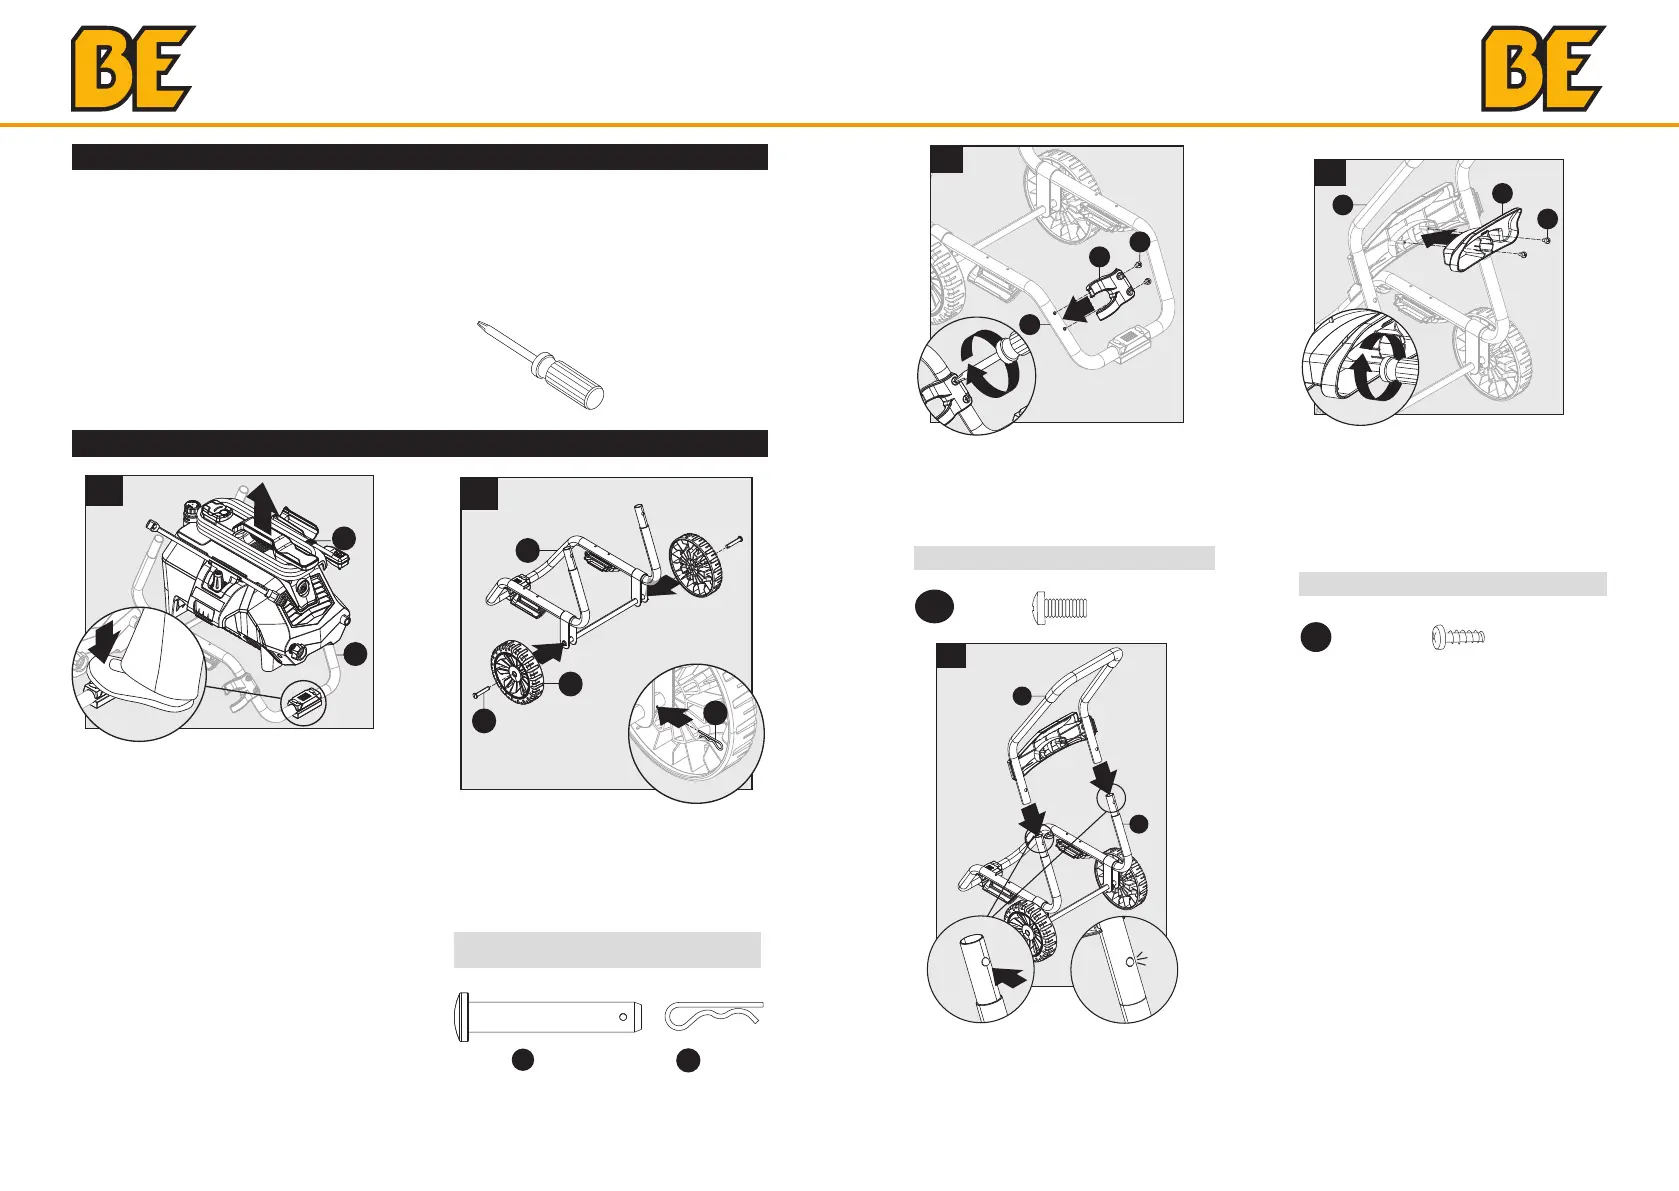
PREPARATION
Before beginning assembly of product,
make sure all parts are present. Compare
parts with package contents list and
hardware contents list. If any part is
missing or damaged, DO NOT attempt to
assemble the product.
Estimated Assembly Time: 5 minutes
Tools Required for Assembly (not
included): Phillips screwdriver
ASSEMBLY INSTRUCTIONS
PREPARATION
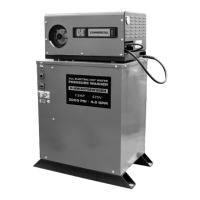
Place a foot on the pad at the front
of the lower frame (G) and then lift
the power washer unit (F) o the
frame. Set pressure washer (F) to
the side.
2
1
1
F
G
AA
BB
CC
DD
Screw
Qty. 2
Axle Pin
Qty. 2
Screw
Qty. 2
Cotter Pin
Qty. 2
1
3
2
G
H
BB
4
3
2
2
1
G
B
Hardware Used:
Install nozzle holder (H) to lower
frame (G). Secure with two screws
(BB).
1
5
A
CC
B
Press buttons on lower frame (G) ex-
tensions and install handle (B). Lower
frame extensions will click when
handle is in proper position.
Install hose holder (A) onto back side
of upper handle (B). Secure with two
screws (CC).
Frame Assembly
Install axel pins (AA) and wheels (J)
to lower frame (G). Secure with cot-
ter pins (DD).
DD
Screw
Qty. 2
Axle Pin
Qty. 2
Screw
Qty. 2
Cotter Pin
Qty. 2
Screw
x 2
BB
AA
BB
CC
DD
Screw
Qty. 2
Axle Pin
Qty. 2
Screw
Qty. 2
Cotter Pin
Qty. 2
Hardware Used:
Screw
x 2
CC
AA
BB
CC
DD
Screw
Qty. 2
Axle Pin
Qty. 2
Screw
Qty. 2
Cotter Pin
Qty. 2
Hardware Used: