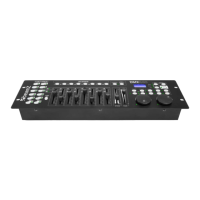
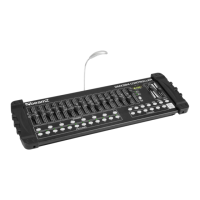
OPERATION
3.0 MANUAL MODE
The manual mode allows direct control of all fixture. You are able to move them and change attributes by using the channel
faders.
1) Press the AUTO DEL button repeatedly until the
MANUAL LED is lit.
2) Select a FIXTURE button.
3) Move faders to change fixture attributes. TAPSYNC
DISPLAY button: Press to toggle the output indicator on
the LED display between DMX values (0-255) and
percentage (0-100)
Note: All changes made while in Manual Mode are
temporary and will not be recorded.
3.1 REVIEW SCENE OR CHASE
This instruction assumes that you have already recorded scenes and chases on the controller. Otherwise skip section and go to
programming.
SCENE Review
1) Select any one of the 30 banks by pressing the BANK
UP/DOWN buttons.
2) Select a SCENE button (1~8) to review.
3) Move wheel and faders to change fixture attributes.
CHASE Review
1) Press any one of the 6 CHASE buttons.
2) Press the TAPSYNC/DISPLAY button to view the
step number on the display.
3) Press the
BANK UP/DOWN
buttons review all scenes in the
chase
Notes: Make sure you are still in MANUAL Mode
3.0 PROGRAMMING
A program (bank) is a sequence of different scenes (or steps) that will be called up one after another. In the controller 30
programs can be created of 8 scenes in each.
3.1 ENTERING PROGRAM MODE
1) Press the PROGRAM button until the LED blinks.
3.2 CREATE A SCENE
A scene is a static lighting state. Scenes are stored in banks. There are 30 bank memories on the controller and each bank can
hold 8 scene memories. The controller can save 240 scenes total.
1) Press the PROGRAM button until the LED blinks.
2) Position SPEED and FADE TIME sliders all the way
down.
3) Select fixture the you wish to include in your scene.
4) Compose a look by moving the sliders and wheel.
5) Tap MIDI/REC button.
6) Choose a BANK (01~30) to change if necessary.
7) Select a SCENES button to store.
8) Repeat steps 3 through 7 as necessary. 8 scenes can
be recorded in a Program.
9) To exit program mode, hold the PROGRAM button.
Notes:
Deselect Blackout if LED is lit.
You can select more than one fixture.
There are 8 scenes available in every bank.
All LEDs will flash to confirm. The LED display will now
indicate the Scene number and Bank number used.
3.3 RUNNING A PROGRAM
1) Use BANK UP/DOWN buttons to change banks if
necessary.
2) Press the AUTO DEL button repeatedly until the AUTO
LED turns on.
3) Adjust the PROGRAM speed via the SPEED fader and
the loop rate via the FADE TIME fader.
4) Alternatively you can tap the TAPSYNC/DISPLAY
button twice. The time between two taps sets the time
between SCENES (up to 10 minutes).
Notes: Deselect Blackout if LED is lit. Also called a Tap-
Sync.
 Loading...