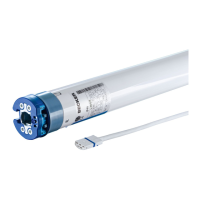
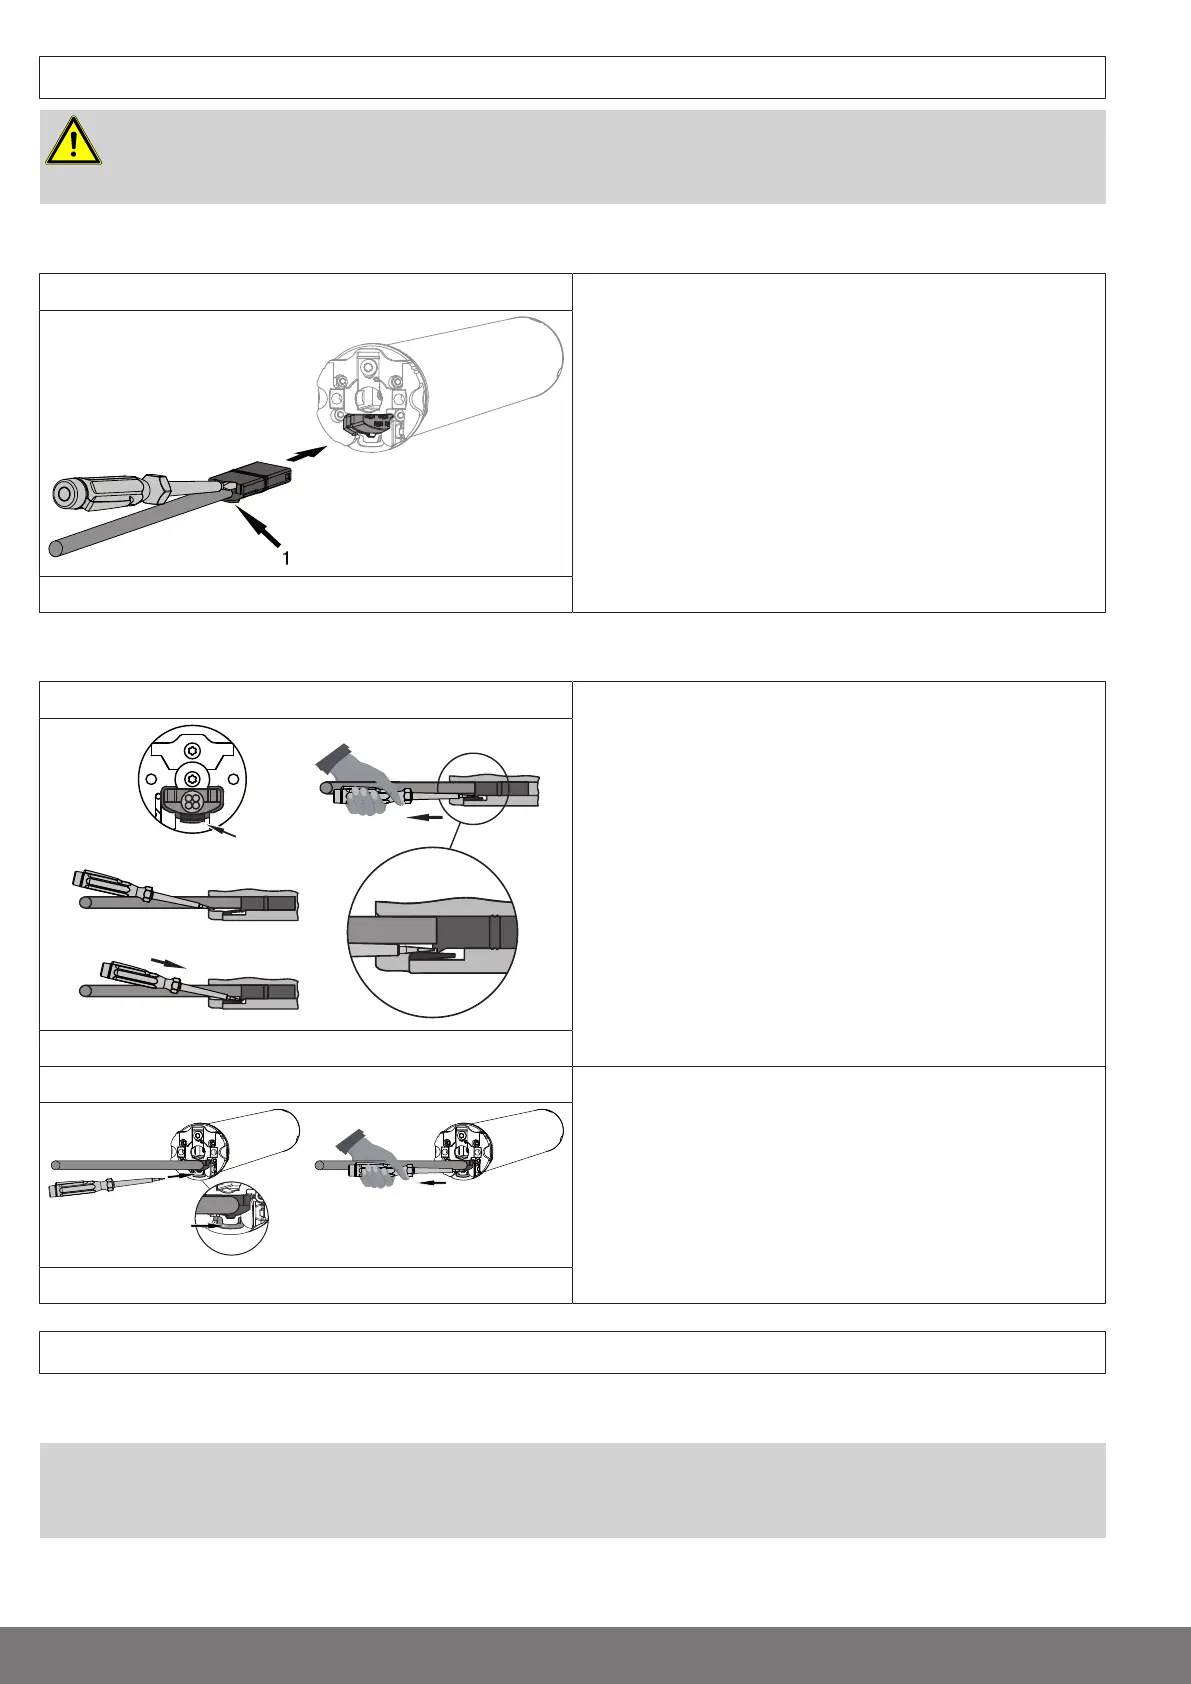
Assembling and disassembling the plug-in connecting cable
Caution
The power supply to the connecting cable must be disconnected prior to assembly/disas-
sembly.
Assembling the plug-in connecting cable
Ø35/Ø45/Ø58 Insert the dead connecting cable into the drive head until the
locating lug clicks into place in the drive. If necessary, use a
suitable flathead screwdriver to assist with insertion. Set the
screwdriver into one of the two plug grooves provided for this
purpose.
Check that the cable is properly engaged.
1 = locating lug
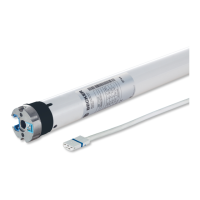
Disassembling the plug-in connecting cable for tubular drives
Ø35
Insert a suitable flathead screwdriver between the locating lug
and the snap-in pin, so that the snap-in pin releases the locat-
ing lug from the plug.
Now you can pull out the connecting cable along with the flat-
head screwdriver.
A = snap-in pin
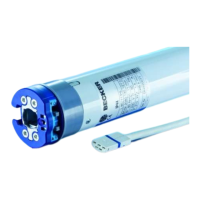
Ø45/Ø58
Insert a suitable flathead screwdriver right into the recess of the
locating latch, so that the latch releases the locating lug from
the plug.
Now you can pull out the connecting cable along with the flat-
head screwdriver.
A = locating latch
Assembly
Assembling the drive
Attention
To connect the drive to the driven part, solely mechanical accessory components made by
the drive manufacturer from the current product catalogue may be used.
Prior to mounting, the fitter must ensure that the masonry and the system being motorised are sufficiently robust (drive torque plus
weight of the shading solution).
6-en