13
DE
GB
FR
NL
5
6
7
8
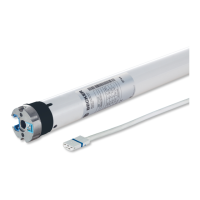
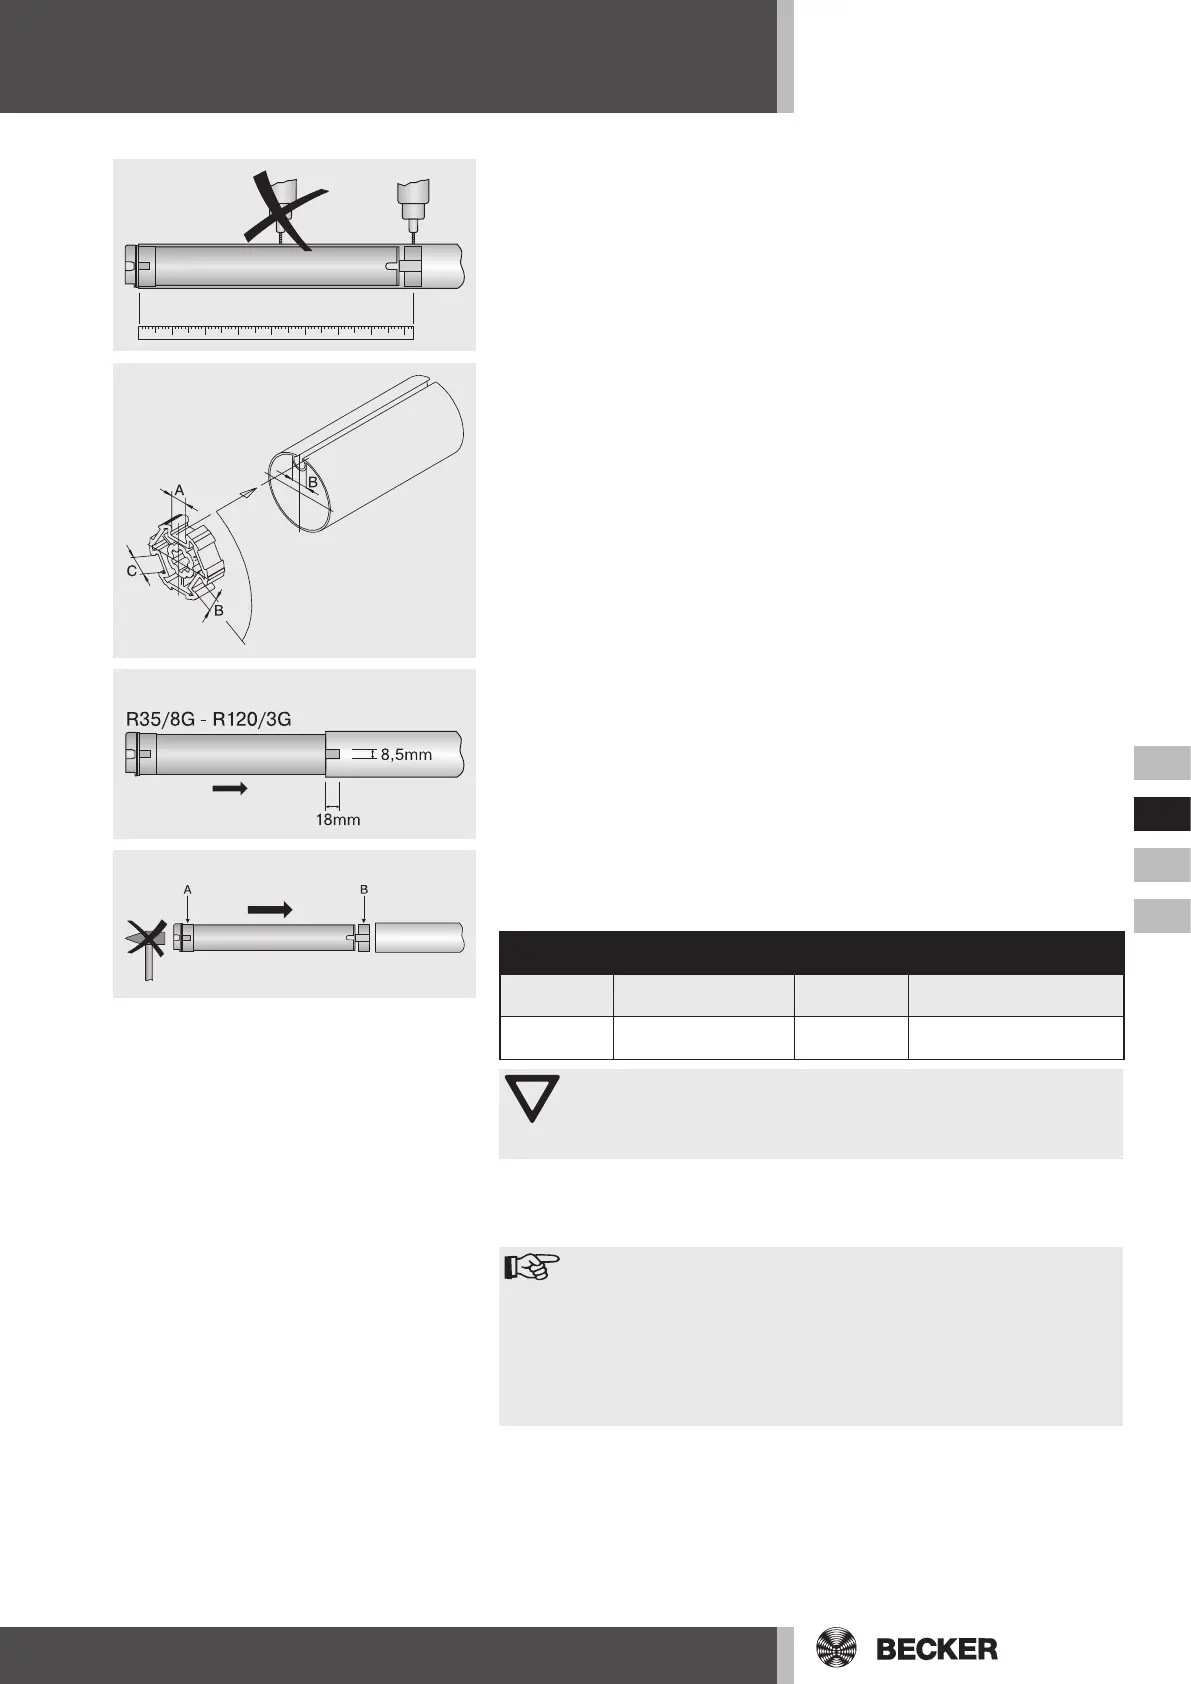
5. Before fitting in the barrel, take the measurement from barrel end to the
centre of the drive adapter and mark on the barrel (Fig. 5).
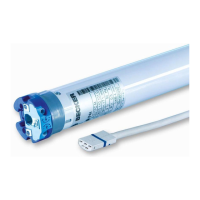
• On shaped section barrels:
Tolerances in the slot widths in different barrels can, with some drive
adaptors, be equalised by turning the drive adaptor into another slot re
-
cess. These slot recesses have different dimensions and enable you to
accurately fit the drive (Fig. 6).
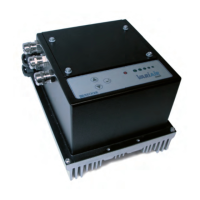
• On round barrels:
First notch the tube on the motor side, so that the key of the limit collar can
also be pushed into the barrel. There must not be any play between the
limit collar key and the barrel. For limit ring adapters without locating cams
the roller tube must be connected to the limit ring adapter using a 4.8 x 10
mm tapping screw. (Fig. 7).
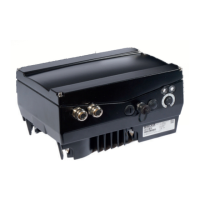
6. Mount the drive with the appropriate limit ring adaptor (A) and drive adap
-
tor (B). Insert the drive with the premounted adaptors into the barrel so
that it locks positively. Make sure that the adaptors are securely located in
the barrel (Fig. 8).
Connect the driver of the tubular drive to the roller tube properly, as fol-
lows:
Size of drive
[mm]
Roller shutter
tubes–Ø [mm]
Torque max.
[Nm]
Fastening screws
for drivers (4 x)
Ø 58
63 - 120 mm
diecast drive adapter
120
flat-headed sheet-metal
screw 9,5 x 10 DIN 7982
Ø 58
85 - 133 mm aluminium
drive adapter
120
flat-headed screws
M8 x 16 DIN 7991
Attention
When drilling the barrel, never drill in the area of the tubular
drive! The drive must not be struck or allowed to fall when
being inserted into the barrel!
Becker recommends that the limit switch adaptor is also screwed to the
barrel.
7. Hang the barrel assembly consisting of the tube, tubular drive and dummy
end in the roller shutter box.
Note
Always ensure that the power cable is suitably installed to
prevent it being damaged by the system during operation.
Cover any sharp edges, over which the cable is led, with ap
-
propriate protective tape. If the mains connection cable is
damaged, it may only be replaced by the manufacturer. Lay
the cable up to the motor, or form a loop with the cable, so
that rain can run off at the bottom point.
8. Secure the drive according to the type of wall bracket fastening, with a
splitpin or spring connector.
 Loading...