G
George LopezAug 26, 2025
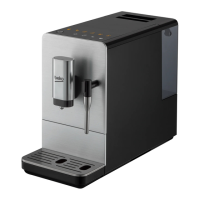
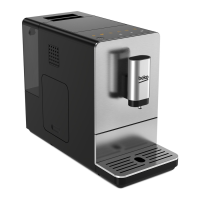
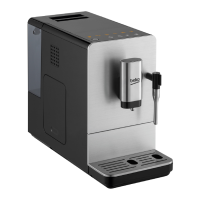
Why is my Beko CEG5331X Coffee Maker not working?
- CCasey BaileyAug 27, 2025
If your Beko Coffee Maker isn't working, ensure it's properly plugged into the mains and the switch is on. Also, inspect the cable and plug for any issues.