Installation Instructions
Flowmeter on Wall Arm or Cabinet Bracket
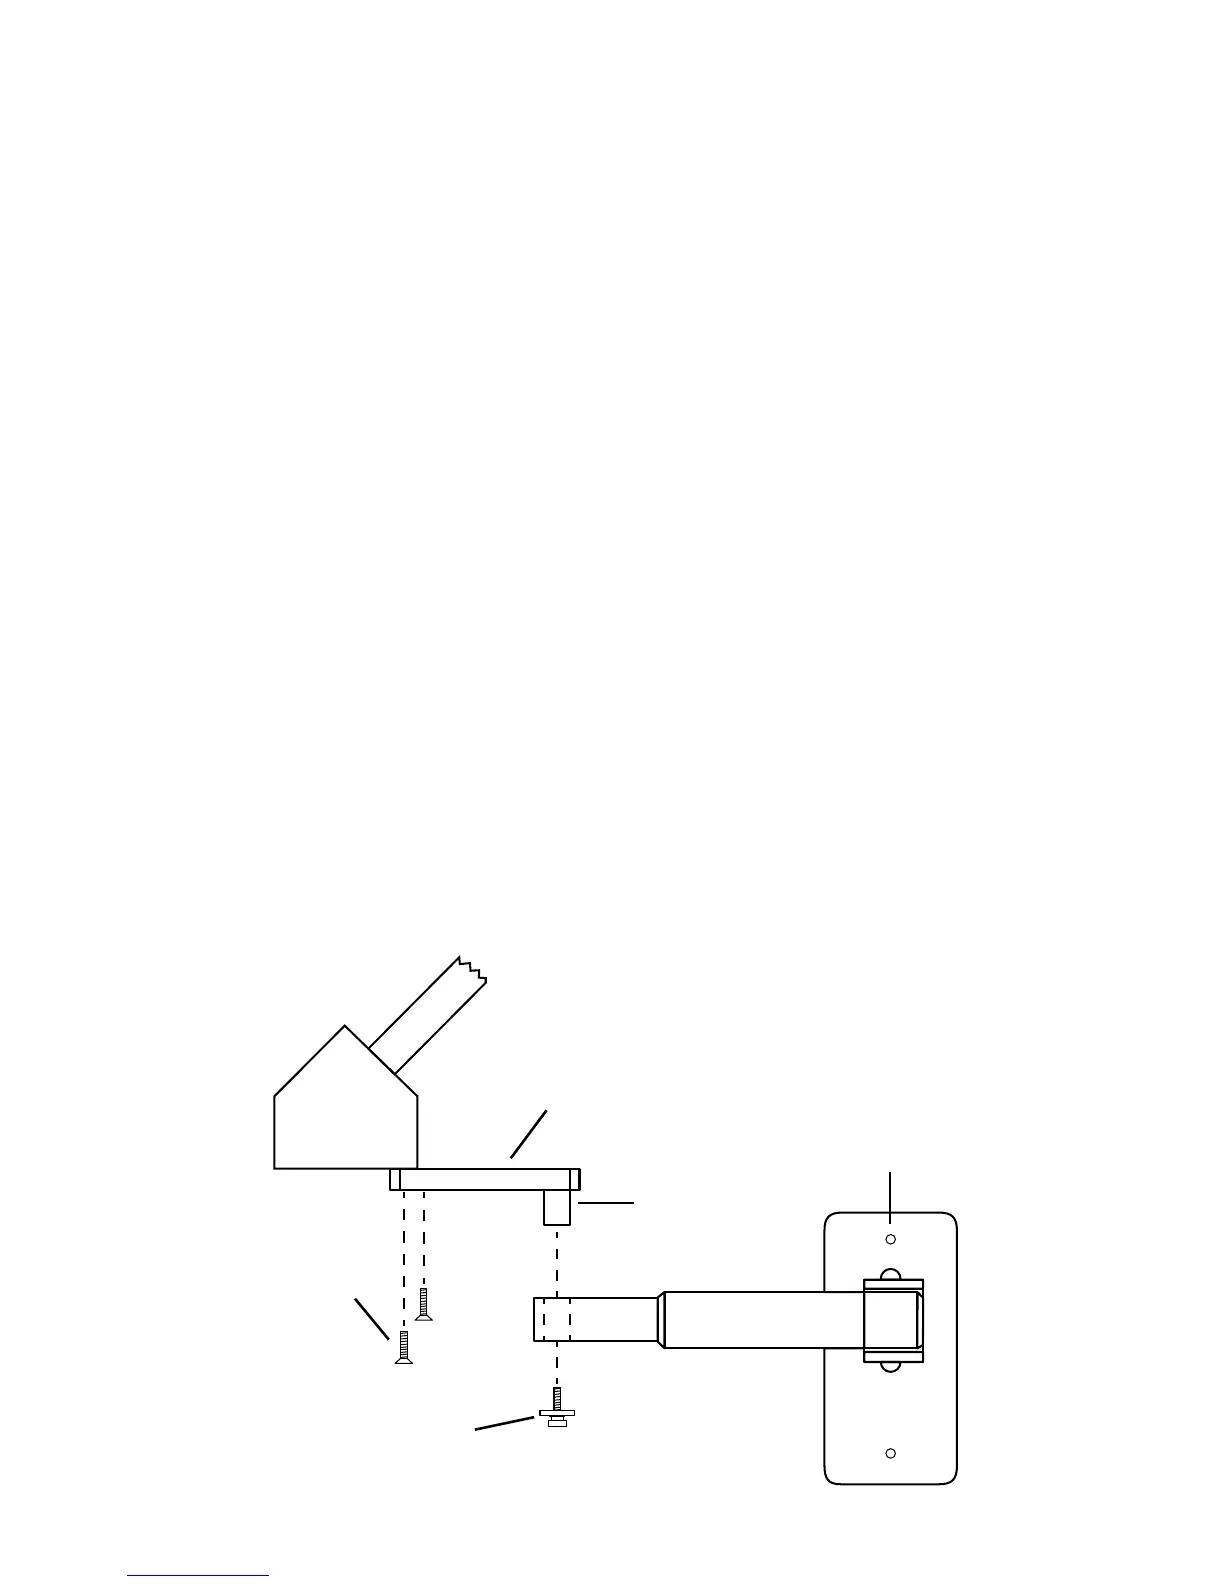
Arm Mounting Detail
Wall Arm/Cabinet Bracket: Attach arm to wall stud or other similar rm
support with lag screws (gure 7). Mount cabinet bracket to roof of
cabinet with lag screws (gure 9).
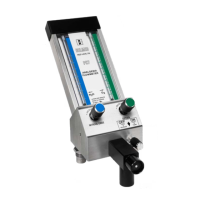
Flowmeter attachment: Remove screw and washer assembly from stud on
owmeter mount and attach owmeter to arm bracket by inserting stud
into hole located on arm. Replace screw and washer assembly into stud.
Telescoping arm will extend owmeter approximately a max of 24 in. from
mounting surface (gure 4).
Rubber goods: Connect breathing bag to bottom of bag tee. Connect
corrugated breathing tube to front end of tee. Connect nasal inhaler to
other end of breathing tube (gure 6).
Connect gas supply hoses to DISS ttings located on bottom of owmeter
(gure 5).
Test machine.
Note: If optional O2 resuscitator is purchased with machine, plug hose end
into female quick connect located on bottom of machine. Depress button
to determine O2 ows through resuscitator. For demand ow test, breathe
through face mask (gure 15).
gure 4
Telescoping Arm
⅝ Mounting
Stud
#8-32
Retaining Screw
#10-24
Screws (2)
Arm Adapter
8