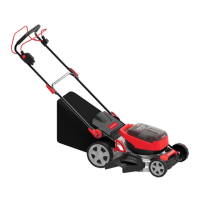
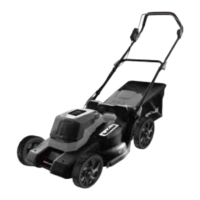
5125-016
40V MAX BRUSHLESS LAWN MOWER
16
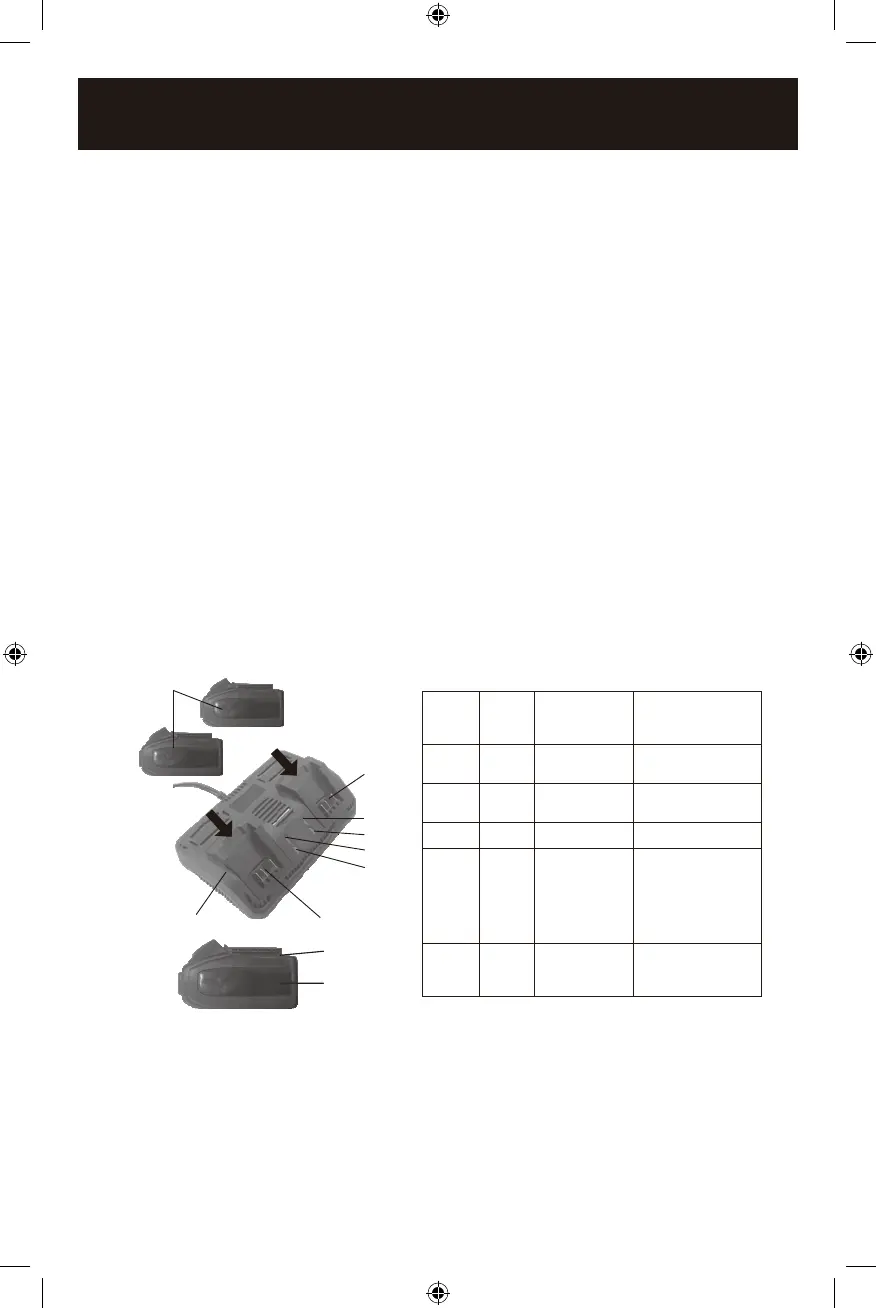
3. Turn the battery (2) upside down and slide it onto the charger.
NOTE: Make sure the grooves (3) in the sides of the battery slide over the matching
tabs on the charger (4) until the battery latch “clicks” into place.
NOTES:
1. When the charger is plugged into the wall receptacle and NO battery is on the
charger, the green indicator light (5) will turn ON indicating the charger is “live”.
2. When a discharged battery is installed on the charger, the green indicator light
will turn OFF and the red indicator light (6) will turn ON. The red indicator light
indicates the battery is being charged.
3. If the red indicator light does not come ON, check to make sure battery pack is
slid fully onto the charger and the electrical outlet is working properly.
4. See Fig. 7 below for other indicator light functions.
5. A discharged battery pack should be fully charged in approximately 150 minutes.
6. It is normal for the battery charger to hum and be warm to the touch during
operation.
7. If the battery pack does not charge properly, check to make sure the electrical
outlet is “live”.
8. Do NOT charge batteries when the work area or the battery temperature is at or
below 5°C / 41°F or above 40.5°C / 105°F.
GREEN
LIGHT
RED
LIGHT
BATTERY
INSERTED
INTO CHARGER
CHARGING STATUS
ON OFF NO Charger connected
to power supply
OFF Blink YES Battery being
charged
ON OFF YES Battery fully charged
OFF ON YES Battery is charged
but not operational
on tool. This may
indicate defective /
bad contact
on battery.
ON ON YES Charging conditions
are either too hot
or too cold
FIG. 6 FIG. 7
1
2
4
6
5
6
5
4
3
2
5125-016k EnProdManual P.indd 16 2020-12-17 2:09 PM