6. Repeat these steps until all depth-of-bends have
been entered. Always remember to press the
ENTER key prior to advancing to the next station.
7. Now press the SELCT key to illuminate the MEMORY
light.
8. Press the RESET button. This will change the
STATION window to number “1”.
9. To double check the data that has been entered,
press the STEP key to advance the stations through
their appropriate sequence. Review the data that has
been entered. If you reach a particular station that is
incorrect, press the SELCT key to illuminate the
KEYPAD light, the SET ANGLE will show zero at this
time then press the appropriate number keys and
retain the data by depressing the ENTER key. After
correcting the improper data, press the SELCT button
to illuminate the MEMORY light and the RESET key
to reset the STATION window. Review the information
once again.
NOTE:
In order to store data into program memory
the KEYPAD light must be illuminated.
Entered data will not be shown in the SET
ANGLE window until the MEMORY light is
illuminated.
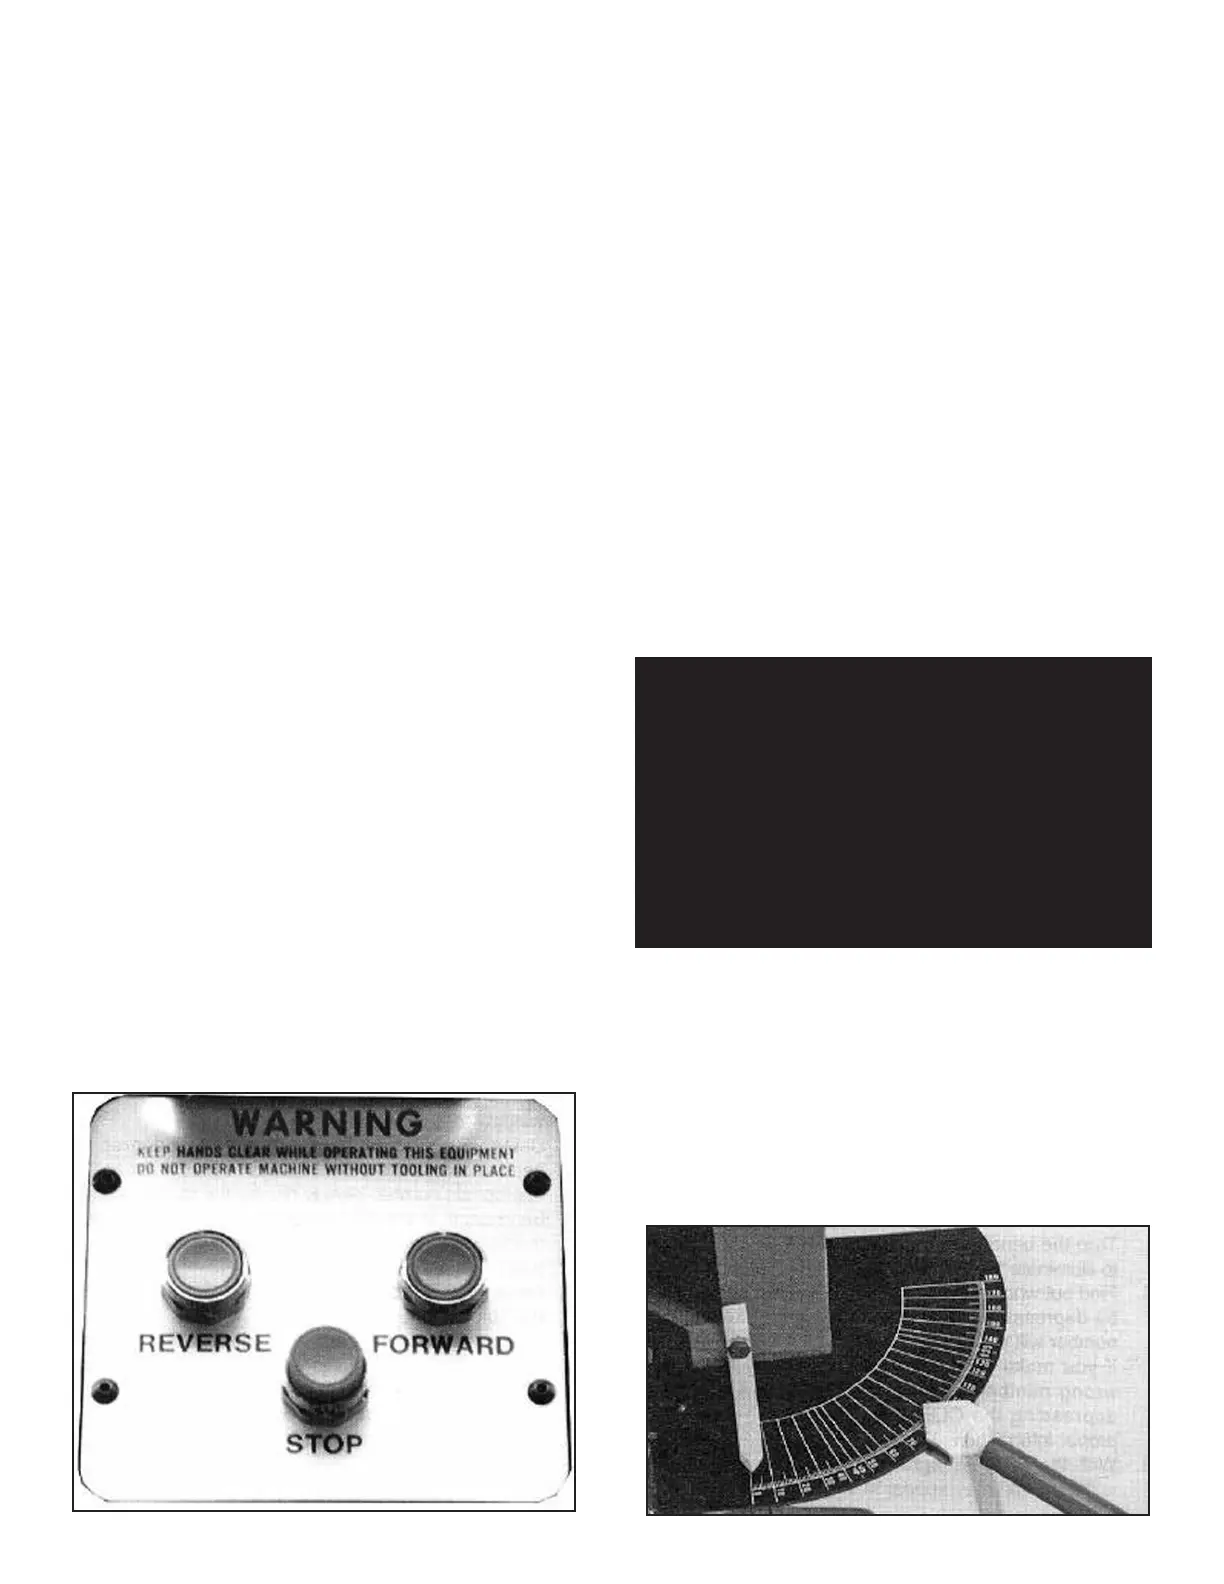
THREE-BUTTON
CONTROL OPERATIONS
“BAS” MODELS
Read each of the following sections carefully before
attempting any operation of this unit. All “BAS” models
are equipped with a three-button control board that
controls the semi-automatic bending function. In addition
to the three-button control board, all “BAS” models are
equipped with a remote foot switch for manual operation.
DESCRIPTION OF
CONTROLS:
NEVER HOLD IN COLORED CONTROL BUTTONS! -
To properly operate the colored control buttons, quickly
press and release. By holding the colored control buttons
in, damage to the machine and/or components may
result.
GREEN BUTTON - Activates the automatic bending cycle.
After pressing the GREEN button, the radius die will move
forward until the desired depth-of-bend is reached then
automatically retract until the die is returned to the original
starting position.
BLUE BUTTON - Automatically returns or retracts the
bending die to the original starting position. NEVER hold
the BLUE button in when retracting the bending ram.
RED BUTTON - Serves as an “Emergency Stop” button.
Automatically stops all movement of the bending die
during the automatic cycle.
REMOTE FOOT SWITCHES - Used for manual
operation. The right foot switch advances the radius die
to start the bending process. The left foot switch retracts
the radius die. Either foot switch will also serve as an
emergency stop.
NOTE:
Practice the following bending steps without
tubing and initiate a few “dry runs” until you
understand the operating features.
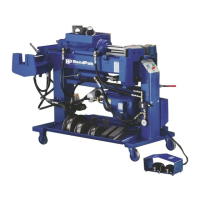
USING THE “AUTO-STOP” DEPTH-OF-BEND FEATURE
The “Auto-Stop” slide pointer is attached to the depth-of-
bend degree plate and stops the radius die at pre-set
bend depths. The “Auto-Stop” feature works with either
the GREEN automatic control button or the remote foot
switches.
14 Bender Operation Manual
WARNING!
1. Either foot switch will act as an EMERGENCY stop.
2. NEVER operate the remote electric foot switches
in or around water or damp areas.
3. If the foot switch cords become frayed or damaged
in any way, discontinue use until they are
properly repaired.
4. ALWAYS disconnect power cord before making
any electrical repairs.
5. If any operating controls are malfunctioning,
discontinue immediately.