12/ 2007
BENNING MM P3
26
8.2 Voltage measurement
Do not exceed the maximum permitted voltage with respect to earth
potential! Electrical danger!
The highest voltage which may be applied to the
- COM safety measuring line (black) J
- safety measuring line (red) for V, Ω, , Hz 9
of the BENNING MM P3 against ground is 600 V.
- Select the desired function (V AC) or (V DC) by means of the rotary switch 7 of
the BENNING MM P3.
- Bring the safety measuring lines into contact with the measuring
points and read the measured value on the digital display of the
BENNING MM P3.
- Use the „SELECT“ key 5 in switch setting (V
AC
) to switch over to frequency
measurement (press the key once) or to pulse-duty factor measurement (press
the key twice).
Note:
In lower voltage ranges, the „zero volt“ indication might fail to appear due to
interference, if the safety measuring lines are open. Check the BENNING MM P3 for
correct functioning by short-circuiting the measuring probes.
See gure 2: DC voltage measurement
See gure 3: AC voltage measurement
8.3 Resistance measurement
- Select the desired function (Ω, , ) by means of the rotary switch 7 of the
BENNING MM P3
- Bring the safety measuring lines into contact with the measuring
points and read the measured value on the digital display of the
BENNING MM P3.
See gure 4: Resistance measurement
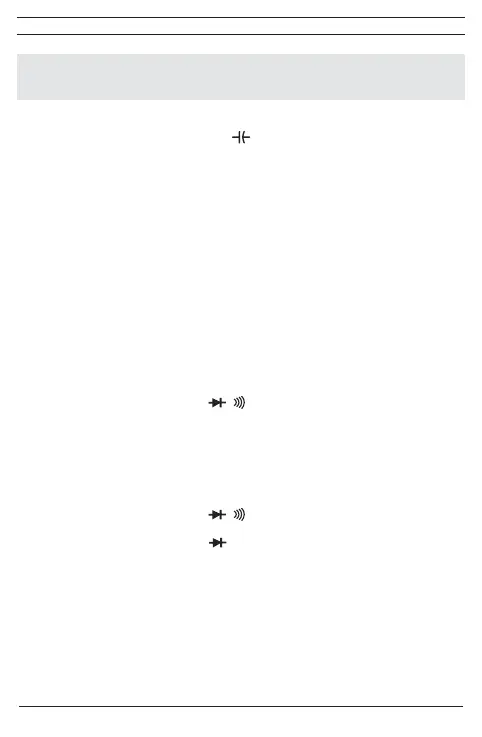
8.4 Diode test
- Select the desired function (Ω, , ) by means of the rotary switch 7 of the
BENNING MM P3.
- Switch over to the diode test ( ) by means of the „SELECT“ key 5 of the
BENNING MM P3 (press the key once).
- Bring the safety measuring lines into contact with the diode connections and read
the measured value on the digital display of the BENNING MM P3.
- For a standard Si diode applied in conduction direction, a conduction voltage
between 0.400 V and 0.900 V is displayed. „000“ indicates a short-circuit inside
the diode, „OL“ indicates an interruption inside the diode.
- For a diode applied in reverse direction, „OL“ is indicated. If the diode is defective,
„000“ or other values are indicated.
See gure 5: Diode test

 Loading...