14
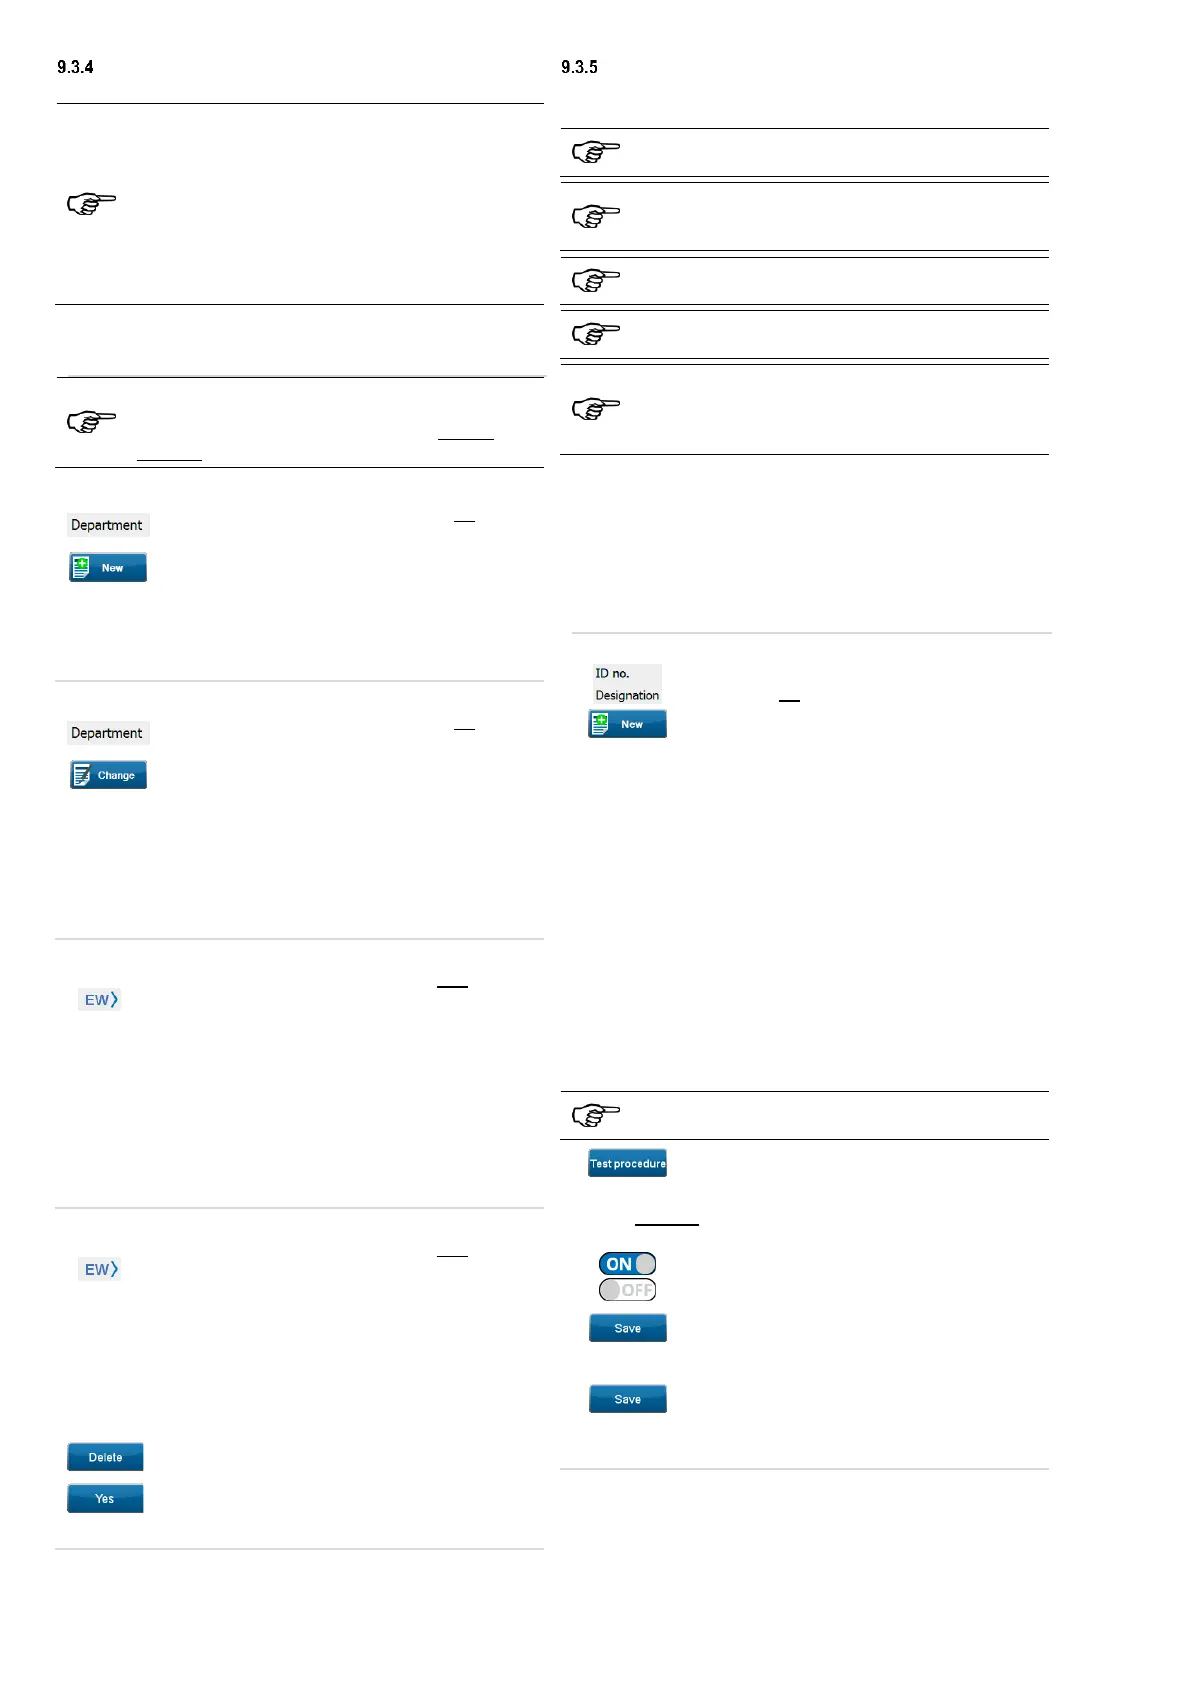
Department
You can select a department to filter already created test samples.
Department is selected:
The system displays all test samples that have been
created under the currently selected department.
Department (empty) is selected:
The system displays all test samples that have not
been assigned to any department.
Department (display all) is selected:
The system displays all test samples independently of
their assignment to a department.
If no department entries are available, the "not selected" status is
displayed in the "Department" line. Test sample entries made for
this selection will not be assigned to any department.
The department assignment of the test samples can
also be made later via the "Department" drop-down
menu in the "Device ID" input mask when creating or
changing a test sample.
9.3.4.1 Creating a department entry
Touch the "Department" line on the left of the
screen.
Tap the “New” button and follow the prompt.
Enter the name of the department and confirm
by touching the “Confirm entry” soft key.
The created department entry will be set automatically as the
current department.
9.3.4.2 Changing a department entry
Touch the "Department" line on the left of the
screen.
Tap the “Change” button.
The “Department” input mask opens.
Change the name of the department and
confirm by touching the “Confirm entry” soft
key.
The change will be applied and automatically set as the current
department.
9.3.4.3 Switching to another department entry
Touch the "Department" line on the right of the
screen.
(Example: department name "EW")
The “Department” screen opens.
If further department entries are available, you can choose from
these.
To do this, touch the line with the corresponding
entry.
The selected entry will be set automatically as the current
department.
9.3.4.4 Deleting a department entry
Touch the "Department" line on the right of the
screen.
(Example: department name "EW")
The “Department” screen opens.
If further department entries are available, you can choose from
these.
Select the department entry to be deleted.
(The selected entry will be set automatically as the current
department.)
Tap the “Delete” button.
Confirm the confirmation prompt on the display
with "Yes".
The selected department entry will be deleted.
tIdentification number and designation
The identification number and device designation are used for the
unique naming of test samples.
Identification number and designation must be entered
in the input mask for test samples.
The department assignment of the test samples is
made via the "Department" drop-down menu in the
"Device" input mask when creating a test sample.
Test samples with a department being assigned will be
hidden when a different department is selected.
At least one customer entry must be created to be able
to save test samples.
If an ID is entered, the test sample is searched across
all departments. If the ID does not belong to the
selected department, the test sample is only displayed
after tapping the "Enter" key.
If no test sample entries are available, the "not selected" status is
displayed in the “ID no." and “Designation” lines.
If there are already test samples in the database, the properties of
the last test sample created are automatically used for entering a
new test sample.
The use of previous test sample properties helps to quickly create
identical test samples
(extension cables, multiple sockets etc.).
9.3.5.1 Creating a test sample entry
Touch the “ID no." or “Designation” line
on the left of the screen.
The “Device ID” input mask opens.
Enter a device name or device number. A
combination of text and numbers is also
possible (alphanumeric input).
o You can make the entry manually.
o You can read a glued-on barcode
using one of the optional barcode
scanners.
o You can read an RFID tag using the
optional RFID reader.
The “Device” input mask opens.
Fill in the following mandatory fields:
o Test acc. to
o Device type
o Test procedure
Further input fields are used to identify the test samples
more precisely.
Tap the “Test procedure” button.
The “Test procedure” screen opens.
You can manually change individual test criteria of the selected
test procedure on the “Test procedure" screen.
Touch the ON/OFF sliders to
enable/disable test criteria.
Confirm your changes in the test procedure
by tapping the "Save" button.
You will get back to the “Device” input mask.
Confirm your entries by touching the
“Save” button.
The created test sample entry will be set automatically as the
current test sample.


 To Next Page