BenQ DC 2300 User’s Manual
8
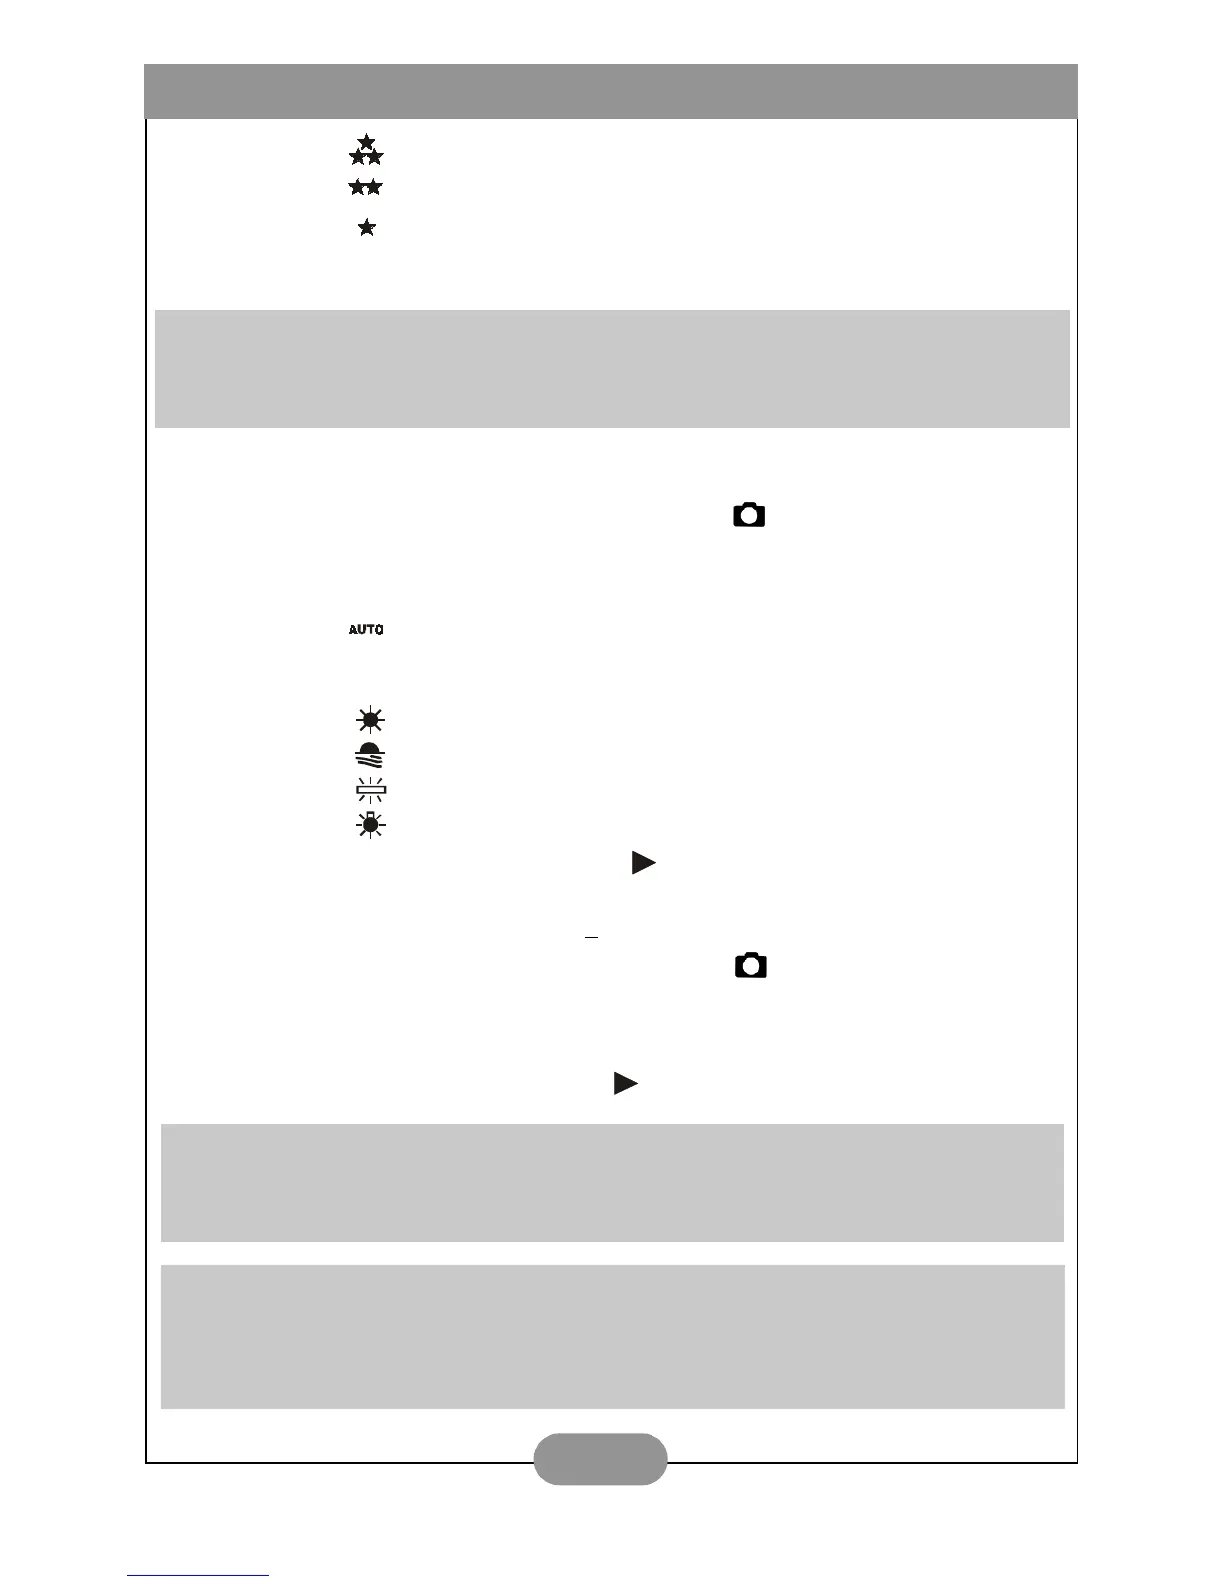
( ) Super Fine
( ) Fine
( ) Normal
3. Press Right Direction Button (icon) to confirm the setting.
VIII. Set Up White Balance (Preset at Auto White Balance)
Please set the Mode Dial at Recording Mode ( ) and press Menu Button to
enter "Still Image" menu table.
1. Select "White Balance"
2. There are five modes can be selected which are:
( ) Auto White Balance: The camera will adjust the white balance by itself.
It is suggested that the user to stay with this mode unless the light
environment is very different from normal.
( ) Daylight: For strong light environment.
( ) Sunset: For sunset light environment.
( ) Fluorescent: For fluorescent light environment.
( ) Tungsten: For tungsten light environment.
3. Press Right Direction Button ( ) to confirm the setting.
IX. Set Up Exposure (Preset at +
0)
Please set the Mode Dial at Recording Mode ( ) and press Menu Button to
enter "Still Image" menu table.
1. Select "Exposure"
2. Select the exposure from +2.0 to -2.0 (0.5 per step).
3. Press Right Direction Button ( ) to confirm the setting.
Note
The better the image quality is set the less number of images can be stored in the built-in flash
memory or the memory card.
Note
The higher the value is the brighter the image will be.
Note
The TFT LCD Monitor will show "Low Light!" as a warning to remind you that the image
which you are going to capture is in a low light environment. It is suggested to set the Flash
Mode at Auto Flash or Fill-in Flash for supplementary light to compose a good image.
 Loading...