15 How to assemble your monitor hardware
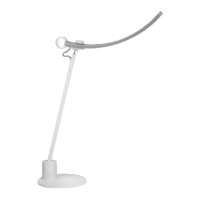
4. Connect the power cable to the monitor.
(Models without VESA standard mounting holes)
Connect the power cord to the power adapter. Plug
one end of the power cord into the socket labelled
on the rear of the monitor. Do not connect the other
end to a power outlet just yet.
Models without VESA standard mounting holes
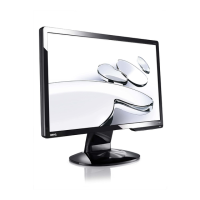
(Models with VESA standard mounting holes)
Plug one end of the power cord into the socket labelled
on the rear of the monitor. Do not connect the
other end to a power outlet just yet.
Models with VESA standard mounting holes
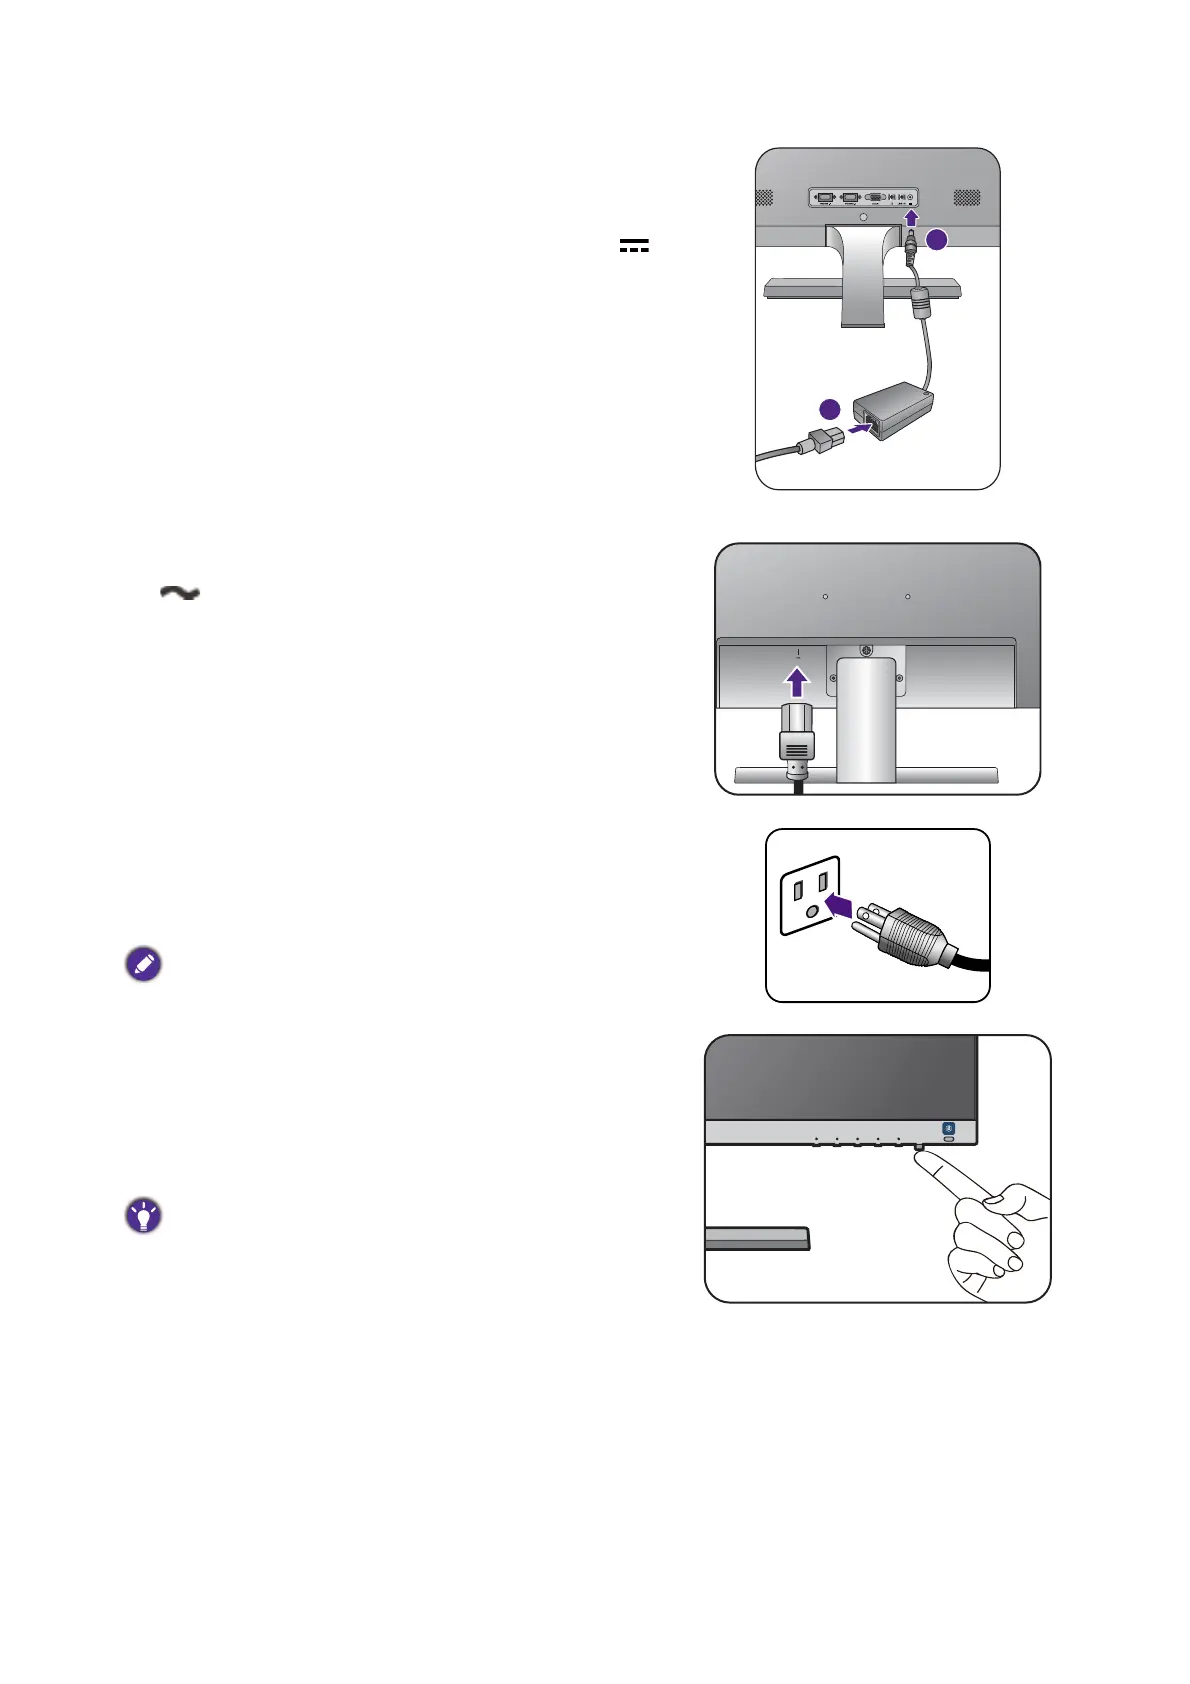
5. Connect-to and turn-on the power.
Plug the other end of the power cord into a power
outlet and turn it on.
Picture may differ from product supplied for your region.
Turn on the monitor by pressing the power button on
the monitor.
Turn on the computer too, and follow the instructions
in
Getting the most from your BenQ monitor on page
19
to install the monitor software.
To extend the service life of the product, we recommend
that you use your computer's power management function.

 Loading...