14
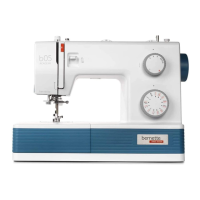
bernette SEWING MACHINE WORKBOOK
80/12 Universal
Heavy flannel, 7” x 6”
Lightweight tear-away stabilizer 3.5” x 6”
Buttonhole Foot
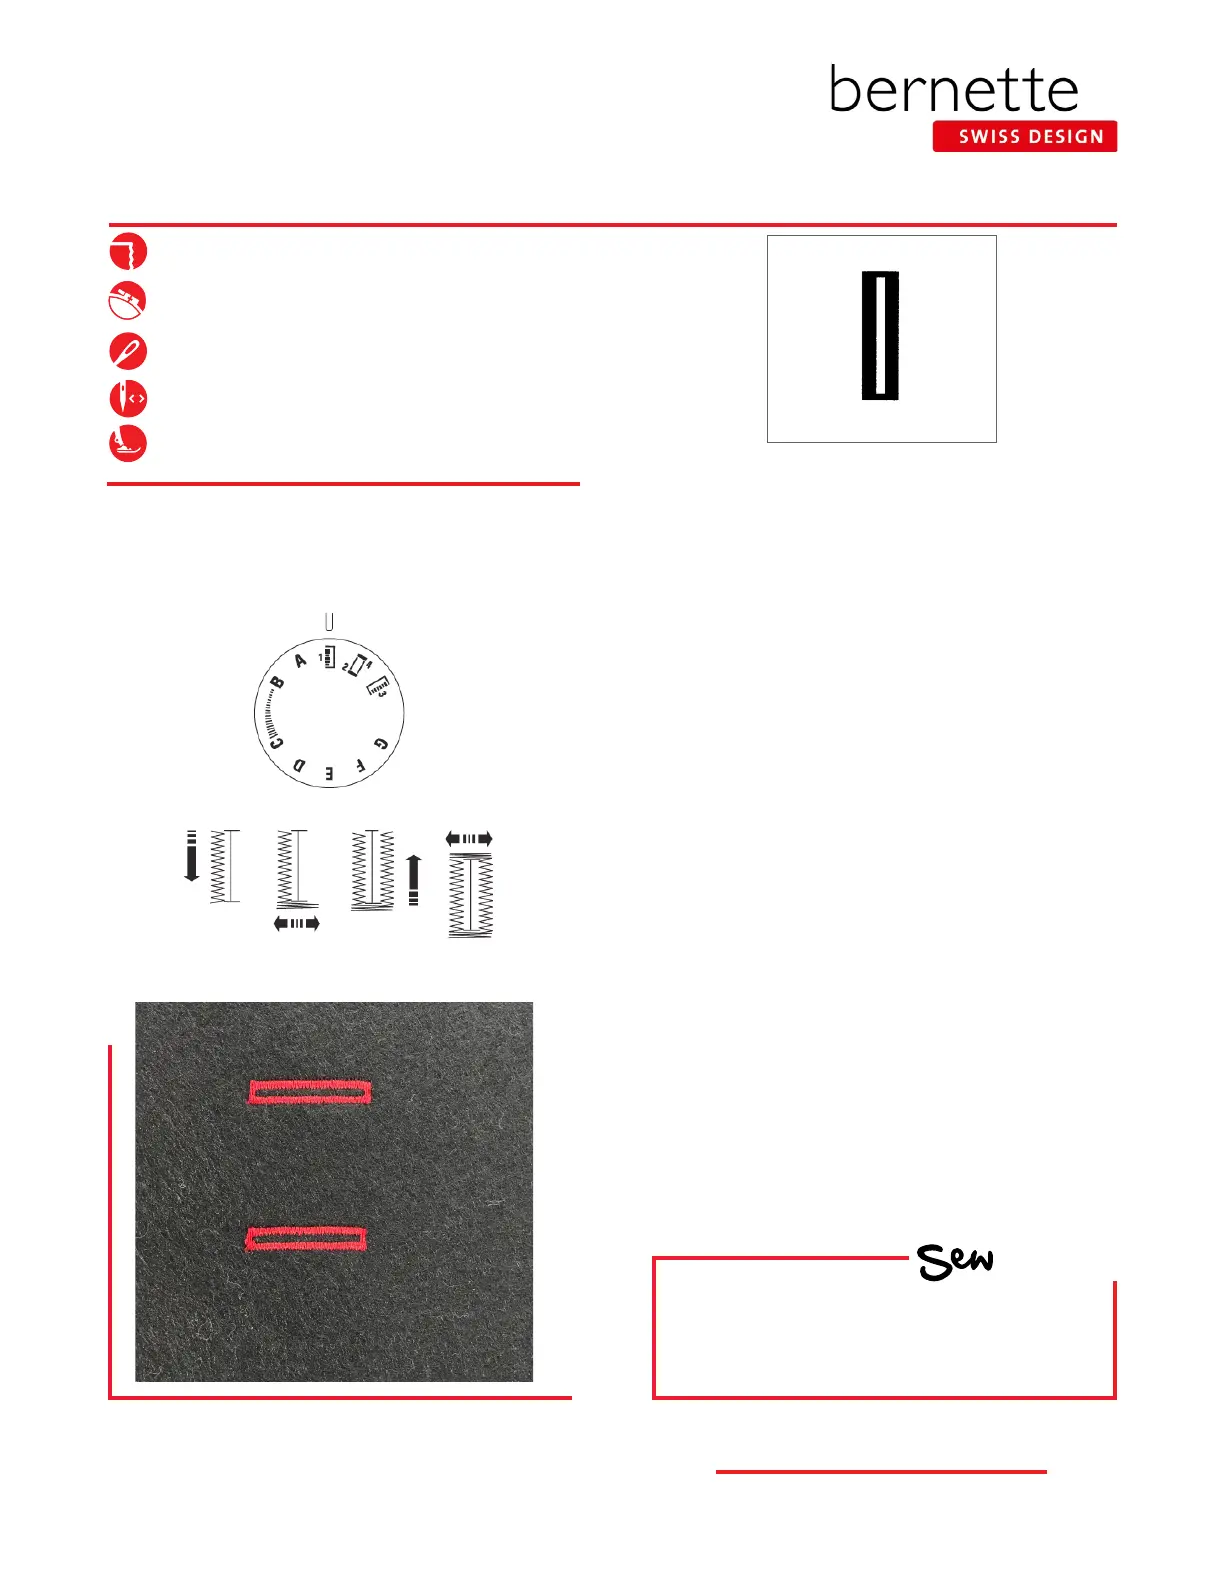
4-STEP BUTTONHOLE
As programmed
HOW
Do you know how to:
• Select a buttonhole?
• Stitch a buttonhole?
Step 1 Step 2 Step 3 Step 4
For Models sew&go and b33
1. Fold annel in half to 3.5” x 6” and press; insert
stabilizer between the fabric layers.
2. Mark the beginning and ending points of the
buttonhole on the fabric.
3. Select the Standard Buttonhole.
4. Attach the Buttonhole Foot. Move the slider
of the foot so the upper marking on the slider
is aligned with the marking for the starting
position.
5. Align the markings on the foot with the upper
marking on the fabric.
6. Turn the Stitch Pattern Selector knob to Step 1.
7. Sew forward until reaching the front marking
on the fabric, stopping with the needle on the
left.
8. Turn the Stitch Pattern Selector knob to Step 2
and sew ve stitches, stopping with the needle
on the right.
9. Turn the Stitch Pattern Selector knob to Step
3. Sew until you reach the rear marking of the
buttonhole, stopping with the needle on the
right.
10. Turn the Stitch Pattern Selector knob to Step
3. Sew until you reach the rear marking of the
buttonhole, stopping with the needle on the
right.
11. Set the Stitch Pattern Selector knob to a straight
stitch with a stitch length of “0”. Sew several
securing stitches to nish the buttonhole.