34
arm with the higher blood pressure values. Consult your doc-
tor about this before starting self-measurement.
• Always measure your blood pressure on the same arm.
• Only use the device with the cu supplied, based on your
upper arm circumference.
• Before taking the measurement, check the fit using the
index mark described below.
1. Expose your upper arm. The circulation of the arm must
not be hindered by tight clothing or similar.
2. Place the cu with the bottom edge approx. 2-3 cm
above your elbow. Adjust the device so that the mark
and the cu line are directly over the artery
B
.
The cu should be fastened so that two fingers fit under
the cu when it is closed
B
.
3. Now insert the cu line into the connection for the cu
connector.
4. The cu is suitable for you if the index mark is within
the OK range after fitting the cu.
Adopting the correct posture
• Sit in a comfortable upright position when taking the
blood pressure measurement. Lean back so that your
back is supported.
• Place your arm on a surface
D
.
• Place your feet flat on the ground next to one another.
• The cu must be level with your heart.
• Stay as still as possible during the measurement and do
not talk.
Selecting the user
This device has two users with 120 memory spaces each in
order that you can save measurements from two dierent
people separately from each other.
If multiple people are using the device, make sure that the
correct user has been selected before each measurement:
• Use the slider
10
to set the desired user.
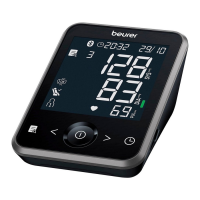
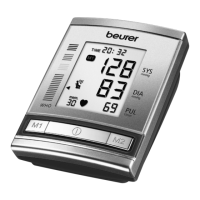
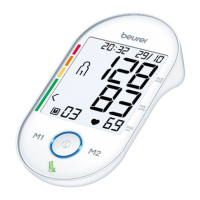
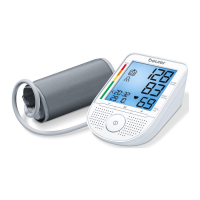
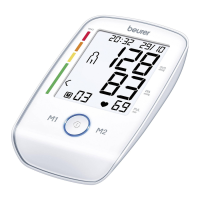
6.3 Taking a blood pressure measurement
Requirement: cu attached, user selected.
Measurement
1. Press . All display elements are briefly displayed.
2. The start screen welcomes you for selected or for se-
lected . From this start screen you can access all menu
items, e.g. user memory.
3. Press again to start the measurement. The cu inflates
itself automatically. The measurement process starts.
is displayed as soon as a pulse is detected.
To cancel the measurement, press .
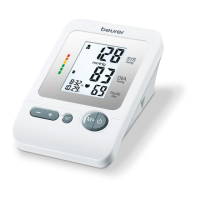
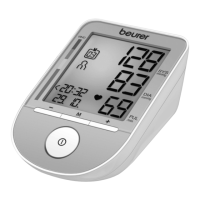
4. The systolic pressure, diastolic pressure and pulse meas-
urements are displayed. The cu position control symbol
OK
is displayed throughout the entire measurement. If the
cu is too loose, and will be displayed. In such
cases, the measurement is cancelled after approx. 15 sec-
onds and the device switches itself o.
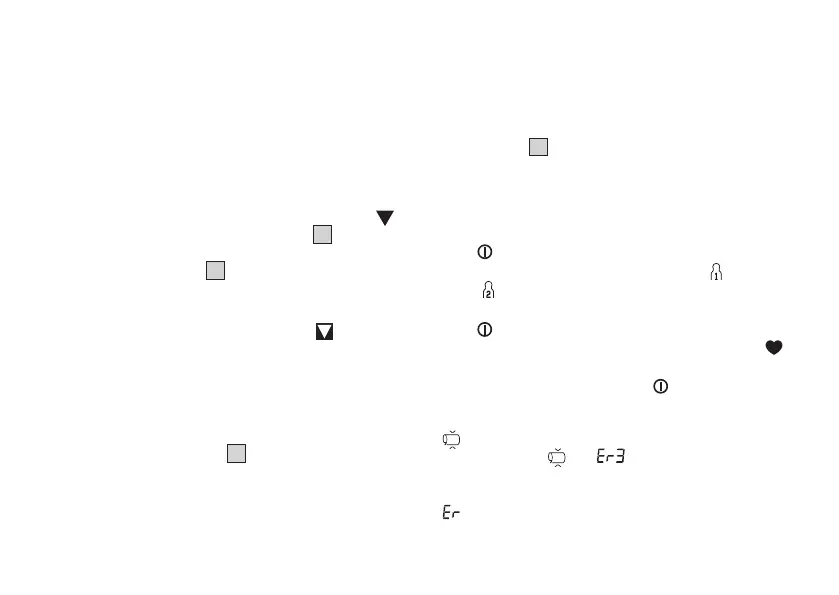
is displayed if the measurement could not be per-
formed properly. In this case, please refer to the “Trou-
bleshooting” section.
 Loading...