12
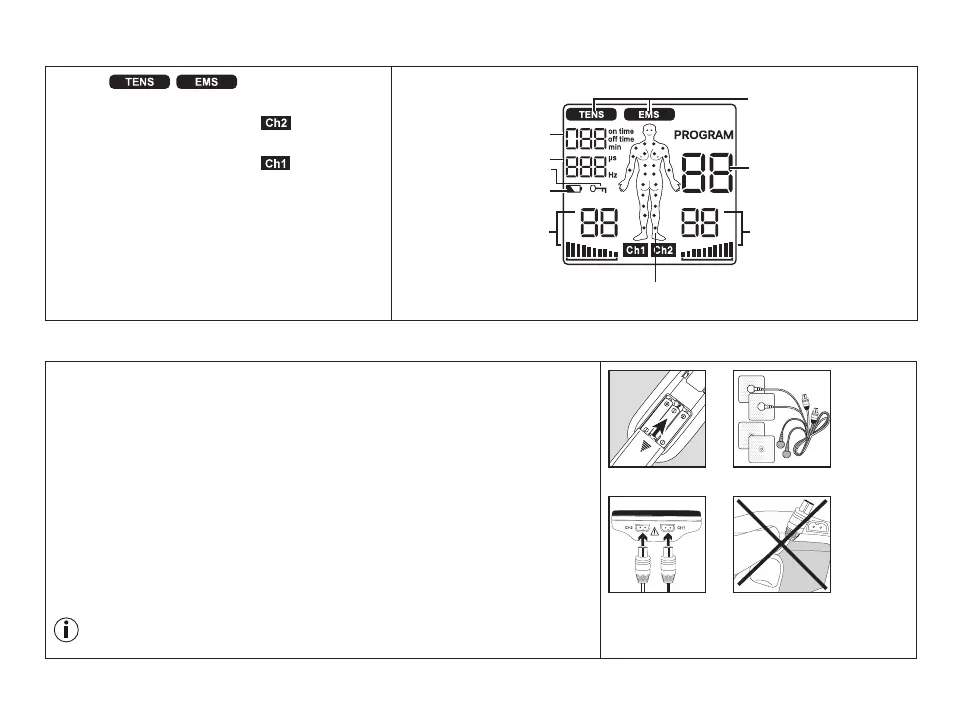
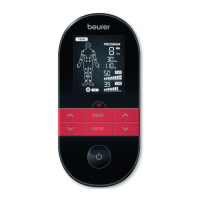
Display description
1 Menu /
2 Program number
3 Impulse intensity channel 2 ( )
4 Electrode positioning indicator
5 Impulse intensity channel 1 ( )
6 Low battery
7 Keylock
8 Display for frequency (Hz) and pulse
width (µs)
9 Timer function (remaining time
display) or working time
6. Initial Use
1.
R
emove the belt clip from the unit (if attached).
2.
P
ress the battery compartment cover on the rear of the device and slide it
downwards to remove.
3.
I
nsert three ‘AAA’ size alkaline batteries (included), following the polarity
markings inside the battery compartment.
4.
R
eattach the battery compartment cover (Fig. 1).
5.
R
eattach the belt clip, if desired.
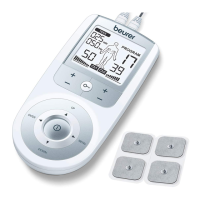
6.
C
onnect the connection cables with the electrodes (Fig. 2). The electrodes
feature clip closures for easier connection.
7.
G
uide the connection cable plugs into the socket on the top of the device
(Fig. 3).
8.
D
o not pull, twist, or make sharp bends in the cables (Fig. 4).
When the batteries are removed, all settings are restored to the factory
default settings.
Fig. 2Fig. 1
Fig. 3 Fig. 4
2
5 3
6
7
9
8
1
4