REV E 4-6 119293
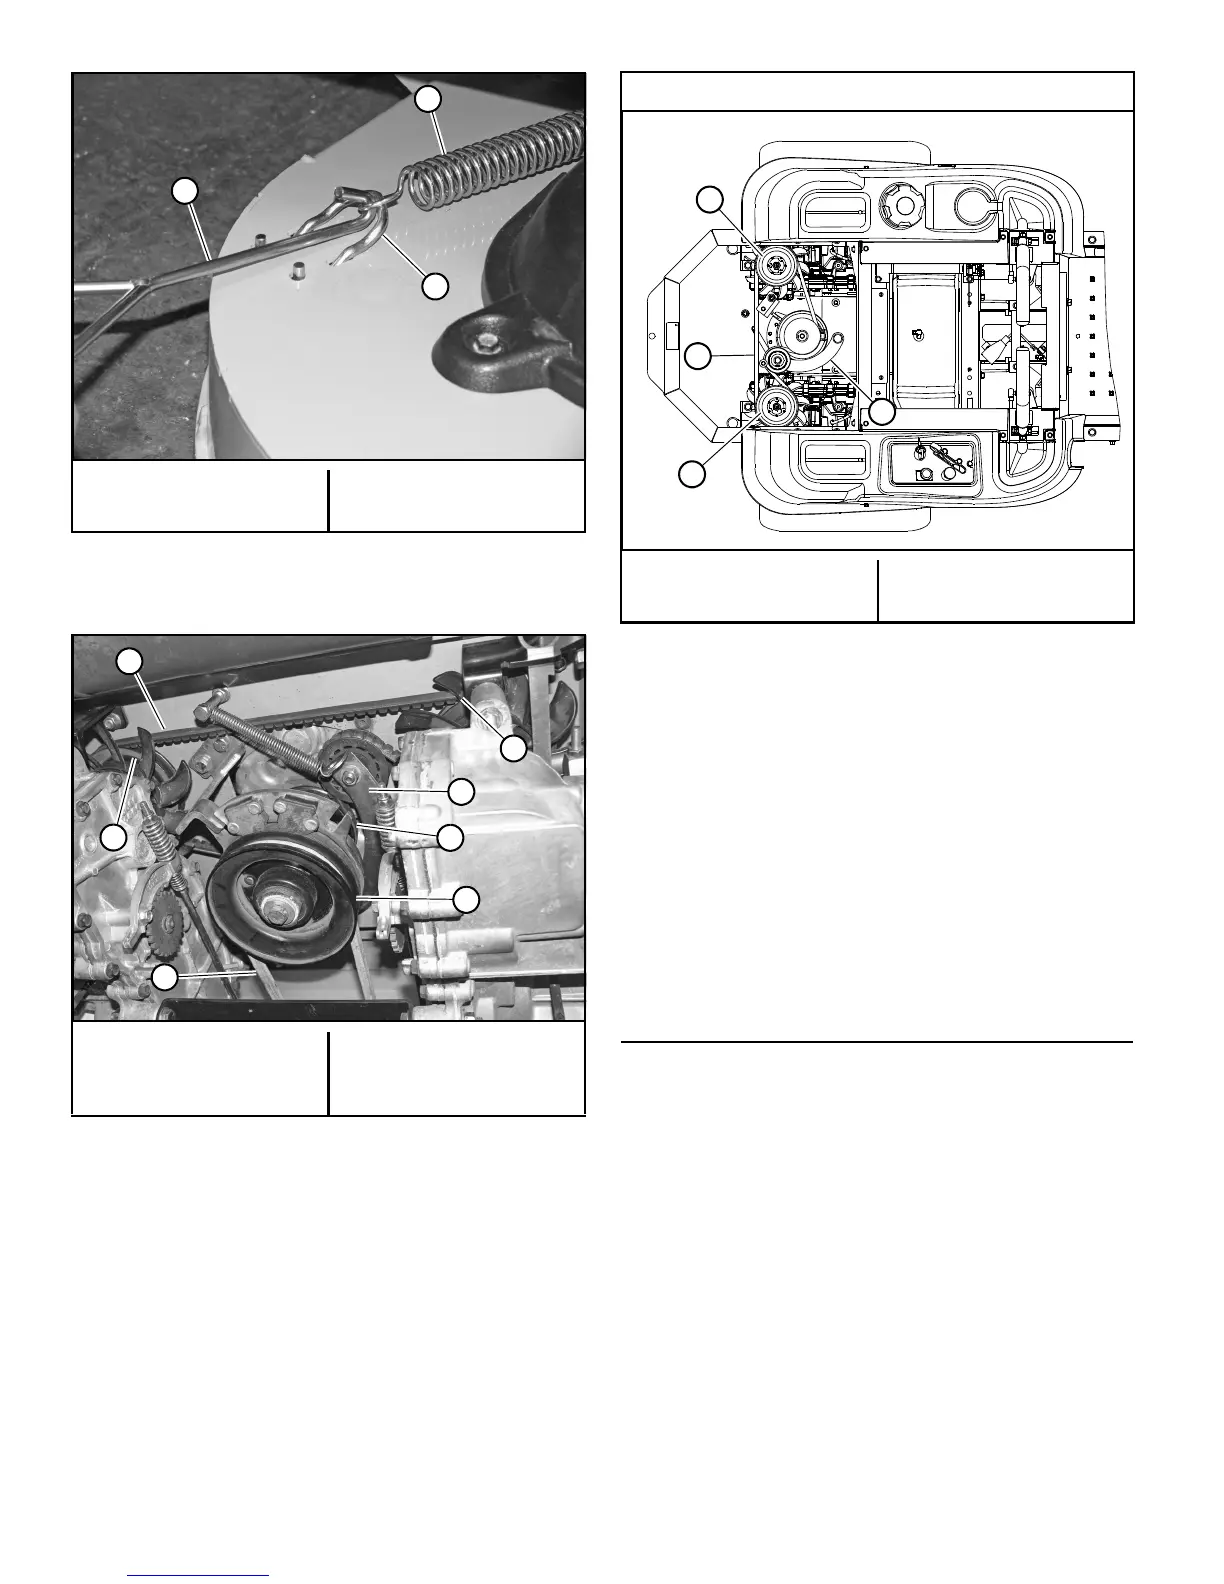
8. Remove the transaxle drive belt from the transaxle
drive pulleys and the engine pulley. Figure 4-13
9. Replace the transaxle drive belt and route it around the
engine pulley and the transaxle drive pulleys.
Figure 4-14
10. Make sure the transaxle drive belt is routed correctly
around the tension idler before attaching the tension
spring. Using the locking pliers, re-attach the tension
spring to the idler arm to re-tension the transaxle drive
belt. Remove the locking pliers from the tension
spring. Figure 4-13
11. Reroute the deck drive belt around the electric clutch
pulley. Make certain the belt is routed properly around
the spindle pulleys and stationary idler pulley(s).
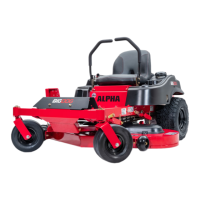
12. Re-tension the deck drive belt by pulling on the deck
belt idler spring and hooking it in the spring mount on
the deck. Figure 4-10, Figure 4-11, & Figure 4-13
13. Raise the rear of the mower and remove the jack
stands.
14. Lower the mower.
15. Re-attach the negative battery cable.
Tires
It is important for level mowing that the tires have the
same amount of air pressure. The recommended pressures
are:
Drive wheels . . . . . . . . . . . . . . . . . . 8–12 psi (55–83 KPa)
Front wheels . . . . . . . . . . . . . . . . . . 8–12 psi (55–83 KPa)
Only pneumatic tires are approved for use on this mower.
Warranty claims will be denied on any mower equipped with
non-pneumatic tires.
A. Spring mount
B. Tension idler spring
C. Tension spring hook
(604462)
Figure 4-12
A. Transaxle drive belt
B. Transaxle drive pulley
C. Idler arm
D. Engine pulley
E. Electric clutch pulley
F. Deck drive belt
Figure 4-13
Viewed from the top of the mower
A. Transaxle drive belt
B. Transaxle drive pulley
C. Tension idler arm
Figure 4-14