8
3. RS232
Pre-load and store RS232 commands for controlling display device.
6. INSTALLATION AND WIRING
6.1. Installation
Note: Before installation, please ensure the device is disconnected from the power source.
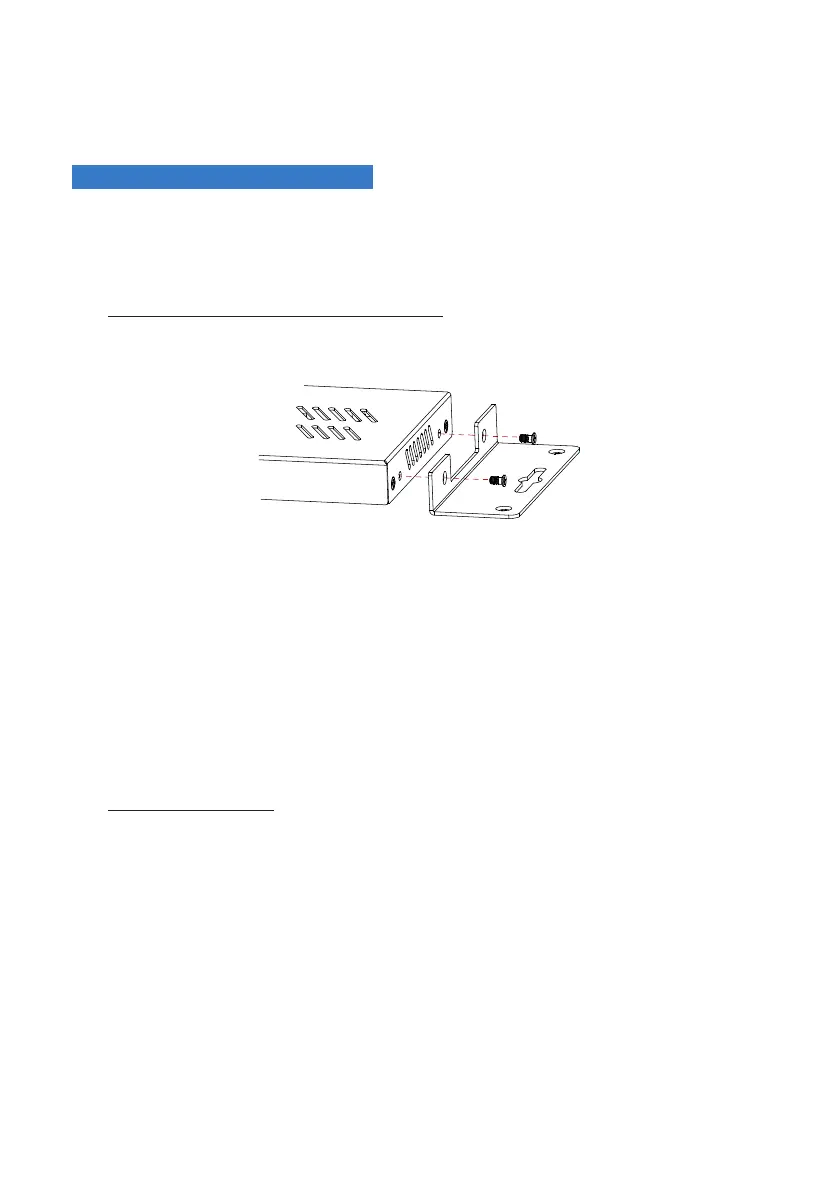
Steps to install the device in a suitable location:
1. Attach the installation bracket to the device’s enclosure using the screws provided in the
package separately. The bracket is attached to the enclosure as shown.
2. Repeat step 1 for the other side of the device.
3. Repeat step 1-2 for the receiver.
4. Attach the brackets to the surface you want to hold the unit against using the screws
(provided by others).
6.2. Wiring
Warnings:
• Before wiring, disconnect the power from all devices.
• During wiring, connect and disconnect the cables gently.
Steps for device wiring:
1. Connect an HDMI source (such as PC, Blu-ray, games console, satellite/cable TV, media
server etc.) to HDMI IN port of this device.
2. Connect an HDMI display device (Such as projector) to the HDMI OUT port of this device.
3. Connect audio receivers to the S/PDIF OUT port and AUDIO OUT port of this device.
4. Connect projector to the RS232 port for pass-through the commands to control the
projector.
5. Connect projection screen to the RELAY1 and RELAY2 ports to control the projection
screen on/off.
6. Connect the power adapter provided. Power on all devices.