g) Remain seated in a comfortable room temperature for at least 5
minutes, then start the measurement.
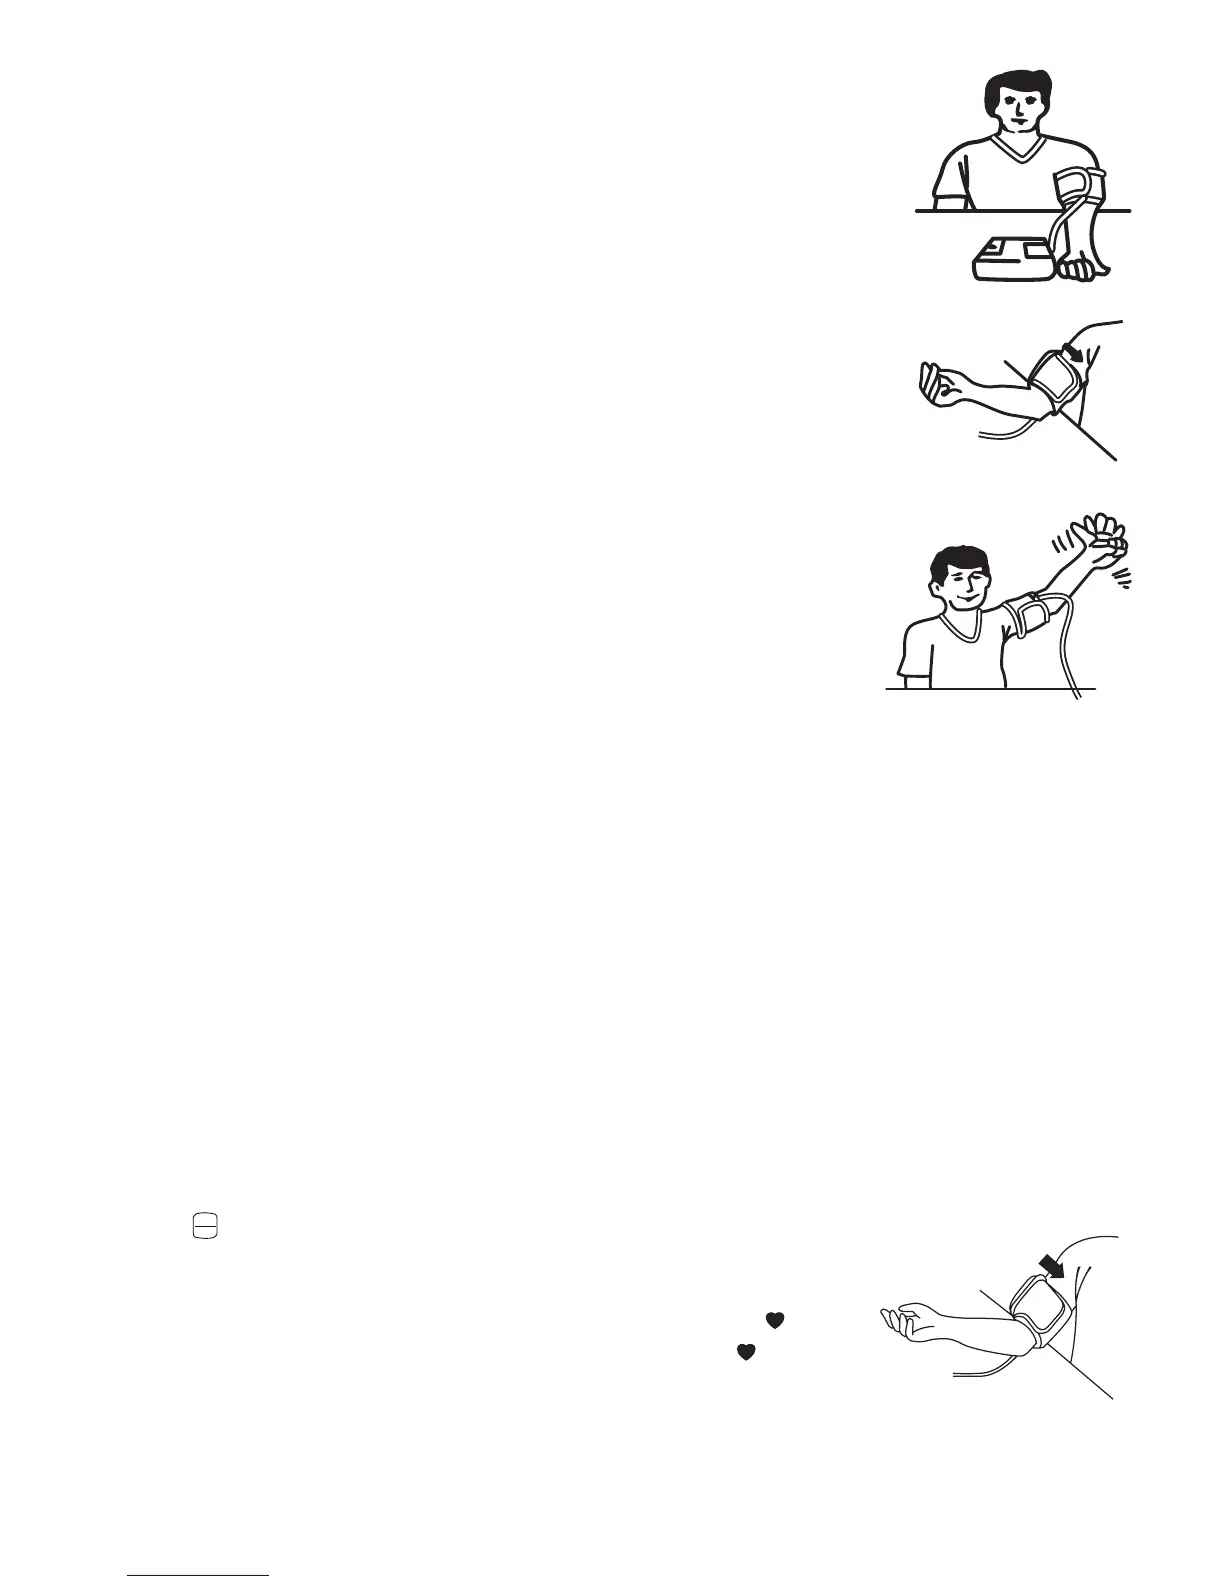
h) For those who cannot put the cuff on the left arm, put it on the
right arm as shown.
i) Consecutive measurements will cause blood accumulation in
the lower arm which will affect the measuring results. To improve
reading accuracy, raise the arm being measured, squeeze and relax
your hand several times, then take another measurement. Another
option is to take the cuff off and wait at least 10 minutes before
repeating measurement.
j) If this device was stored in low temperature, it is necessary to leave it
in room temperature for at least 1 hour, otherwise the measurement
can be inaccurate.
Comment:
If it is not possible to fit the cuff to your left arm, it can also be placed on the right arm. However all measurements
should be made using the same arm.
Comparable blood pressure measurements always require the same conditions (Relax for several minutes before
taking a measurement).
ATTENTION:Donotusecuffotherthantheoriginalcuffcontainedinthiskit!
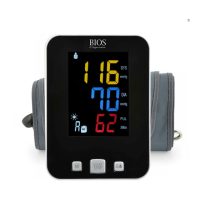
3.4 Measuring Your Blood Pressure
1. Press the
START
STOP
button to turn on the device and start measurement. The LCD screen
is turned on. The cuff begins to inflate while the increasing cuff pressure is
displayed on the screen. After the suitable inflation pressure is reached, the cuff
stops inflating and the pressure gradually falls. The screen will show the icon
once a pulse is detected. When the pulse signal becomes strong, the icon will
begin to flash. Three short beeps sound when the measurement is completed.
The systolic and diastolic blood pressure values along with the pulse rate are
displayed on the screen. The measurement is displayed for approximately 1.5
minutes.
g)
h)
i)