7
4.3. Setup.
- Place the unit upon even horizontal stable non-flammable surface 30 cm away from
any flammable materials, and clear 20 cm around the device on all sides for ventila-
tion.
- Remove protective film from the display;
- Plug the external power supply into the socket at the rear side of the unit;
- Connect the power cable to the external power supply.
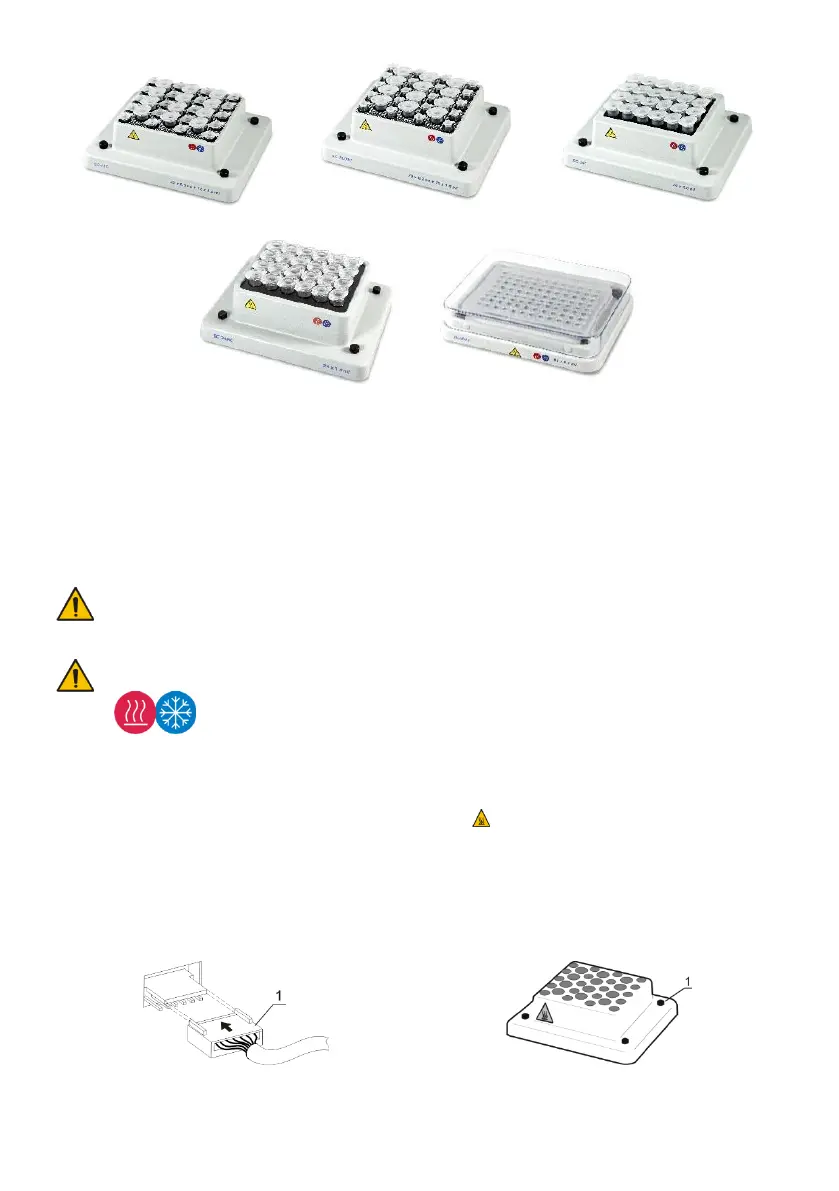
4.4. Thermoblock installation (if a thermoblock is not installed).
Caution! Thermoblock installation and replacement have to be performed only
when the Power switch is turned off and external power supply is
disconnect from the device.
Caution! Thermoblocks for TS-100 and TS-100C are not interchangeable! In-
stalling a thermoblock from different model will irreversibly damage
both the unit and the thermoblock! TS-100C thermoblocks have an
additional sticker.
- Choose the thermoblock, connect the plug to the contact terminal according to the
scheme on fig. 1/1 on the underside of the thermoblock. Make sure that the con-
nector is mounted tightly.
- Align the thermoblock so that the warning label is facing the front of the unit (fig. 2).
- Secure with the four knurled screws (fig. 2/1) or four hex screws.
4.5. Changing blocks.
- Disconnect the external power supply from the device.
- Remove the four knurled screws or four hex screws (in microplate thermoblocks).
- Lift the block without damaging the cable and disconnect the plug (fig. 1/1).
- Select the new thermoblock and install it according to 4.4.
Figure 1. Thermoblock connection Figure 2. Thermoblock setup
 Loading...