8
5. Operation
Recommendations during operation
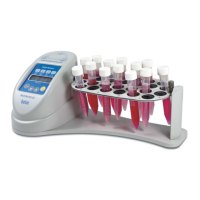
Please check the tubes/microplates before using, be sure that tubes and micro plates
are heat-resistant. Do not heat the microplates over the melting point of the material
they are made of.
We recommend filling tubes and plate wells up to 75% of rated volume for efficiency.
Caution! Platform surface becomes very hot during use. Please, take neces-
sary care and use protective cotton gloves to install or remove test
samples when set temperature is higher than 60°C.
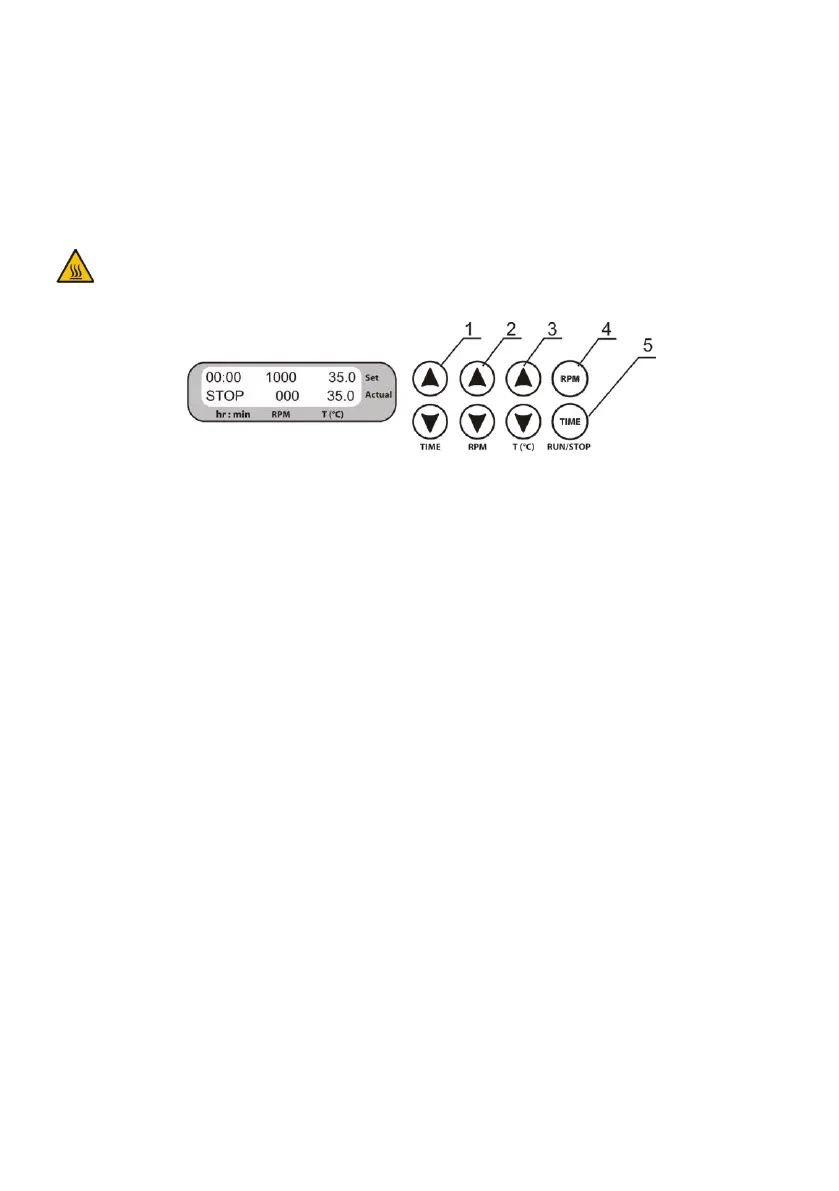
Figure 3. Control Panel
5.1. Connect external power supply to a grounded power socket and set the power switch,
located on the rear panel of the unit, to position I (ON).
5.2. The display will turn on with the upper line (Set) showing time, speed and temperature
set earlier and the lower line (Actual) showing current status: STOP indication, 000
rpm speed and platform temperature in °C.
5.2.1. Simultaniously press and hold the RPM RUN/STOP and TIME RUN/STOP keys (fig.
3/4 and 3/5) to view the programming version (PV-XX).
5.3. If a temperature is set, then the platform temperature automatically changes to that
temperature. The time of temperature stabilization depends on the room temperature.
If the heating of is turned off by setting the temperature below 25°C (TS-100) or 4°C
(TS-100C), top line shows indication OFF.
5.4. Setting the parameters. Use the readings in the upper line of the display (Set), while
setting the required parameters. Pressing the key for more than 3 s will increase the
increment rate. Speed and temperature can be changed during operation.
5.4.1. Setting time (TIME). Using the and TIME keys (fig. 3/1) set the required work-
ing time interval in hours and minutes (increment 1 min).
5.4.2. Setting speed (RPM). Using the and RPM keys (fig. 3/2) set the required speed
(increment 10 rpm).