EasyManuals Logo

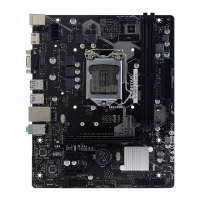
Biostar B560MH-E 2.0 User Manual

Biostar B560MH-E 2.0
115 pages
To Next Page IconTo Next Page
To Previous Page IconTo Previous Page
Page #7 background imageLoading...
Page #7 background image
Chapter 2: Hardware installaon | 7
B560MH-E 2.0
Chapter 2: Hardware installaon
2.1 Install Central Processing Unit (CPU)
Step 1: Locate the CPU socket on the motherboard
Note
»
  Removepincapbeforeinstallaon,andmakegoodpreservaonforfutureuse.WhentheCPUis
removed,coverthepincapontheemptysockettoensurepinlegswon’tbedamaged.
»
  Themotherboardmightequipwithtwodierenttypesofpincap.Pleasereferbelowinstruconto
removethepincap.
Step 2: Pull the socket locking lever out from the socket and then raise the lever up.
Step 3: Remove the Pin Cap.
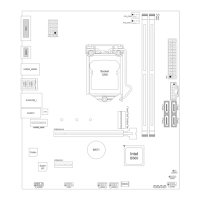
Table of Contents

Questions and Answers:

Question and Answer IconNeed help?

Do you have a question about the Biostar B560MH-E 2.0 and is the answer not in the manual?

Biostar B560MH-E 2.0 Specifications

General IconGeneral
BrandBiostar
ModelB560MH-E 2.0
CategoryMotherboard
LanguageEnglish

Related product manuals