12 | Chapter 2: Hardware installaon
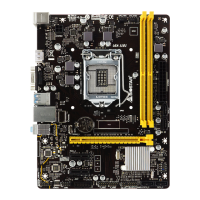
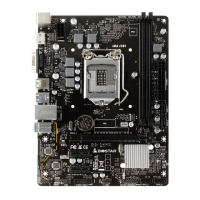
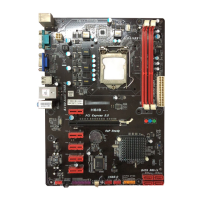
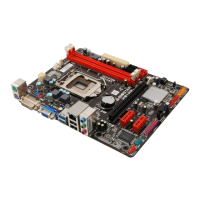
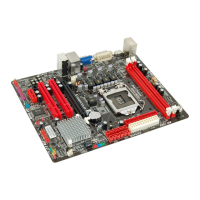
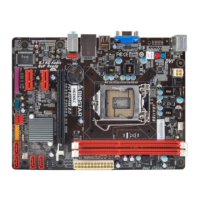
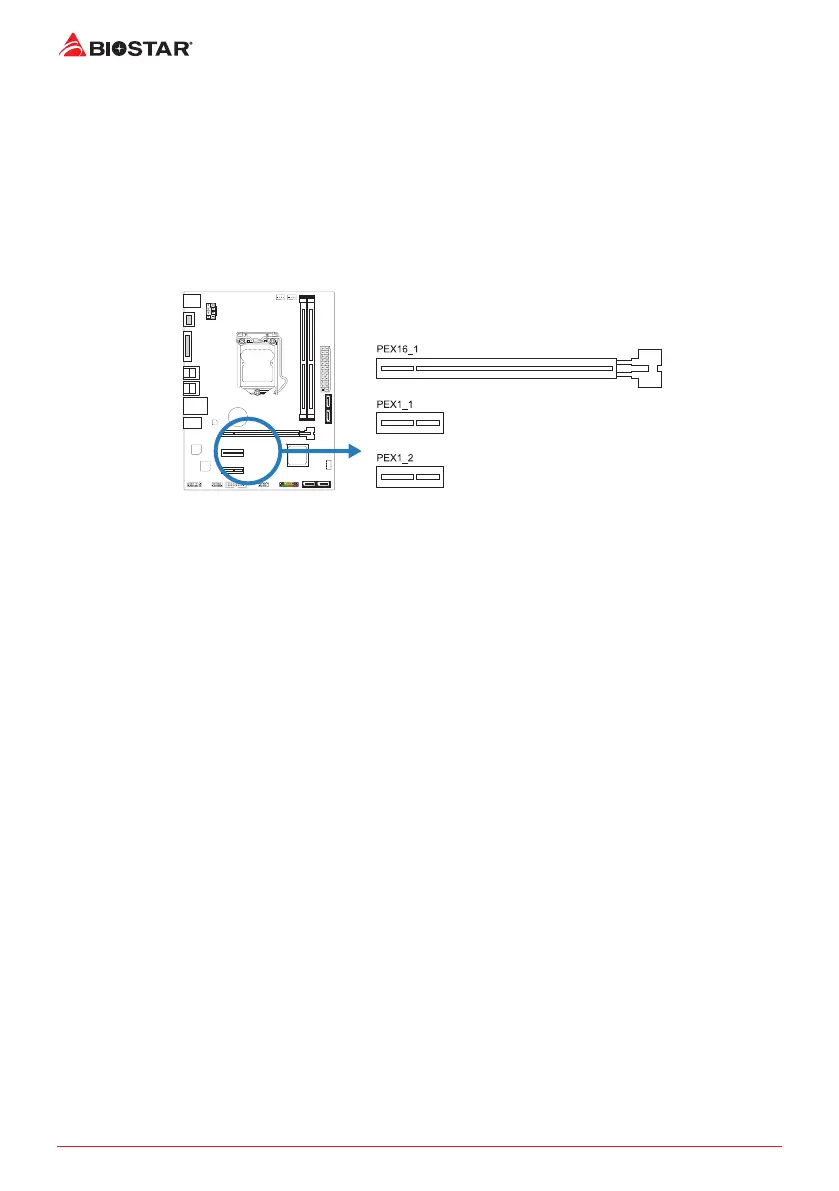
2.5 Expansion Slots
PEX16_1: PCI-Express Gen3 x16 Slot
• PCI-Express 3.0 compliant.
• Maximum theorecal realized bandwidth of 16GB/s simultaneously per direcon, for an
aggregate of 32GB/s totally.
PEX1_1/ PEX1_2: PCI-Express Gen2 x1 Slots
• PCI-Express 2.0 compliant.
• Data transfer bandwidth up to 0.5GB/s per direcon; 1GB/s in total
Install an Expansion Card
You can install your expansion card by following steps:
• Read the related expansion card’s instrucon document before install the expansion
card into the computer.
• Remove your computer’s chassis cover, screws and slot bracket from the computer.
• Place a card in the expansion slot and press down on the card unl it is completely
seated in the slot.
• Secure the card’s metal bracket to the chassis back panel with a screw.
• Replace your computer’s chassis cover.
• Power on the computer, if necessary, change BIOS sengs for the expansion card.
• Install related driver for the expansion card.
 Loading...