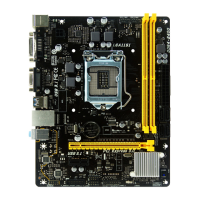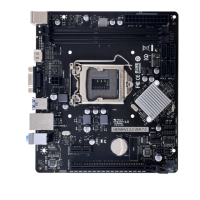
Do you have a question about the Biostar H81MHV3 2.0 and is the answer not in the manual?
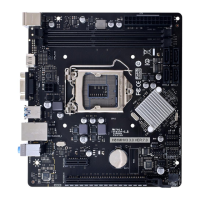
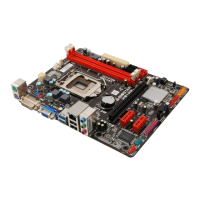
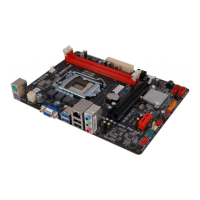
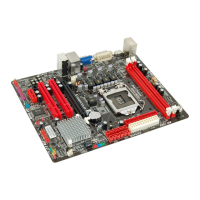
| Form Factor | Micro ATX |
|---|---|
| Chipset | Intel H81 |
| CPU Socket | LGA 1150 |
| Memory Slots | 2 x DIMM |
| Maximum Memory | 16GB |
| USB Ports | 2 x USB 3.0, 6 x USB 2.0 |
| Audio | Realtek ALC662 6-Channel HD Audio |
| Video Outputs | 1 x VGA, 1 x HDMI |
| Power Connector | 24-pin ATX, 4-pin ATX 12V |
| Memory Standard | DDR3 1600/1333 MHz |
| Storage Interface | 2 x SATA 6Gb/s, 2 x SATA 3Gb/s |
| LAN | Realtek RTL8111G - 10/100/1000Mb/s |
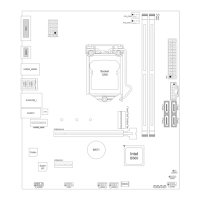
| Expansion Slots | 1 x PCIe 2.0 x16, 2 x PCIe 2.0 x1 |
