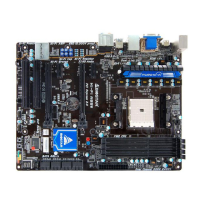
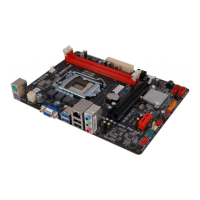
Hi-Fi B85N 3D/ Hi-Fi H81N 3D
5
CHAPTER 2: HARDWARE INSTALLATION
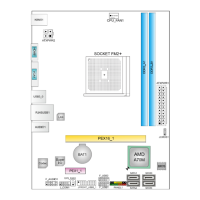
2.1 Install Central Processing Unit (CPU)
Step 1: Locate the CPU socket on the motherboard
Note1: Remove Pin Cap before installation, and make good preservation for future use. When
the CPU is removed, cover the Pin Cap on the empty socket to ensure pin legs won’t be
damaged.
Note2: The motherboard might equip with two different types of pin cap. Please refer below
instruction to remove the pin cap.
Step 2: Pull the socket locking lever out from the socket and then raise the lever
up.
Step 3: Remove the Pin Cap.
 Loading...