8
ENGLISH
(Original instructions)
u In case of skin or eye contact, follow the instructions
below.
Warning! The battery uid may cause personal injury or
damage to property. In case of skin contact, immediately rinse
with water. If redness, pain or irritation occurs seek medical
attention. In case of eye contact, rinse immediately with clean
water and seek medical attention.
Chargers
Your charger has been designed for a specic voltage. Always
check that the mains voltage corresponds to the voltage on
the rating plate.
Warning! Never attempt to replace the charger unit with a
regular mains plug.
u Use your BLACK+DECKER charger only to charge the
battery supplied with the tool. Other batteries could burst,
causing personal injury and damage.
u Never attempt to charge non-rechargeable batteries.
u If the supply cord is damaged, it must be replaced by the
manufacturer or an authorised Service Centre in order to
avoid a hazard.
u Have defective cords replaced immediately.
u Do not expose the charger to water.
u Do not open the charger.
u Do not probe the charger.
u The appliance/tool/battery must be placed in a well venti-
lated area when charging.
$
The charger is intended for indoor use only.
+
Read the instruction manual before use.
Electrical safety
#
Your charger is double insulated; therefore no
earth wire is required. Always check that the
mains voltage corresponds to the voltage on
the rating plate. Never attempt to replace the
charger unit with a regular mains plug.
u If the supply cord is damaged, it must be replaced by the
manufacturer or an authorised BLACK+DECKER Service
Centre in order to avoid a hazard.
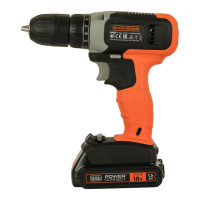
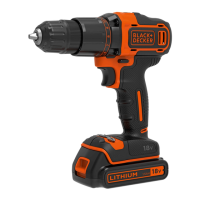
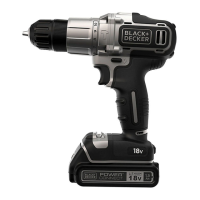
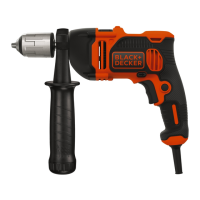
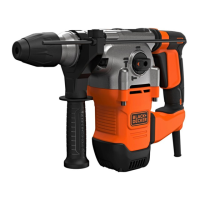
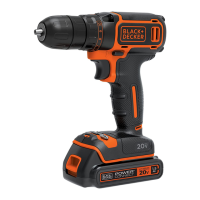
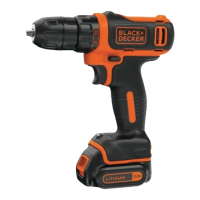
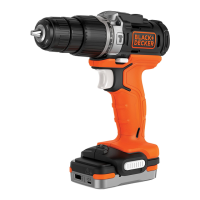
Features
This tool includes some or all of the following features.
1. Variable speed switch
2. Forward/reverse slider
3. Torque adjustment collar
4. Keyless chuck
5. Dual range gearing
6. LED work light
7. Belt hook (Available with all units)
8. Battery
9. Battery release button
Assembly
Use
Warning! Let the tool work at its own pace. Do not overload.
Charging the battery (g. A1, A2)
The battery needs to be charged before rst use and whenev-
er it fails to produce sufcient power on jobs that were easily
done before. The battery may become warm while charging;
this is normal and does not indicate a problem.
Warning! Do not charge the battery at ambient temperatures
below 10 °C or above 40 °C. Recommended charging tem-
perature: approx. 24 °C.
Note: The charger will not charge a battery if the cell tempera-
ture is below approximately 10 °C or above 40 °C.
The battery should be left in the charger and the charger
will begin to charge automatically when the cell temperature
warms up or cools down.
u Plug the charger (10) into any standard 230 Volts 50 Hz
electrical outlet.
u Slide the battery pack (8) into the charger as shown in g.
A1, A2.
The LED (10a) will ash indicating that the battery is being
charged.
The completion of charge is indicated by the LED (10a)
remaining on continuously. The pack is fully charged and may
be used at this time or left on the charger.
Warning! re Hazard. When removing the battery from the
charger, be sure to unplug the charger from the outlet rst,
then remove the battery from the charger.
Charger diagnostics
This charger is designed to detect certain problems that can
arise with the battery packs or the power source. Problems
are indicated by one LED ashing in different patterns.
Bad battery
The charger can detect a weak or damaged battery. The LED
ashes in the pattern indicated on the label. If you see this bad
battery blink pattern, do not continue to charge the battery.
Return it to a service center or a collection site for recycling.
Hot/cold pack delay
When the charger detects a battery that is excessively hot or
excessively cold, it automatically starts a Hot/Cold Pack Delay,
suspending charging until the battery has normalized.
 Loading...