21
CHAPTER 3: Installation
You can cover one (ACU5003) or four (ACU5004) empty slots in the chassis
using our Blank Chassis Panels. The ACU5003 Single Blank Panel comes with one
(ACU5003) or two screws that you’ll use to secure it to the chassis in the same way
you’d secure a module. The ACU5004 Quad Blank Panel should be secured with
one screw in the upper left corner and one screw in the upper right corner.
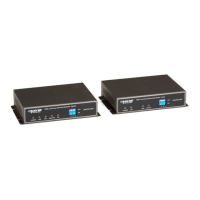
If you would rather set an Extender module on a desktop or some other flat
horizontal surface, you’ll need to stick the included adhesive rubber feet to the
bottom of the module (the wide flat area where there are no connectors, no DIP
switches, and no LEDs). Four feet are included for each module—attach one in
each corner of the bottom of the module.
To mount an Extender module on a non-horizontal surface such as a wall or the
side of a desk, use a pair of double-sided adhesive strips (not included), preferably
the kind that have VELCRO or some other hook-and-loop fastener between the
adhesive sides. Peel the backing away from one side of each of the two strips and
press the strips firmly onto the bottom of the module. Then peel the backing away
from the other side of the strips and press the bottom of the module firmly against
the surface you want to mount the module on.
 Loading...
