Do you have a question about the BLADEZ X-350p and is the answer not in the manual?
Provides crucial safety precautions for operating the elliptical, emphasizing pre-use checks and immediate actions during exercise.
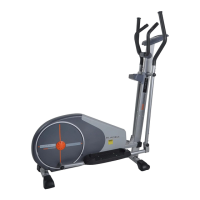
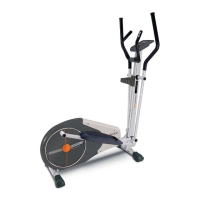
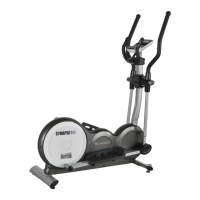
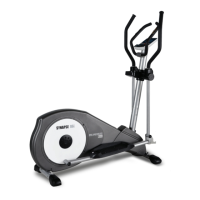
Covers general guidelines for home use, user weight limits, keeping hands clear of moving parts, child safety, and proper attire.
Attaches the Front Stabilizer to the Base Frame using specific screws, washers, and nuts.
Attaches the Rear Stabilizer to the Base Frame using specific screws, washers, and nuts.
Connects console control wire and attaches Upright Tube to Base Frame using Allen head bolts.
Mounts the Left Pedal to the Left Pedal Tube and repeats for the Right Pedal.
Attaches Pedal Tubes to Flywheel Shaft using bushings, washers, and nuts.
Connects swivel tubes to Pedal Tubes using Allen head bolts.
Attaches handlebars to the swivel tubes using screws.
Connects pulse sensor cable and mounts Fixed Handlebar using hex head bolts and covers.
Connects console control wire and attaches the console to the swivel tube.
Mounts the Bottle Holder using a bracket and screws.
Explains how pulse is measured via handlebar sensors and factors affecting reliability.
Guides on calculating maximum heart rate and defines beginner, trainer, and active trainer heart rate zones.
Details the function of each button on the console: RECOVERY, RESET, SCAN, DOWN, UP, MODE, PROGRAM.
Lists the information displayed on the console: time, heart rate, speed, distance, energy, program mode, and resistance.
Explains how to use manual, preset, and heart rate controlled programs, including setting targets and adjusting resistance.
Describes how to initiate and interpret the recovery heart rate calculation after training.
Provides tips on SCAN function, heart rate measurement, signals, sleep mode, target setting, and usage limitations.
Provides guidance on cleaning metal surfaces with car wax and the console with anti-static cleaners.
States that the warranty is void if the elliptical is used for commercial or rental purposes.
Lists exclusions from the warranty, including pre-delivery setup, maintenance issues, and expendable items.
| Brand | BLADEZ |
|---|---|
| Model | X-350p |
| Category | Elliptical Trainer |
| Language | English |