4
Motor Serial #(Found on bottom of motor base):_________________________
Date of Purchase: ______________________________________________
Purchased From: _______________________________________________
2.3 REGISTRATION OF YOUR BLENDER
Register online at www�blendtec�com/registration
SECTION 3: GETTING TO KNOW YOUR BLENDER
(Refer to Figures 1 and 2)
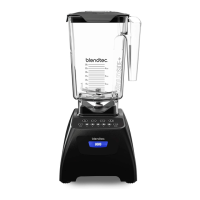
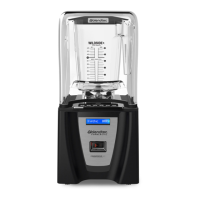
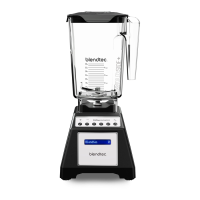
3.1 BLENDER MOTOR BASE
• Smart Touch Interface: Consists of one-touch preprogrammed cycles and speeds,
as well as Stop and Pulse buttons�
• Hardened Metal Drive Socket: Where the jar couples with the motor to turn the
blade assembly; made of hardened metal�
• LCD Information Center: Displays the number of times a blend cycle button has
been pressed�
• Power Unit: This unit is located within the blender motor base and contains the
computerized electronics that run the blender�
• Motor Base Cover: Houses the power unit in a durable, plastic material�
• Power Switch: Located on the back lower-right corner of the motor base cover�
• Power Cord: Located at the back of the motor base cover�
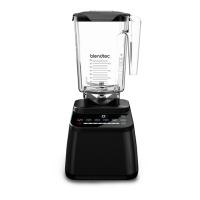
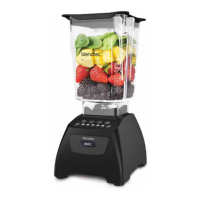
3.2 BLENDER JAR ASSEMBLY
The blender jar assembly consists of the blender jar, blade assembly, and lid�
• Jar: Durable, BPA-free jar; easy to clean
• Blade Assembly: Uniquely designed stainless steel blade provides fast,
consistent blending
• Lid: Vented gripper lid seals liquids within the jar during blending
NOTE: Filling the blender jar beyond the marked capacity is not recommended.
SECTION 4: INSTALLATION
1� Place the blender on a flat, clean, and dry surface� Blender vents should be
unobstructed to allow proper cooling during use�
2� Make sure an outlet is available within two feet of the blender motor�
3� Ensure the Power Switch located on the back of the motor base is turned off
before plugging it in�
4� Turn unit on by toggling the Power Switch to the ON position�
5� Place appropriately filled blender jar, with lid in place, onto blender base�