IM0001_L2_R_WMv1.3 5
The installer or contractor shall not modify or otherwise alter blink equipment in any manner
other than specifically authorized by this installation manual. Unauthorized modification to the
blink equipment voids the manufacturer’s warranty.
Customer responsibility
The customer is responsible for contracting with a certified electrical contractor to perform all
electrical work, including connections at the blink, supply circuit, and main service panel.
Tools required for installation
Meters
Current Clamp Meter (with 600 A MAX AC/DC) (Recommend: Fluke
®
336)
Digital Multimeter (1000V MAX DC/AC) (Recommend: Fluke 87V)
Hand tools
Drill bit, 3/16-inch
Hammer
Pencil/marker
Slotted and TORX
®
-head screwdrivers
Wrench, 10 mm
Torque wrench
Installer-supplied items
Service wiring to blink
Conduit and fittings (1-inch trade size), except for cord-connected units
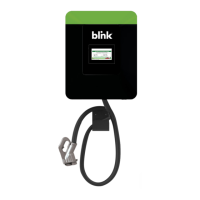
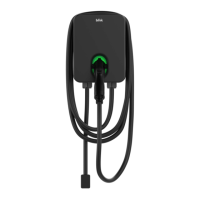
blink features and specifications
Features
Certified to UL 2594 – Electric Vehicle Supply Equipment
Charge circuit interruption device (CCID20)
Ground monitoring circuit
Nuisance-tripping avoidance and auto re-closure
Cold load pickup (randomized auto-restart following power outage)
Certified energy and demand metering
Wireless IEEE 802.11g


 To Next Page