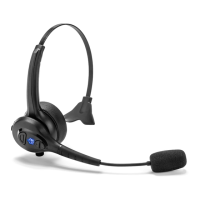
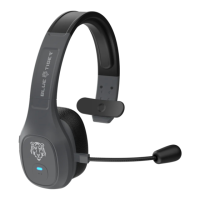
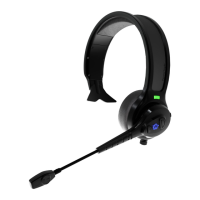
4 | Blue Tiger Advantage PLUS User Manual v1.2
CHARGE THE BATTERY
1. Remove the USB Charging Port Cover and connect Charging Cable to a USB adapter.
2. Insert the Charging Cable into the Headset USB Port.
3. Charge for 3 hours prior to use.
Solid Red LED indicates charging.
Solid Blue LED indicates headset is fully charged.
CONNECTING HEADSET TO DEVICE
To use the Advantage PLUS Headset with a Bluetooth Device, such as a smartphone or
laptop computer, you must rst establish a wireless connection between the Headset and
the intended device. This process is called “Pairing”.
PAIRING
The Headset may be paired with Bluetooth devices using one of two methods:
1. Standard Bluetooth pairing where the headset is discovered by the Bluetooth Device.
2. Touch-to-Pair with devices supporting an NFC Connection.
Headset must be within close proximity of the Bluetooth Device to complete pairing. To
initiate pairing, Headset must be powered o. If the Headset is ON, turn the Headset OFF
by pressing the Multi-Function Button (MFB) for 2.5 seconds.
1. Initiate Standard Bluetooth pairing by pressing the MFB for 6 seconds - press and hold
the button - until you hear “Pairing, Please Wait” and the LED alternately ashes red and
blue. Use the Bluetooth Device’s Bluetooth search and pairing functionality (refer to the
Device or Host documentation if necessary) and select “AdvantagePLUS”. If necessary,
enter four zeros (0000) for the passcode and accept connection.
2. For Touch-to-Pair, initiate Standard Bluetooth Paring before touching Headset NFC tag
to NFC tag of Host. The Headset NFC Tag is located in the Microphone Assembly.