DS7060-AUS Reference Guide Copyright 2001 Detection Systems, Inc. Page 3
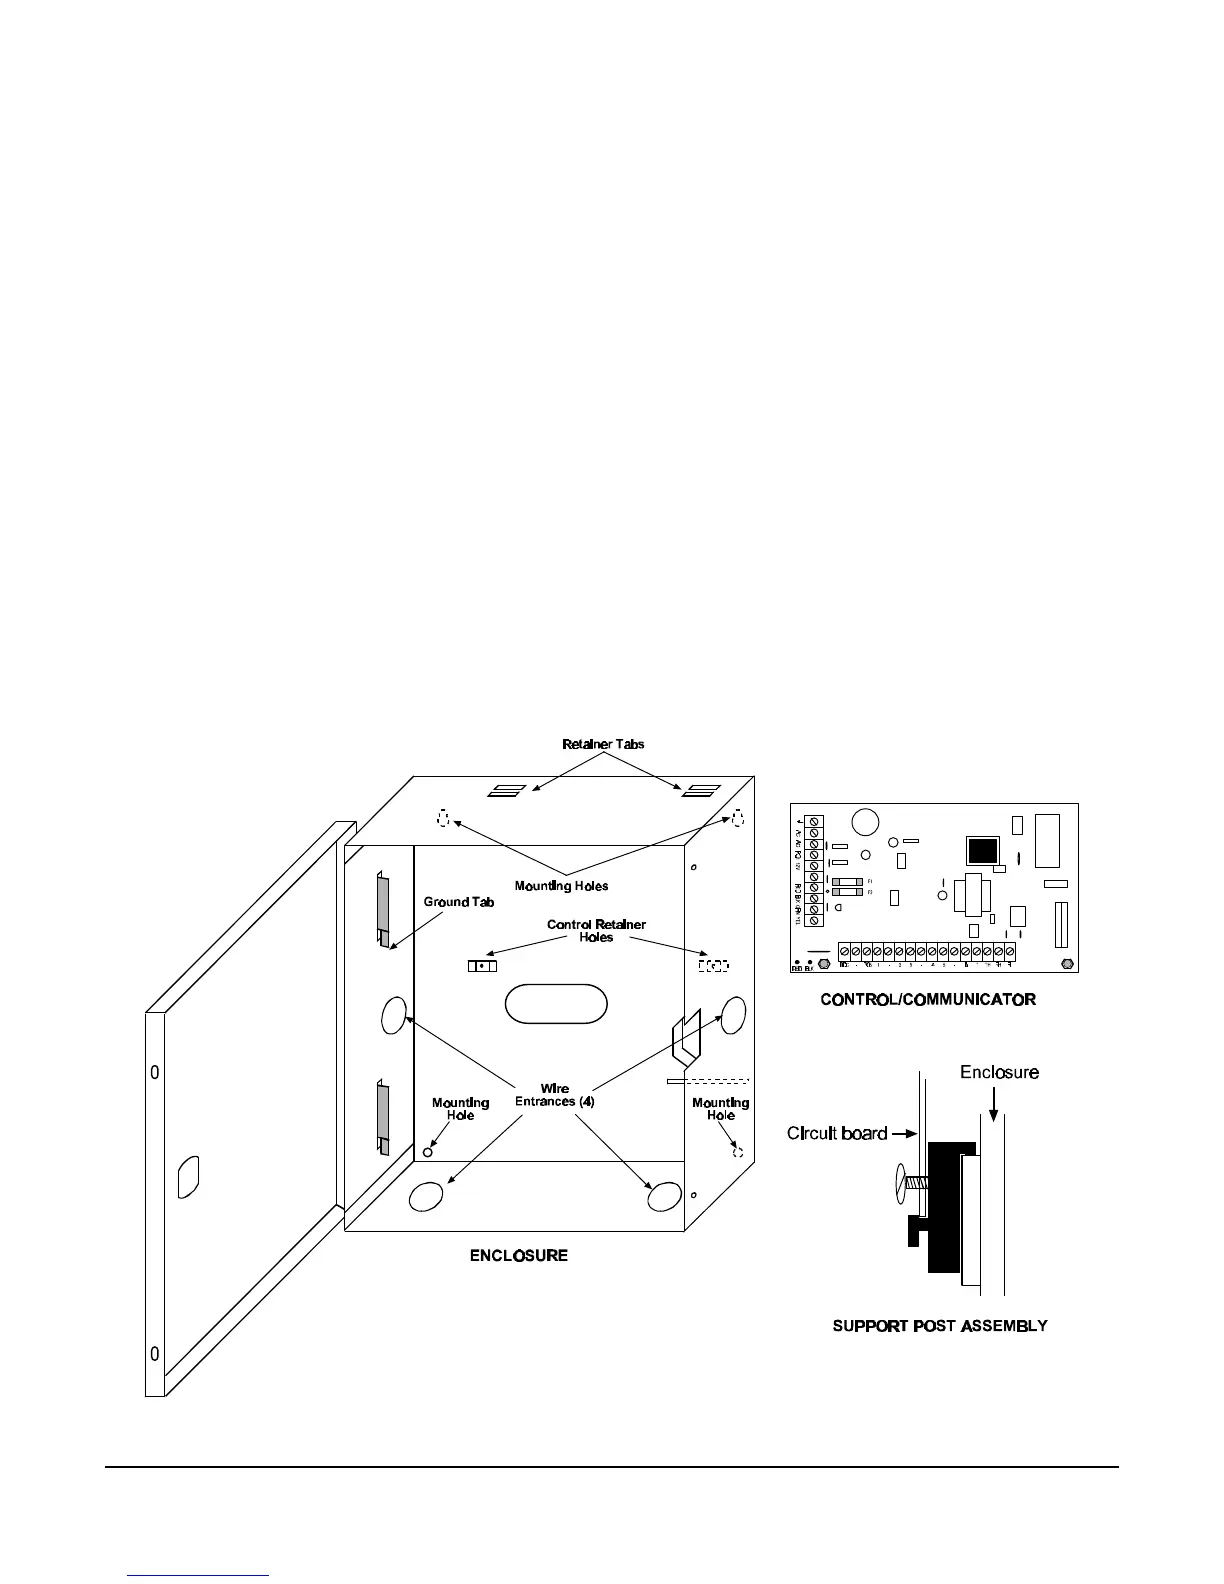
3.0 Enclosure Installation
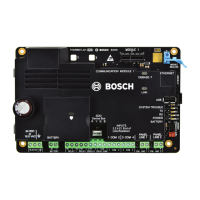
The DS7060 control/communicator and the enclosure are
shipped together. The control, however, still needs to be
installed into the enclosure. Hardware for mounting the
enclosure to a wall, and the control to the enclosure is
located in its own hardware pack.
3.1 Install the Enclosure
NOTE: This panel is intended for mounting in a restricted
access area and should be wall mounted.
CAUTION: The control panel should only be installed by
authorized service personnel.
• Use the enclosure as a template and mark the
mounting holes on the mounting surface.
• Pre-start the mounting screws for these holes. Mount
the enclosure.
• Knock out the desired wire entrances on the enclosure.
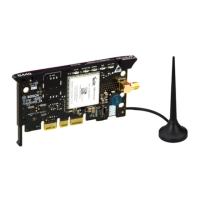
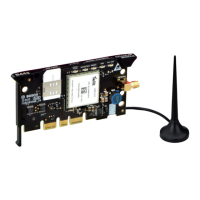
3.2 Install the Control/Communicator
CAUTION: The control is static sensitive. Make sure you
touch earth ground before handling the
control. This will discharge any static
electricity in your body.
EXAMPLE: Run the ground wire to the enclosure before
handling the control. Then, holding the
ground wire (or using a ground strap), install
the control.
• Insert the two support posts into the control retainer
holes as shown below in the Support Post Assembly
diagram.
• Slide the top of the control PCB into the two retainer
tabs.
• Once in the retainer tabs, the control will rest on the two
support posts.
• Secure the bottom of the enclosure by screwing the
bottom two holes through the support posts and
through to the control retainer holes.
CAUTION: Once the control is installed, be sure to
connect its ground wire to the top hinge of
the enclosure.